Over the past 25 years, I’ve worked with spices pretty much every day. Building blends, testing recipes, tasting, adjusting…then doing it again. It’s hands-on work, and over time you start to get a feel for what works, what doesn’t, and what actually delivers the best results in the kitchen…or on the smoker.
Back in 2015, I wanted to take that a step further.
I wanted to see how the best in the business were using spices in the real world…specifically, barbecue pitmasters across the country who have built their reputation on doing one thing extremely well.
So, I packed up my truck, hooked up a camper, and hit the road for six weeks. More than 7,000 miles, 80+ barbecue joints, and a lot of time standing next to pits talking to the people behind them.
I wasn’t guessing or theorizing. I was watching, asking questions, and looking for patterns…what mattered, what didn’t, and what actually separated good from great.
And when it came to brisket, one thing became clear. The best versions weren’t complicated.
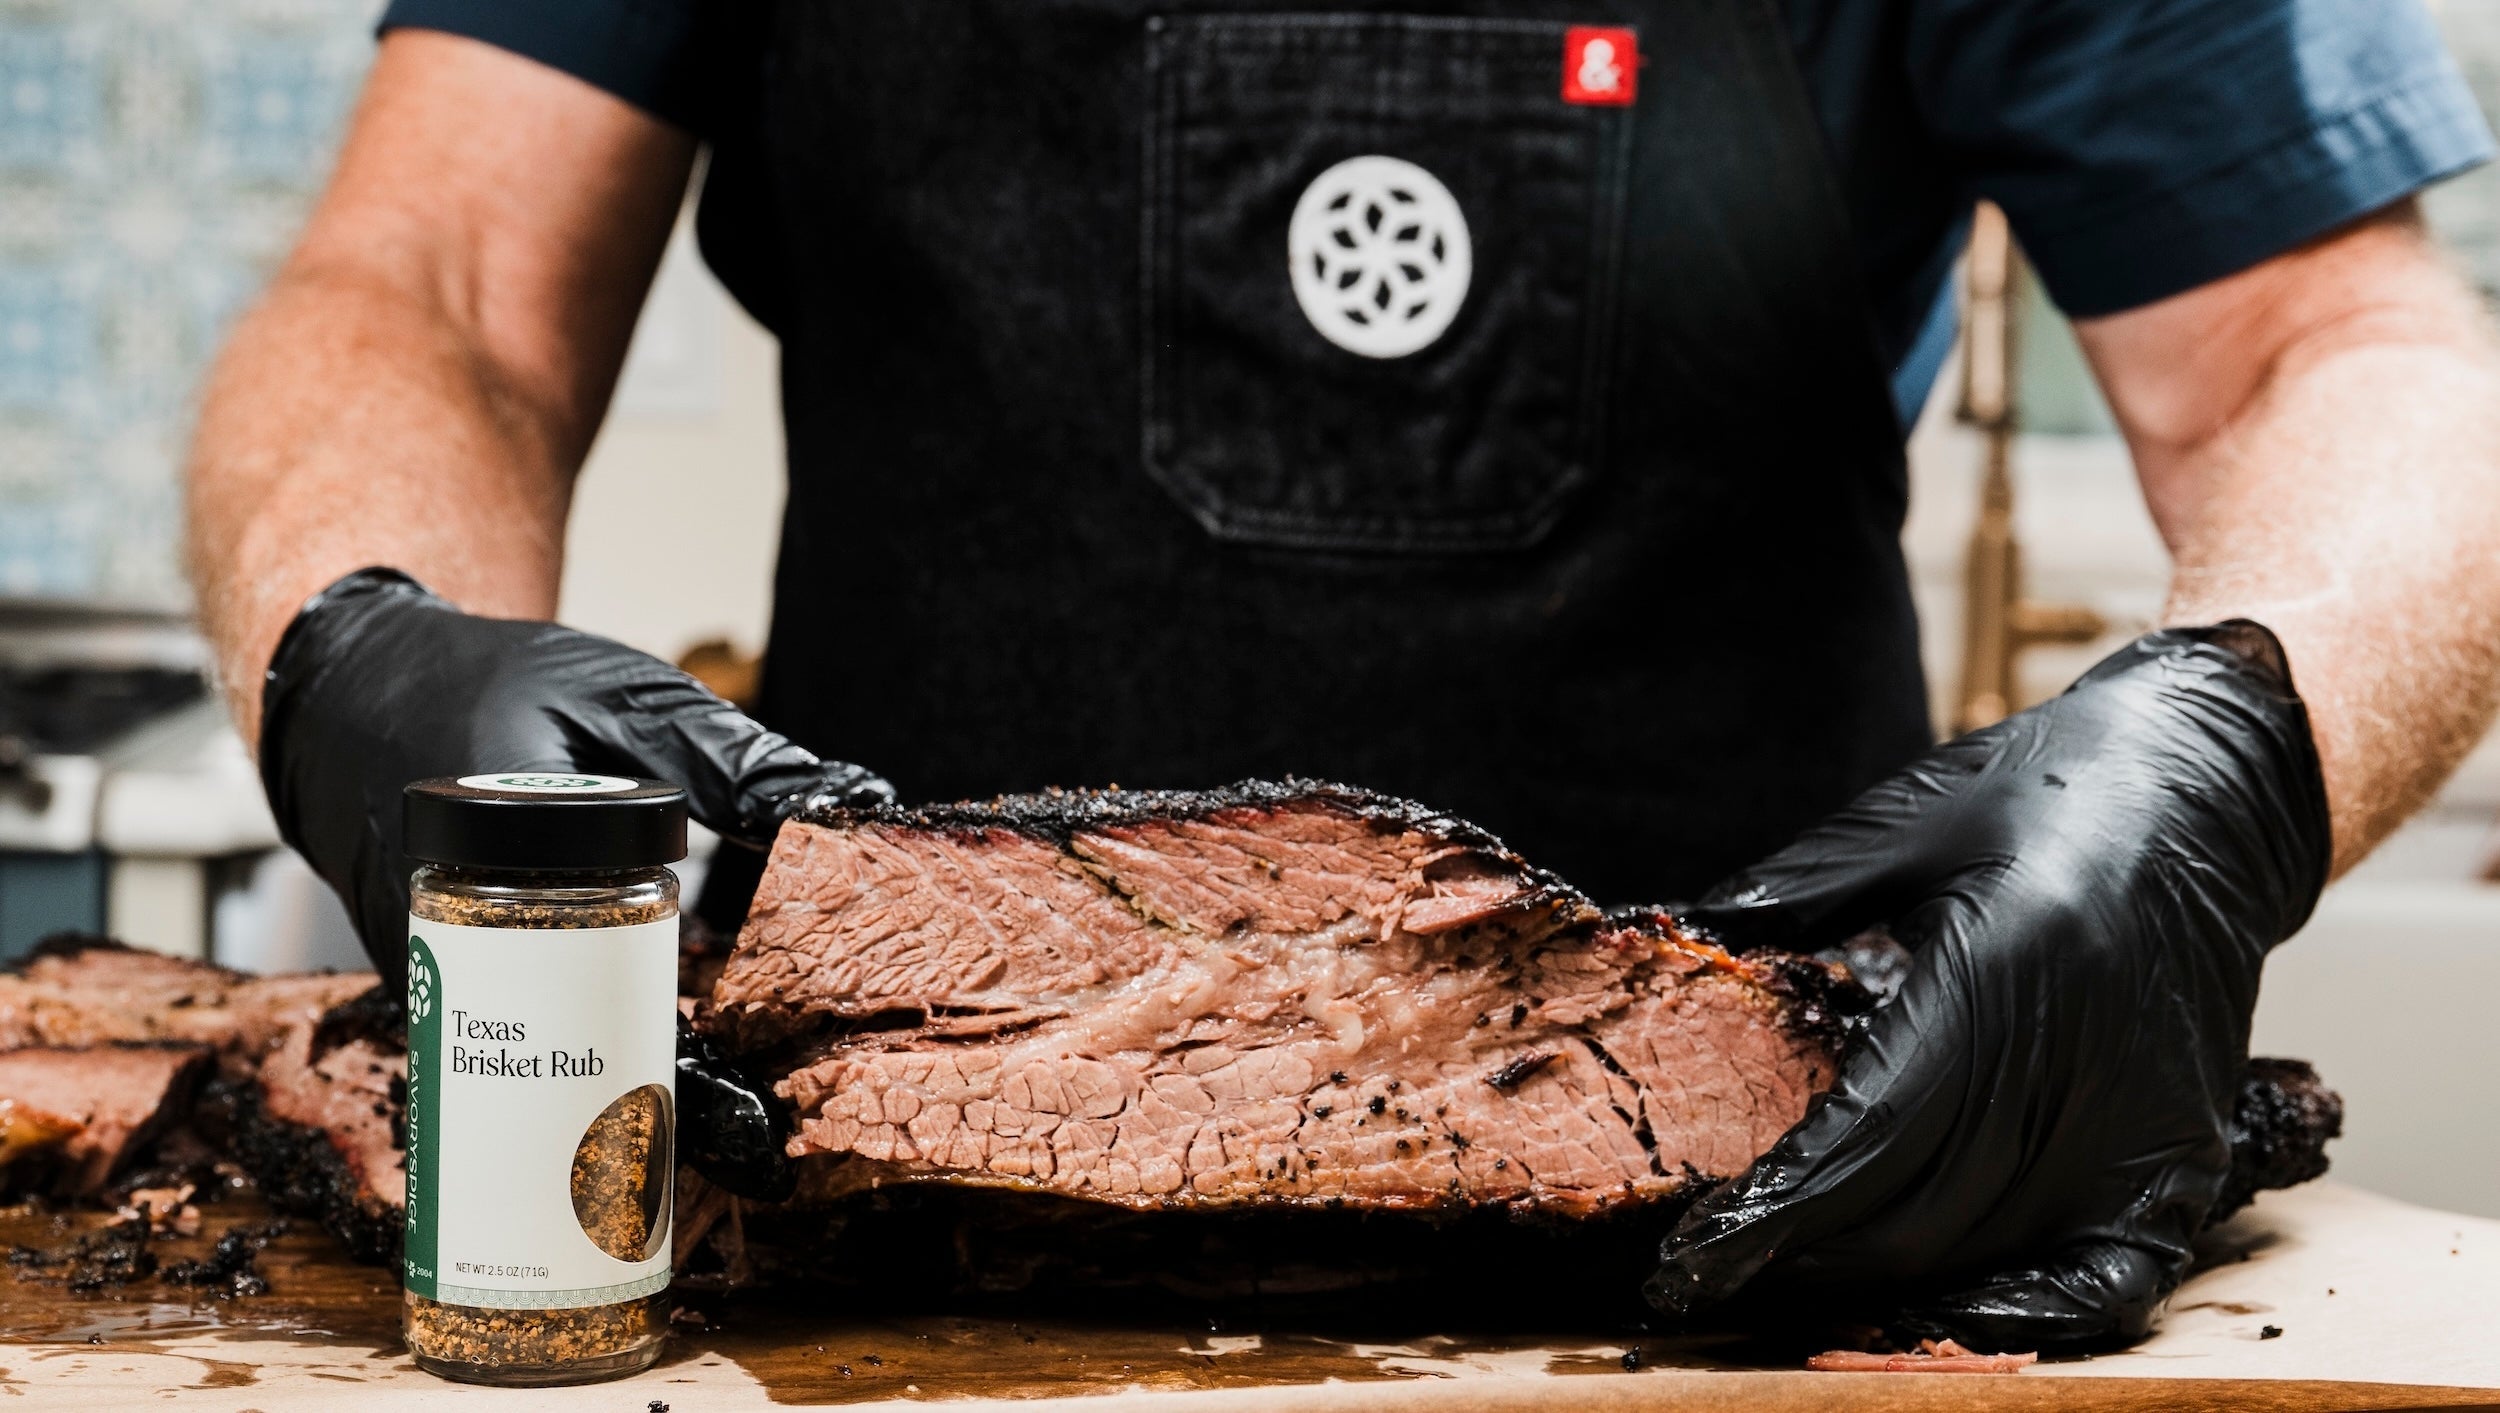
“I’ve smoked more than 50 briskets, and every one of those became an opportunity to refine what I wanted in the perfect rub. Lots of pepper and the right amount of kosher salt, along with a few behind-the-scenes seasonings shared with me by pitmasters smoking 50 briskets a week.”
Mike Johnston, Savory Spice Co-Founder
Keep It Simple
If you ask a Texas pitmaster, most will tell you it’s just salt and pepper. Kosher salt. Extra coarse black pepper. And for some, that’s exactly what it is.
But when you spend enough time around it, you start to notice a little more going on.
I saw granulated garlic and onion in the mix. I saw Lawry’s seasoned salt show up more than once. Nothing over the top, just small additions that round things out without taking anything away from the beef or the smoke.
I also came home from that trip with something else…a small idea that turned into a product I now use every time I smoke a brisket…and just about anything else that goes on my smoker.
Seasoning That Sticks
I was first introduced to the idea in Texas. Not every pitmaster uses a slather, but enough of them do that it caught my attention. And when I asked why, the answer was pretty straightforward…it helps the seasoning stick, holds in moisture, and sets up the kind of bark you’re after.
And while a brisket should spend most of its time undisturbed, you are going to handle it at key points…especially when it’s time to wrap. That’s where this really matters. The seasoning stays where you put it, instead of coming off in the paper or on your gloves.
I came home and started playing with it in the Savory test kitchen to get it right.
What started as a way to help seasoning stick is now something I use on every brisket I smoke. It helps the rub set and hold through the cook, from the flat to the point. It’s a small step, but it’s one of those difference makers you only really appreciate after seeing it done by the pros.
So, when we set out to build our Texas Brisket Rub, I knew exactly how I’d be using it. ’Cue Glue first. Light, even coat over the whole packer cut. Then a heavy coating of the rub.
Embracing Texas Tradition
And for the rub itself, I embraced what I saw out there.
That meant creating our own version of seasoned salt. That classic, unmistakable orange color and all. Insider tip: keep an eye out for that one showing up in our Savory Savings line later this year.
Then it became about balance. And for me, that balance leans toward onion for two reasons.
First, after years of cooking, I started noticing a pattern. The best balance of aromatic flavor comes when onion leads and garlic follows.Not equal parts. Onion out front, garlic in support.
It’s why our Onion & Garlic Everyday Seasoning has such a following. Same two ingredients everyone uses…but the balance is right.
Second, I couldn’t ignore what I kept seeing served alongside brisket in Texas. Brisket served with white bread, pickles, sliced white onion. Sometimes, even thick-cut blocks of cheese.
At first it feels simple, almost too simple. But there’s a reason for it.
As Daniel Vaughn of Texas Monthly explained to me, barbecue started as a preservation method. Butcher shops weren’t restaurants, and they weren’t grocery stores. They sold meat. So when customers wanted something to go with it, they got what was on hand.
It just so happens it all works together. The acidity from the pickles and the bite of raw onion cut through the richness and balance the fat. The bread soaks it all up.
But the more I saw it, the more I kept coming back to the onion. So, I leaned into that.
In our new Texas Brisket Rub, salt and pepper take the lead, while onion plays a stronger supporting role without overpowering the blend. Garlic adds depth in the background, and the seasoned salt brings everything together.
It’s still true to Central Texas barbecue. Just closer to what I saw behind the scenes. And it’s exactly how I season a brisket today, and now you can too.
Smoked Texas Brisket Recipe
Texas brisket is practically a thing of legend. When done right, using a salt and pepper-based seasoning, and smoked low and slow for many hours, it should develop a flavorful bark around the outside, a nice pink smoke ring around the inside, and yield tender, juicy meat when you slice into it.
Here’s my recipe for a rich, competition-worthy smoked brisket built for long summer afternoons, full plates, and even better company.
Recipe by Mike Johnston, Savory Spice founder
Texas brisket is practically a thing of legend. When done right, using a salt and pepper-based seasoning…
Yields
8 to 10 servings
Prep Time
15 minutes
Cook Time
18 hours
5 Tips for Smoking a Better Brisket
Tip 1 – Contain the prep
This tip comes from a lot of trial and error. Use a food-grade bus tub to keep everything contained while you prep. I use one that’s roughly 21″ x 15″ x 5″.
It’s perfect for slathering and seasoning a full brisket, and anything that falls off stays in the tub so you can press it right back on. I use it for just about anything going on the smoker…ribs fit right in because of the length.
Tip 2 – Let the fat do its job
Trim the fat cap down to about 1/4 inch and remove any hard fat that won’t render. I cook on an offset stick burner, so I go fat cap up. It helps protect the meat and lets that fat render over the brisket as it cooks.
Tip 3 – Wrap at the stall
As the center of the brisket takes the longest for heat to reach, you’ll almost always hit a slowdown in temperature around 165–175°F. That’s “the stall.”
By this point, your brisket should have formed a dark, dry bark that’s set. That’s your signal to wrap.
I prefer two layers of unwaxed butcher paper. I use peach paper (pink butcher paper).
Tip 4 – Finish it efficiently
Once the brisket is wrapped, it’s not taking on any more smoke.
You can put it back on the smoker, but at that point I switch from wood to lump charcoal so I’m not burning through my smoking wood unnecessarily.
Alternatively, especially on colder days, I’ll place the wrapped brisket in a high-sided aluminum pan and finish it in the oven.
Tip 5 – Slice it right (and know your grain)
Brisket is the showstopper.
The moment. When you bring it out, people are going to gather around when you slice into it. So get this part right.
A full packer brisket has grain running in two different directions. Start by separating the flat (lean side) from the point (fatty side). Then slice the flat across the grain.
For the point, you need to turn it about 90 degrees before slicing so you’re still cutting across the grain. If you don’t, it’ll eat tougher than it should.
“I don’t know that it’s magic. You put some fire on there and you watch your meat. That’s pretty much it. And it’s desperation, man. It’s how I make my living.”
-The late John Mueller of the first family of Texas barbecue
Mike’s Bonus Tip: Brisket for a Party
(Without the All-Nighter)
If you want to serve brisket at a party, it usually means one of two things…you’re pulling an all-nighter, or you’re doing what I do. I smoke it a few days, or even weeks, ahead of time and freeze it.
What? I know. But I promise you, no one will know. They’ll think it just came off the smoker. A few important things to keep in mind:
After pulling it from the smoker, let the brisket rest for at least two hours before refrigerating. (You should be resting it this long before slicing anyway.) Keep it wrapped and place it in a pan to catch any rendered fat, then refrigerate overnight.
The next day, discard the butcher paper, wrap it tightly in 2–3 layers of aluminum foil, and place it in the freezer. About 48 hours before your party, move it from the freezer to the fridge to thaw.
Then, 4–5 hours before serving, reheat it, still wrapped in foil and in the pan, either in the oven at 300°F or back on the smoker if you want that smell in the air.
Bring it up to at least 145°F internal. I usually take mine to 165–175°F. This will take a few hours.
You already fully cooked it the first time, taking it to around 203°F and letting it rest. This step is just reheating, not cooking, so there’s no need to take it back to that temp or rest it again.
That said, once it’s heated through, you can hold it in a cooler, wrapped in towels, with the lid slightly ajar. It will stay in a safe temp zone for a few hours, which means you can actually enjoy your party and still serve brisket like it just came off the pit.
Mike’s Bonus Recipe: Burnt Ends
(What I Do with the Point…or the Flat)
Traditionally, the “burnt ends” of a brisket were trimmed from the edges because they weren’t considered good enough to serve sliced. Instead, barbecue joints handed them out as samples to hungry customers waiting in line. Before long, these smoky, bark-covered bites became so popular they earned a permanent place on barbecue menus.
This method lets you make incredible burnt ends in roughly one-third the time it takes to smoke a whole brisket.
Finished in a braising liquid of equal parts beer and Worcestershire Sauce, the burnt ends develop a rich, savory coating without the sticky sweetness often associated with traditional burnt ends.
If you prefer a sweeter, caramelized finish, add your favorite barbecue sauce along with a few tablespoons of the braising liquid. (Our Black Dust Barbecue Sauce works especially well).
Previous Article
How to Make BBQ Without a Grill & Indoor BBQ Recipes
Next Article
The Best BBQ Rub Lineup for Summer Grilling