This post may contain affiliate links. Please read my disclosure policy.
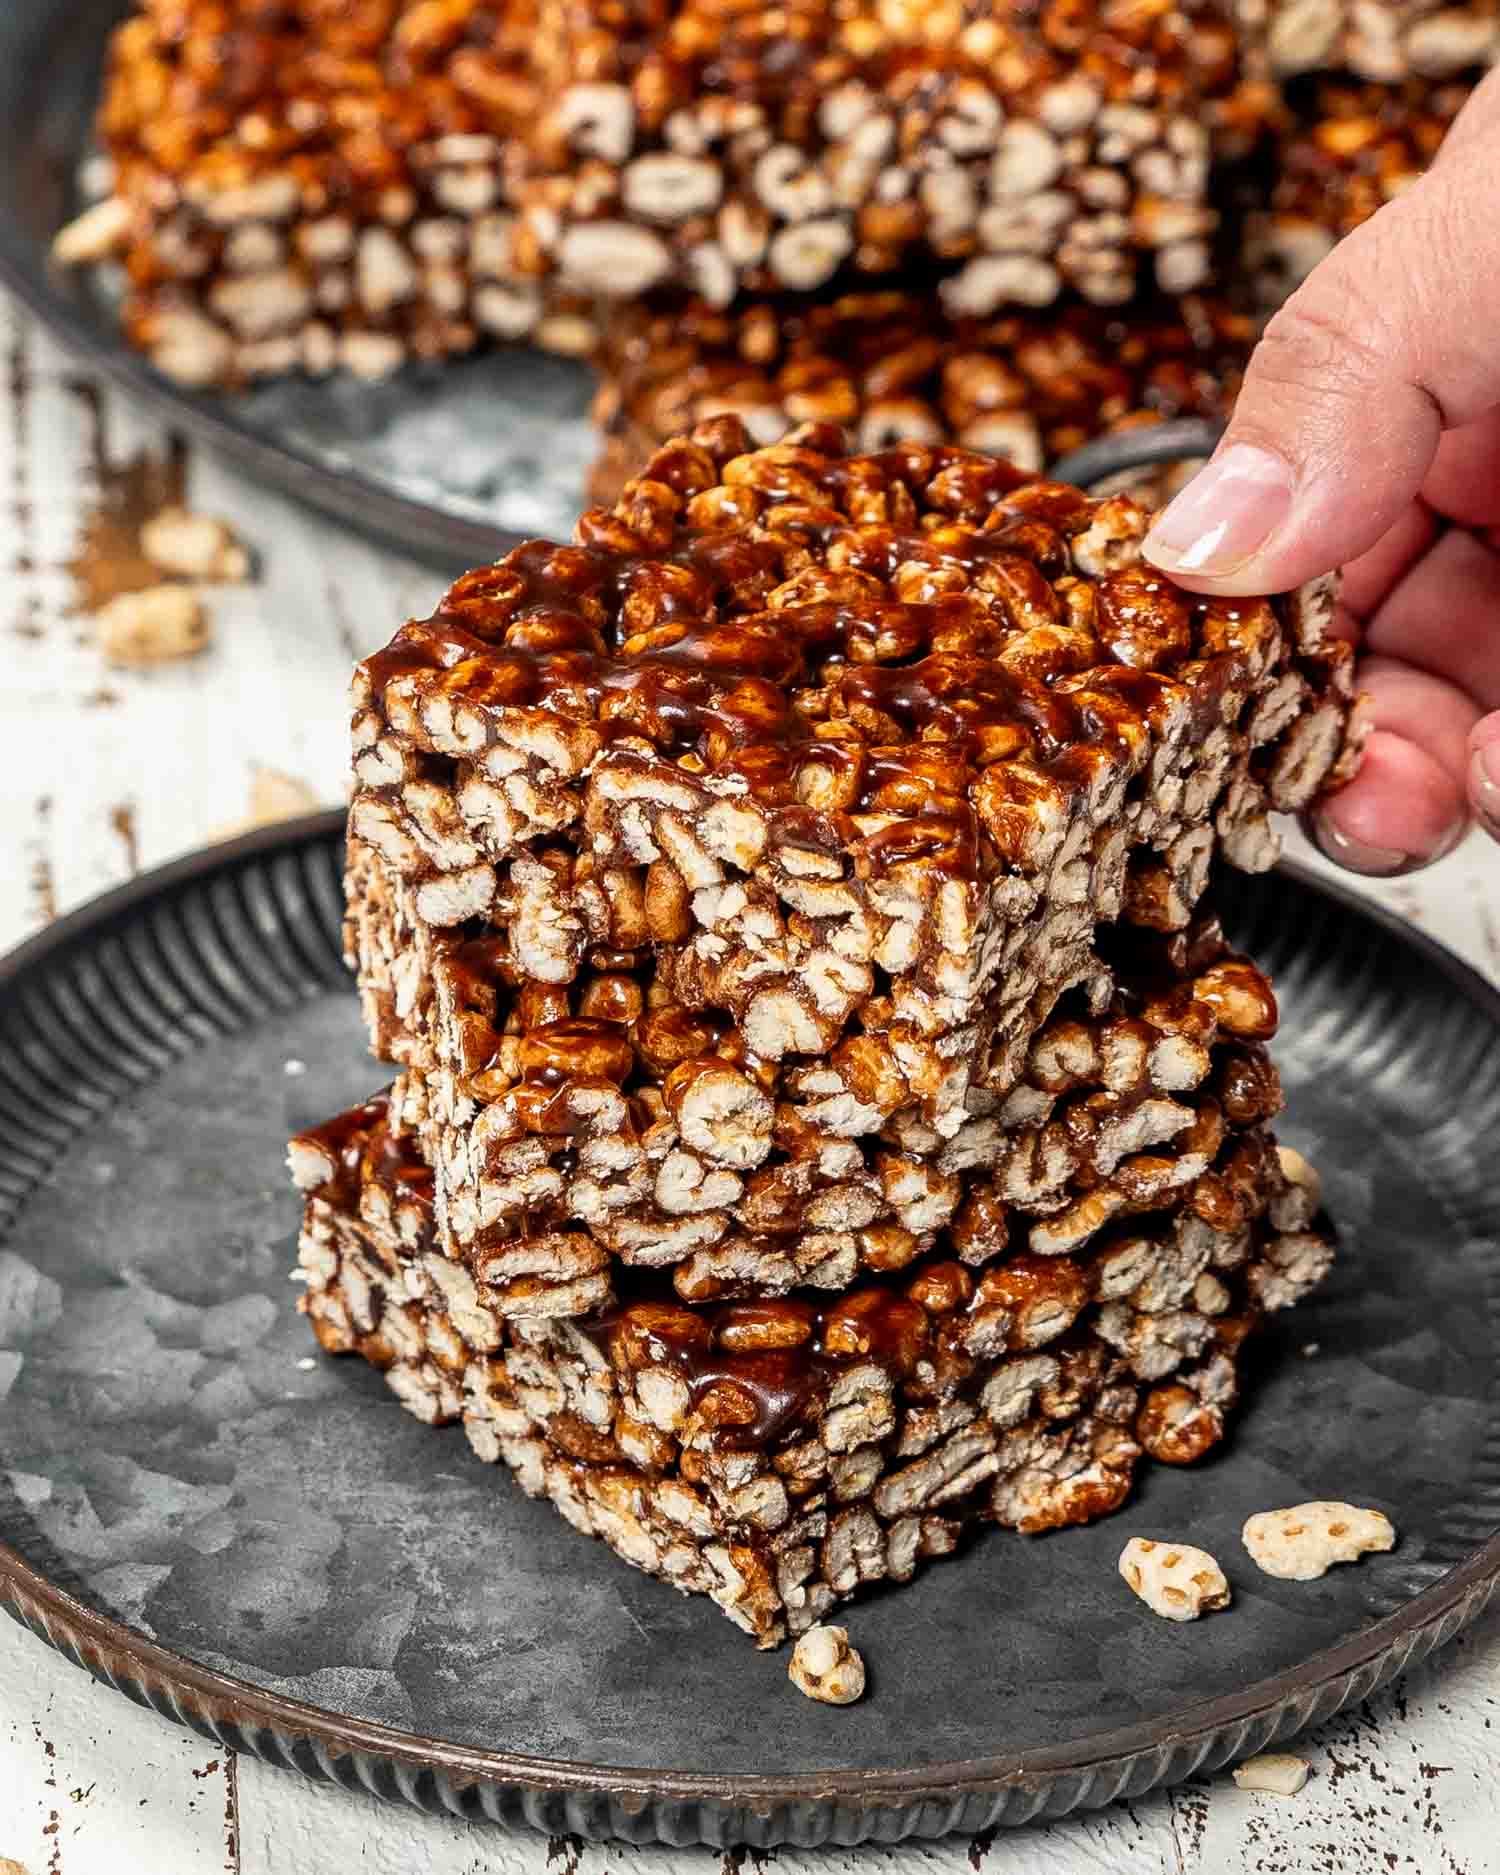
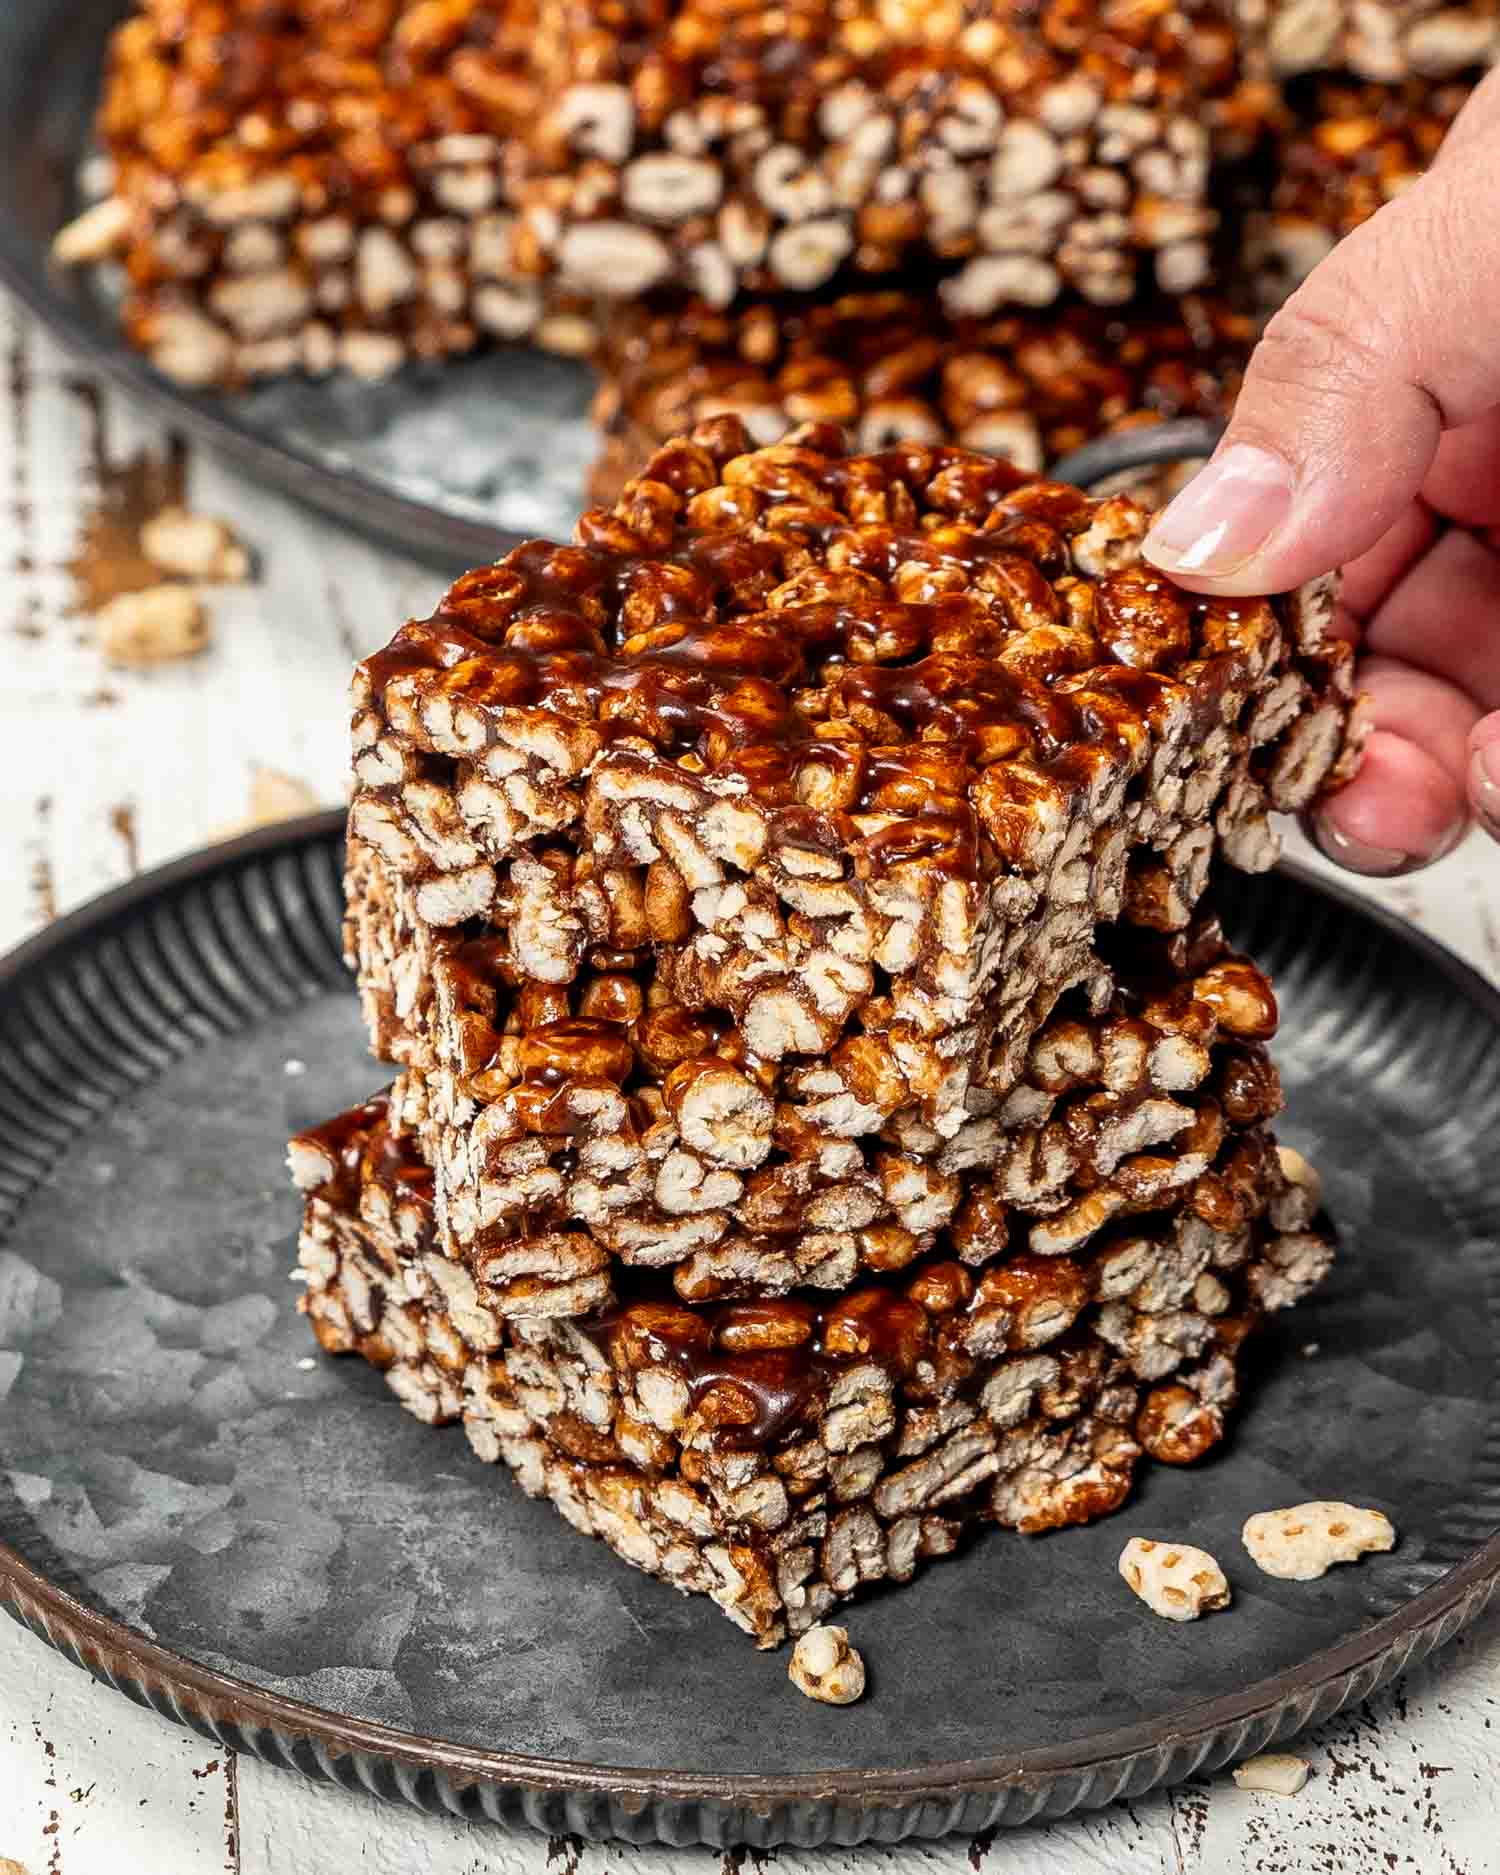
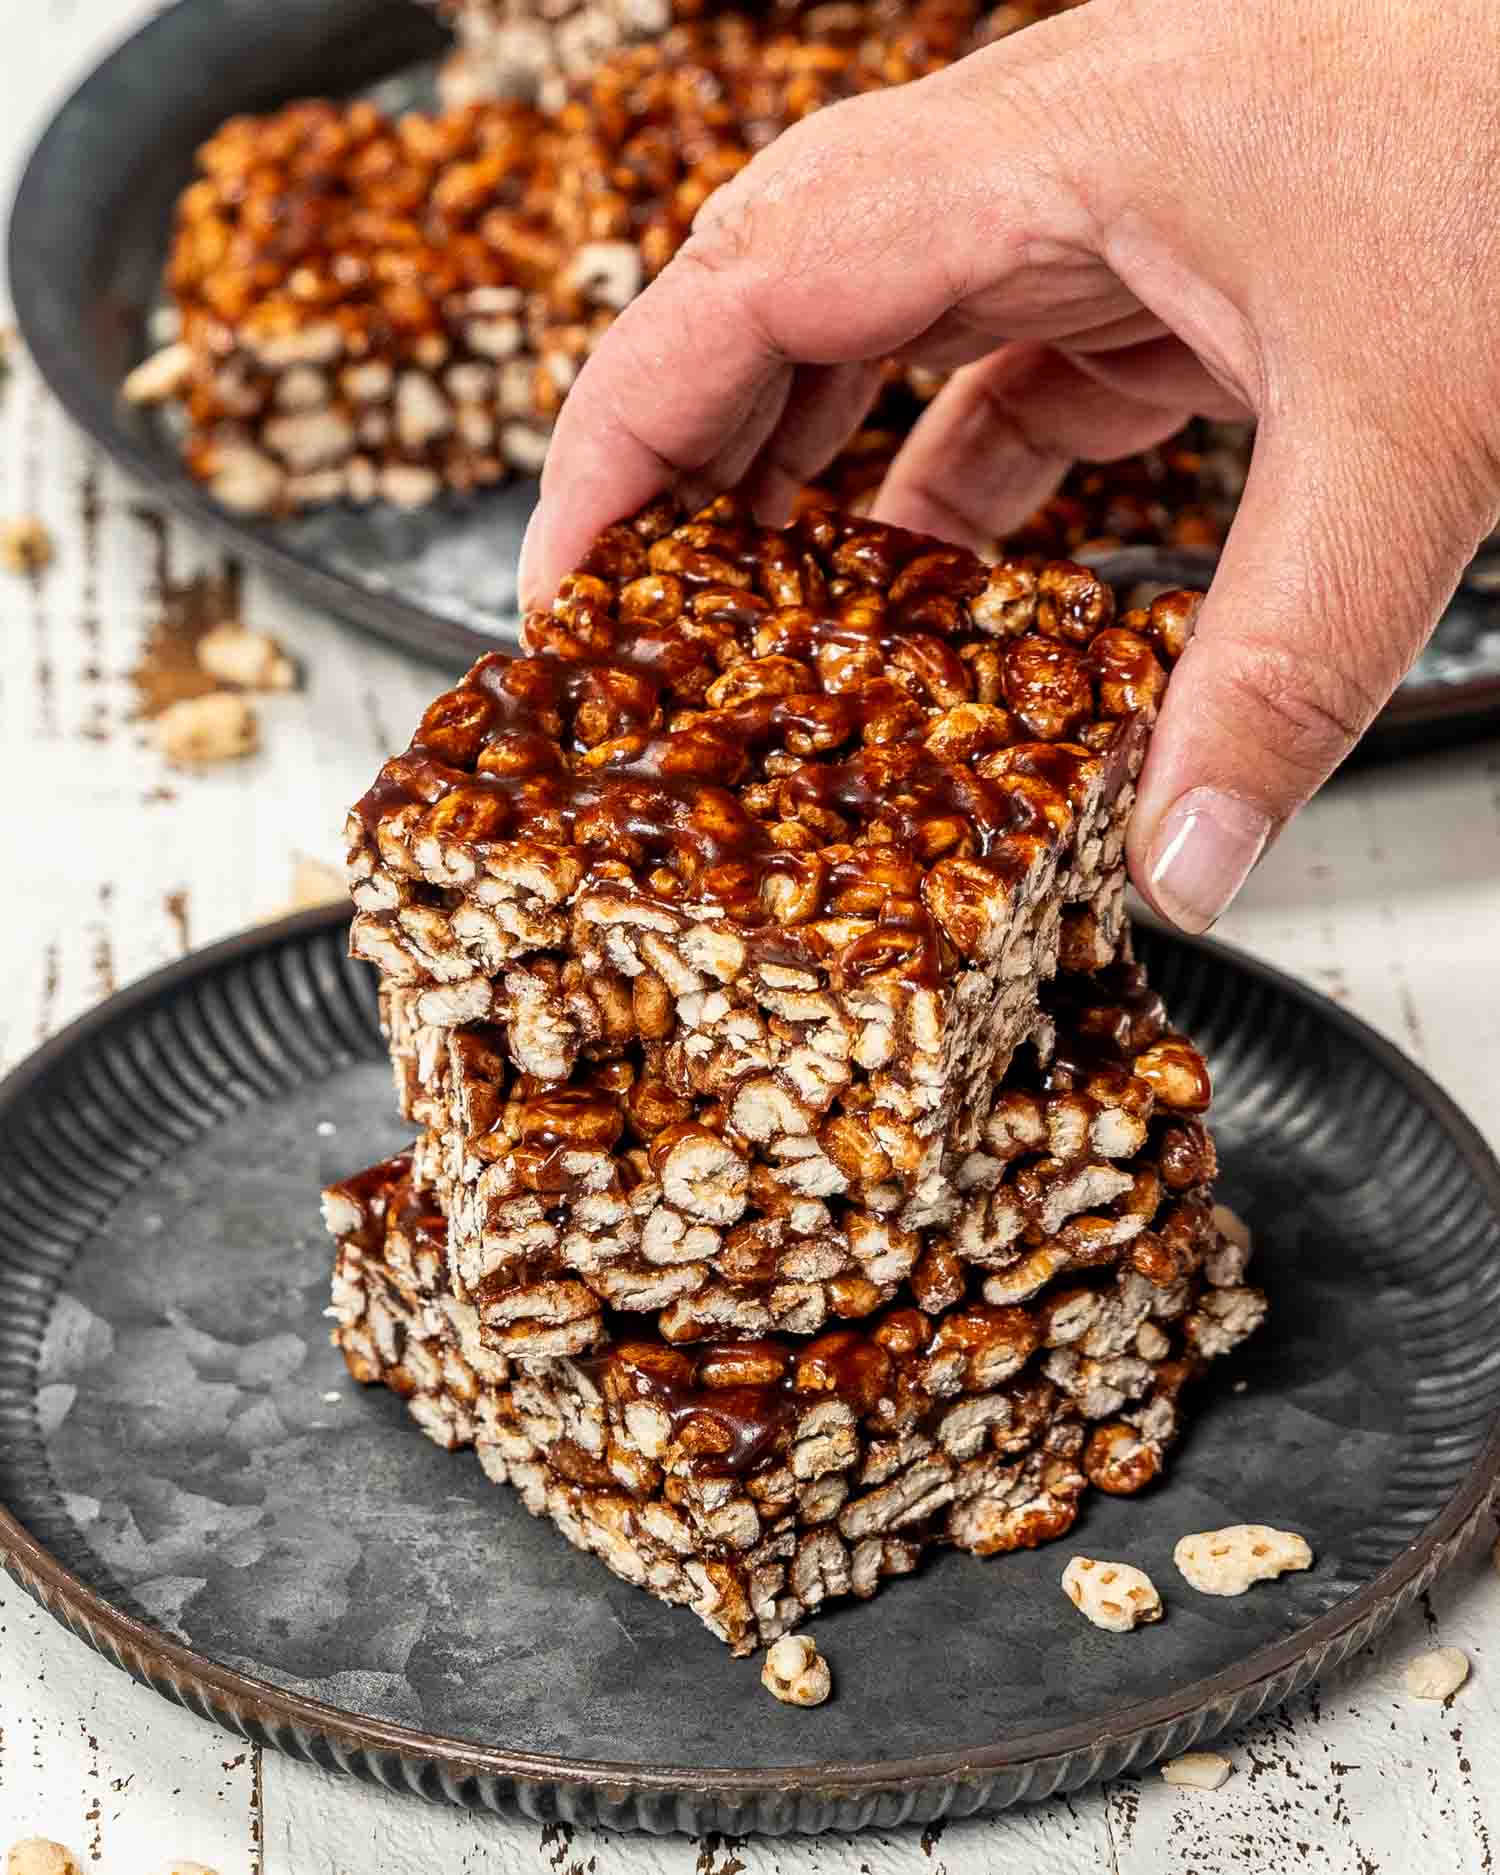
These Puffed Wheat Squares are a Canadian prairie classic, and if you grew up anywhere between Winnipeg and the Rockies you already know exactly what they taste like. Chewy, chocolatey, 6 ingredients, and no oven. The whole thing comes down to how long you boil the syrup.
Table of Contents
If you’re Canadian, you don’t need me to explain these. You’ve had them at every bake sale, every rink, every church basement, and every small town café where a tray of them sits by the till under plastic wrap.
If you’re not Canadian, welcome. These are puffed wheat squares, also called puffed wheat cake depending on which province you’re in. Think Rice Krispie treats, except made with puffed wheat and bound with a chocolate syrup instead of marshmallow. Chewier, less sweet, and in my opinion quite a bit better.
I live in Alberta now, which is puffed wheat country, and I make these constantly. They take about 10 minutes of actual work, they use 6 things you probably already have, and there’s no oven involved, which matters when the kitchen’s already busy.
The one thing that decides whether these turn out perfect or turn out like a brick is how long you boil the syrup. Two minutes. I’ll explain why below, because it’s the difference between chewy and jaw breaking, and it’s the reason most people’s first attempt goes wrong.
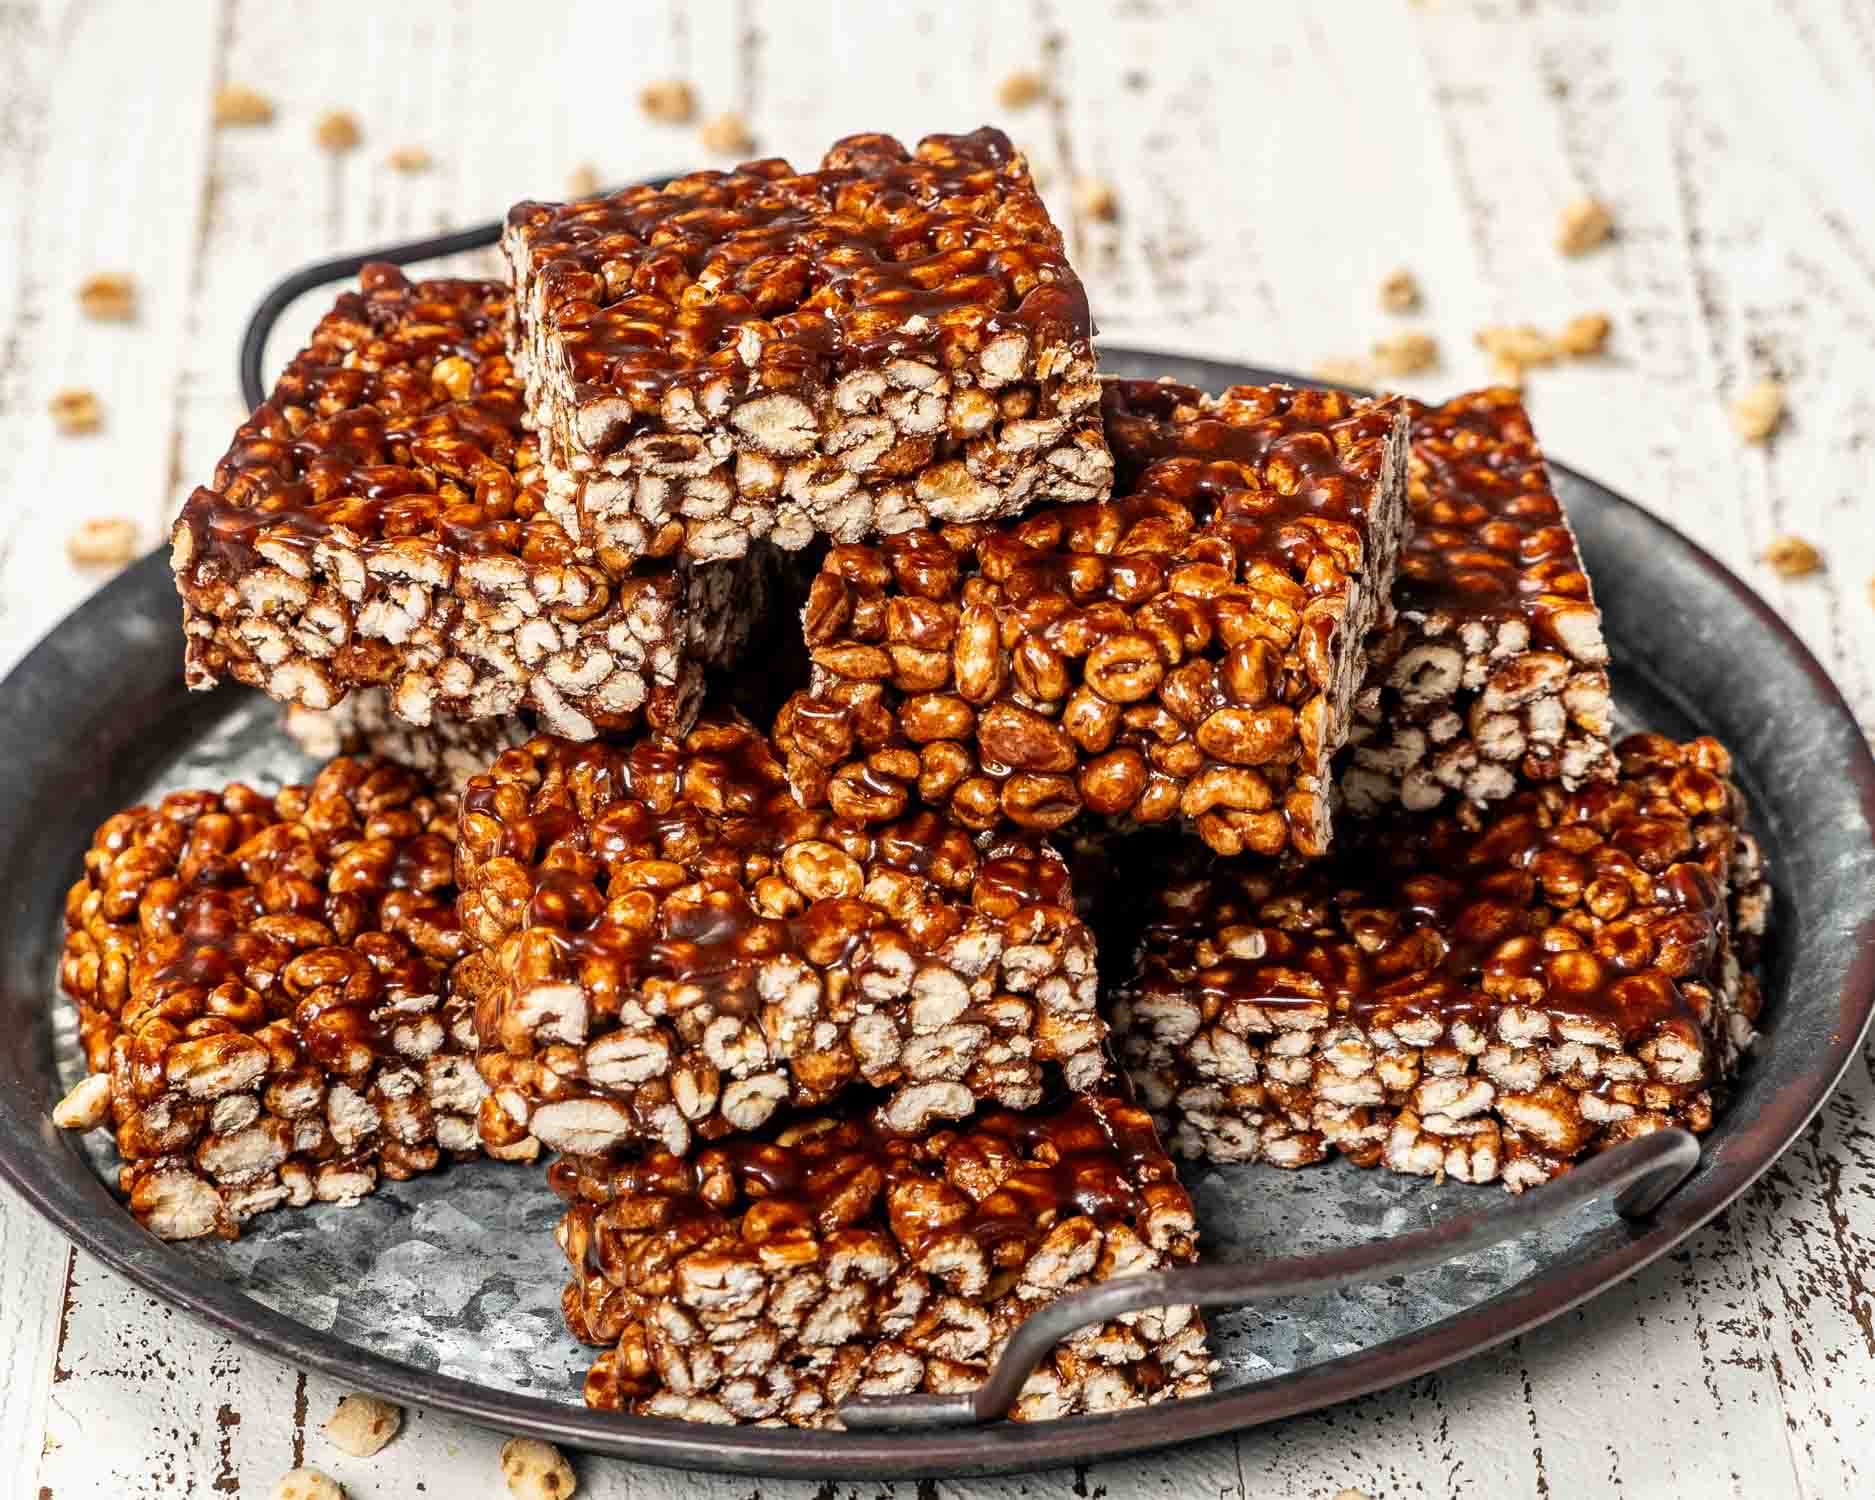
Both, depending on where you’re standing.
In Alberta and Manitoba you’ll mostly hear puffed wheat squares. In Saskatchewan it’s more often puffed wheat cake, even though there’s nothing cake like about it. Same recipe either way, and people will argue about the name with real conviction.
They’re a prairie thing through and through, which makes sense given that’s where the wheat is. You’ll find them across Canada, but the further west you go the more likely someone’s grandmother has strong opinions about the correct ratio of syrup to cereal.
Americans, this is the closest thing you have a reference for: it’s a Rice Krispie treat, but with puffed wheat and a cocoa syrup instead of marshmallow. Chewier and a bit more grown up.
This is the whole recipe, so I want to be clear about it.
Once the butter, corn syrup, sugar, and cocoa come to a boil, you let it boil for exactly 2 minutes and then take it off the heat. Not 4 minutes. Not “until it looks right.”
Here’s why. You’re making candy, whether it feels like it or not. Boiling sugar syrup gets progressively firmer as more water cooks off. Two minutes lands you in the soft chewy zone. Push it to 4 or 5 and you’ve moved into hard crack territory, which is great for toffee and terrible for these. That’s why some people’s squares come out so hard you could use them for construction.
Under boil it and you get the opposite problem. The syrup never sets properly and the squares stay loose and crumbly, falling apart the moment you cut them.
Set a timer. Genuinely. I’ve been making these for years and I still set a timer, because 2 minutes of boiling sugar feels much longer than it is and it’s very easy to talk yourself into “just a bit more.”
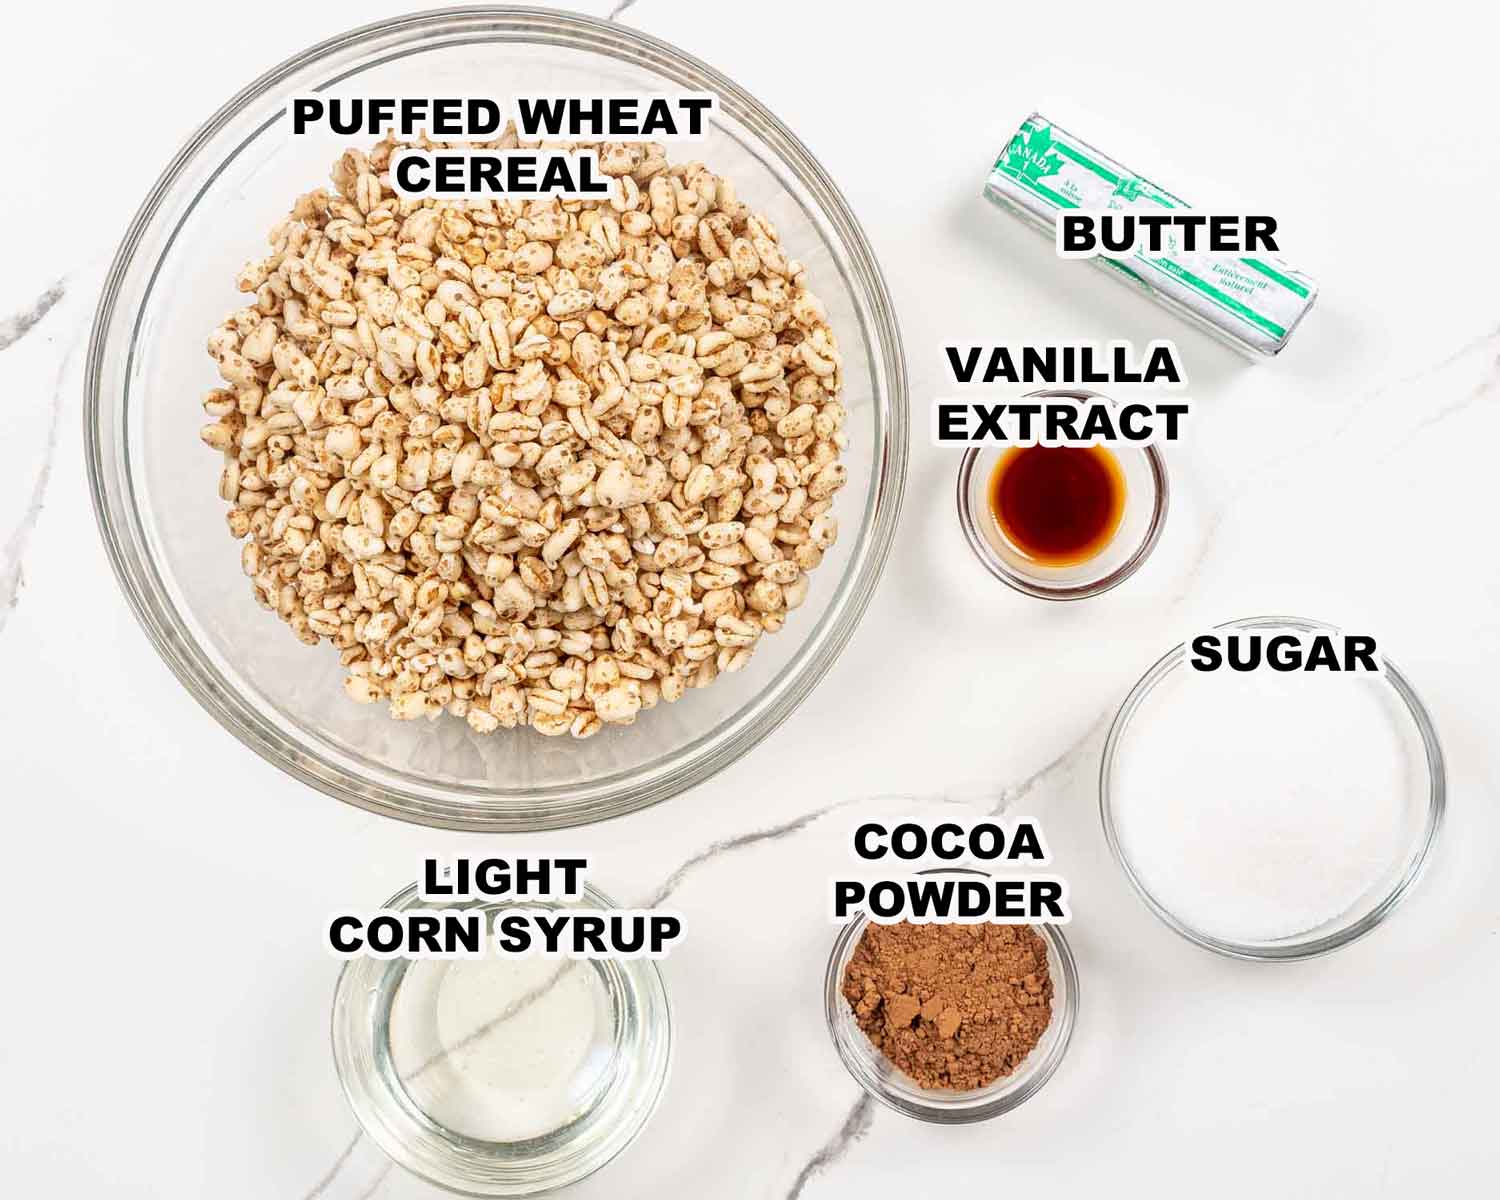
- Puffed wheat cereal (8 cups): The classic. In Canada it’s the big bag of plain puffed wheat you’ll find near the cereal, and it costs almost nothing. It has to be fresh and crisp, because stale puffed wheat goes chewy in a sad way rather than a good way. Puffed rice works if you can’t find puffed wheat, and it makes them gluten free, though the texture is lighter and less substantial.
- Unsalted butter (½ cup): Real butter here. The richness matters in a recipe with this few ingredients, and margarine gives you a slightly waxy finish.
- Light corn syrup (1 cup): This is what makes them chewy instead of grainy. Corn syrup stops the sugar from crystallizing, so you get a smooth glossy coating rather than a sandy one. Golden syrup works beautifully and is arguably better, with a bit more caramel flavor.
- Granulated sugar (1 cup): Straightforward sweetness and structure. Brown sugar works and makes them chewier and more caramel flavored, which some people prefer.
- Unsweetened cocoa powder (¼ cup): The chocolate. Unsweetened, not hot chocolate mix, since the syrup brings all the sugar you need. Dutch process gives you a darker color and a mellower flavor if you have it.
- Vanilla extract (1 teaspoon): Goes in off the heat, so it doesn’t cook away. It rounds out the cocoa and it’s a small amount doing noticeable work.
Get everything ready first. This moves fast once the syrup is done, and there’s no time to be hunting for a spatula while it’s setting. Measure the 8 cups of puffed wheat into a big bowl. Grease a 9 by 13 inch pan or line it with parchment. Have your spatula out.
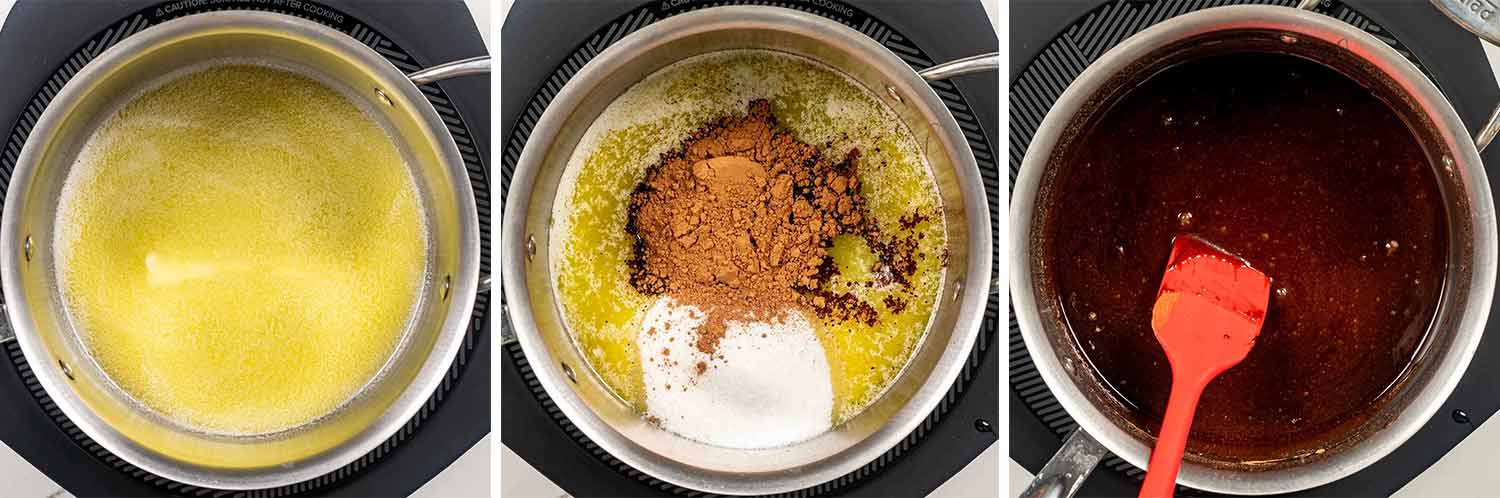
Melt the butter in a medium heavy saucepan over medium heat.
Add the corn syrup, sugar, and cocoa powder, stirring constantly until it comes to a boil. Keep stirring right up to the boil so the cocoa dissolves properly and nothing catches on the bottom.
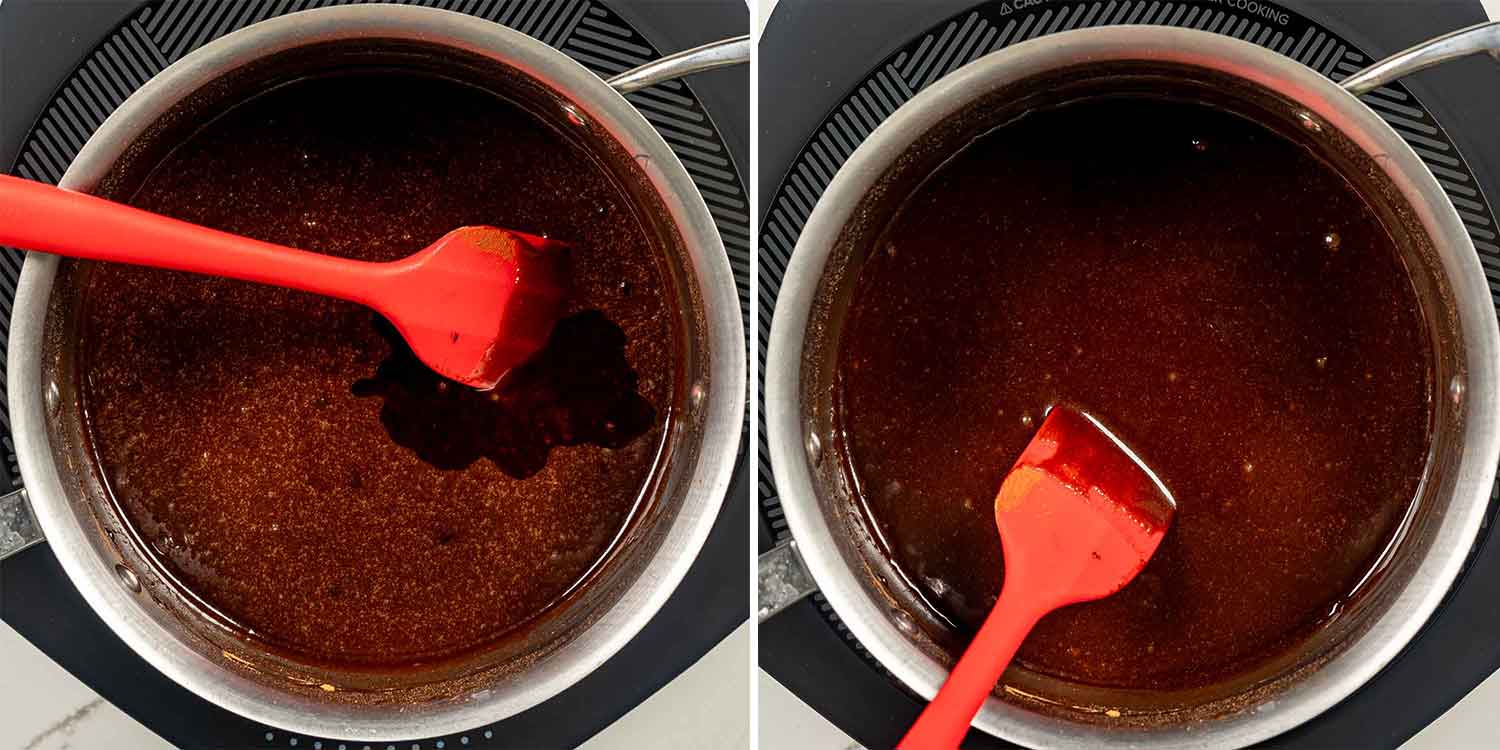
Boil for 2 minutes without stirring. Timer on. This is the step that decides everything, and it’s covered in detail above if you want to know why.
Off the heat, stir in the vanilla. It’ll bubble up at you, so stand back a bit and don’t lean over the pot.
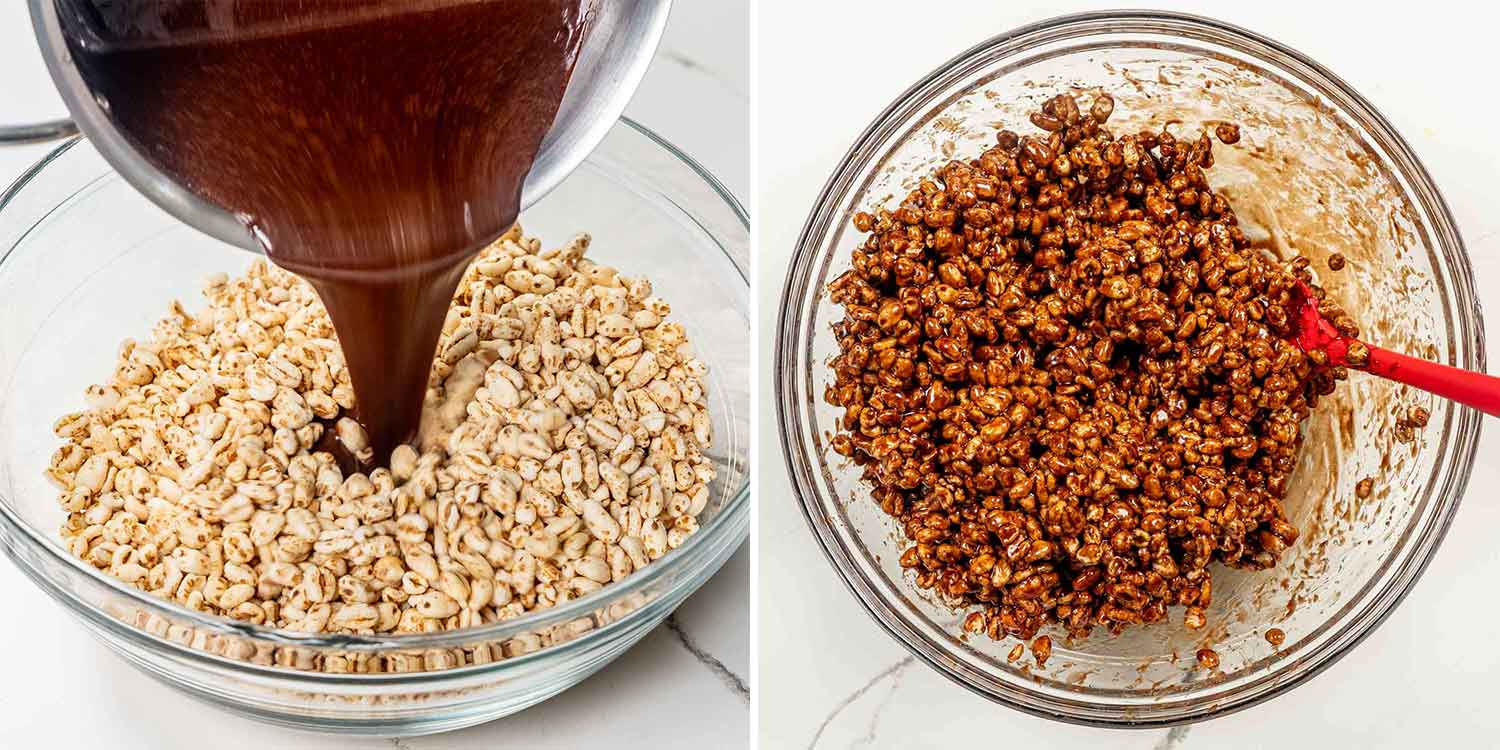
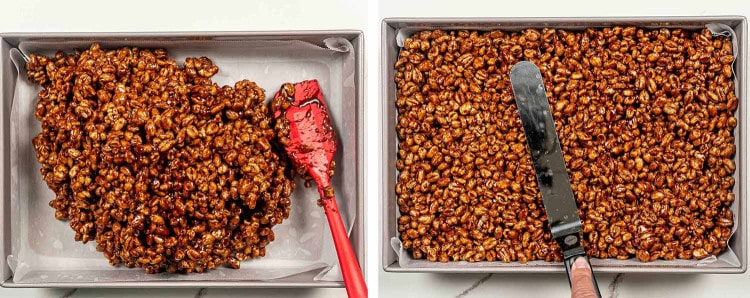
Pour it over the cereal immediately and stir. Work quickly and get every puff coated. A silicone spatula is much better than a spoon here because the syrup slides off it instead of gluing itself on. Keep going until you don’t see any dry cereal left.
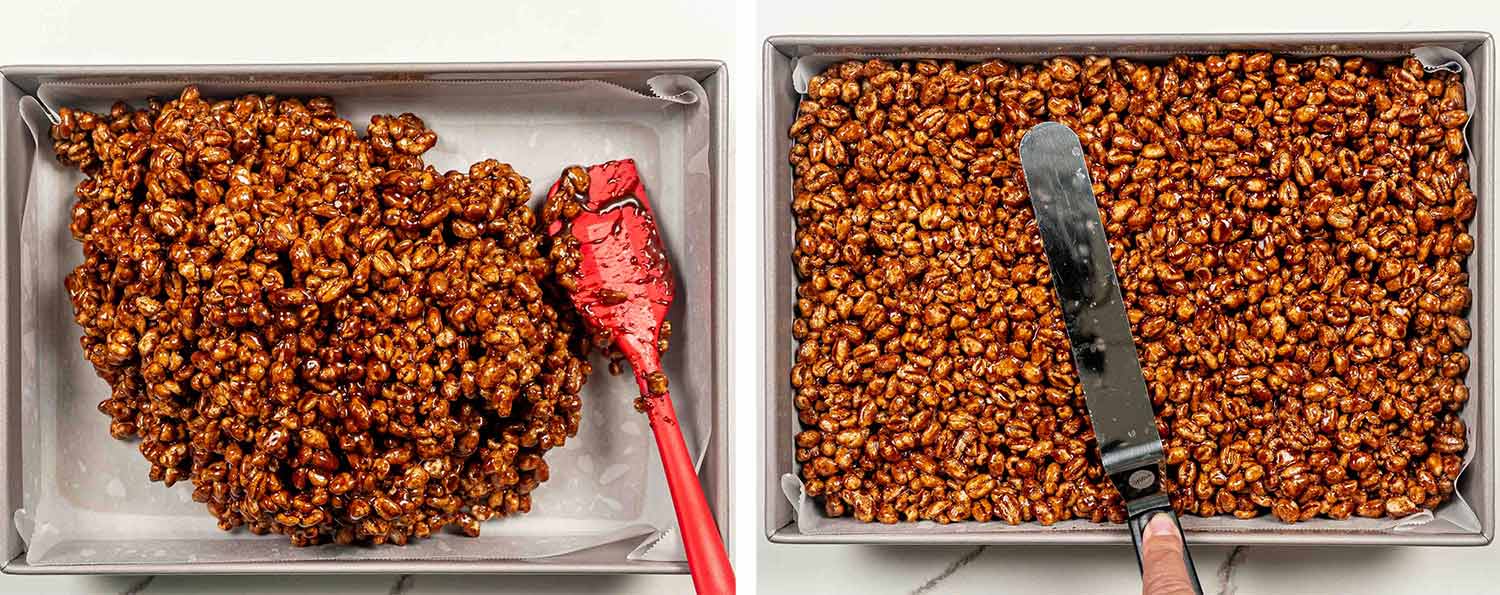
Press it into the pan firmly. Firmly is the key word. Loosely pressed squares crumble when you cut them. If it’s sticking to your hands, butter them lightly or lay a sheet of parchment on top and press through that.
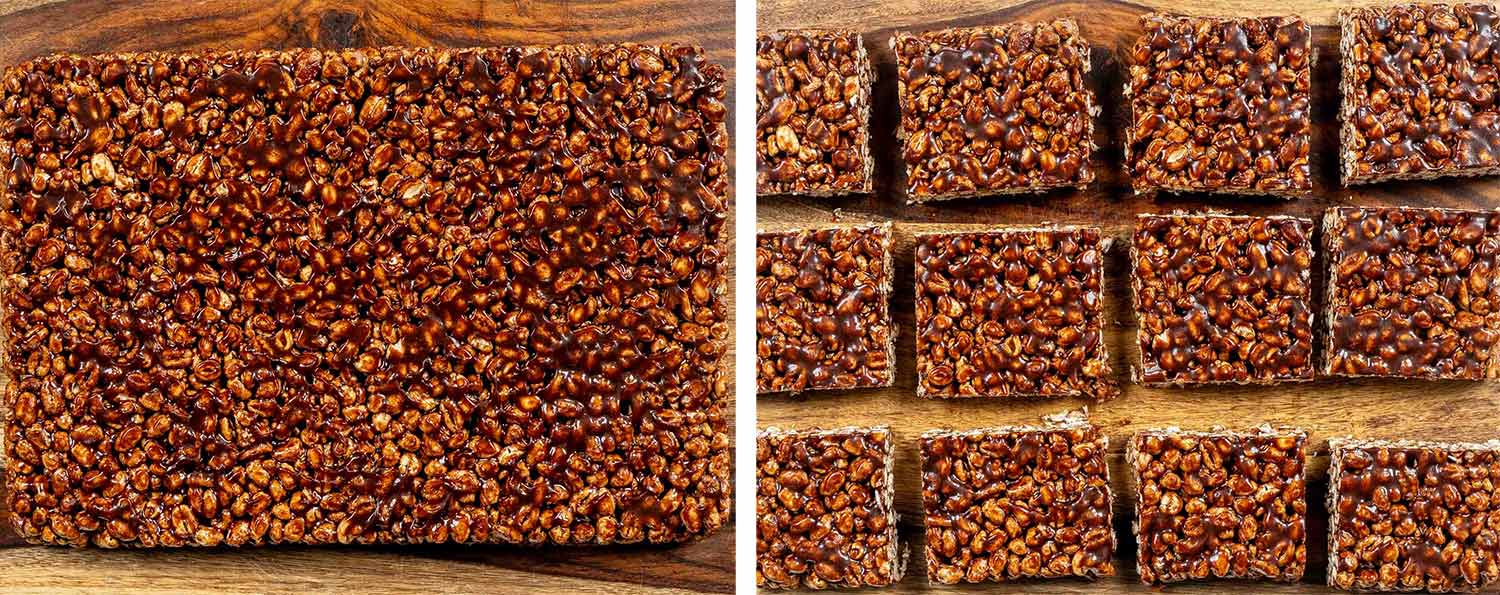
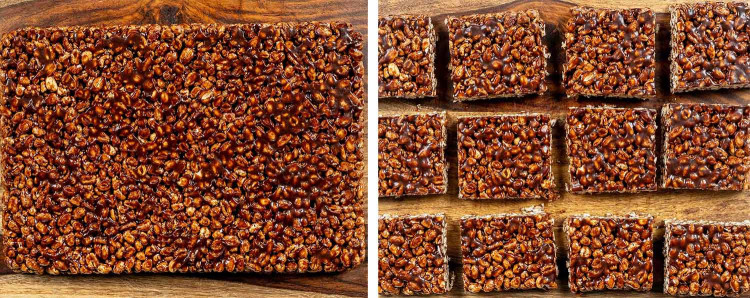
Let it cool completely at room temperature, about an hour. Don’t put it in the fridge to speed things up, because the cold sets the syrup too hard and you lose the chew. Then cut into squares.
This is the number one problem and it’s almost always the boil.
You boiled the syrup too long. More than 2 minutes and the sugar moves into a firmer stage. Four minutes gives you something closer to toffee. Set a timer and trust it.
Your heat was too high. A rolling, aggressive boil cooks off water faster than a steady one, so even 2 minutes at a hard boil can overshoot. Medium heat, steady bubbling.
You refrigerated them. Cold sets the syrup much harder. Room temperature, always, even though the wait is annoying.
And if they’re falling apart instead, you’ve got the opposite problem. Either the syrup didn’t boil long enough to set, or you didn’t press the mixture firmly enough into the pan, or there was dry cereal left that never got coated.
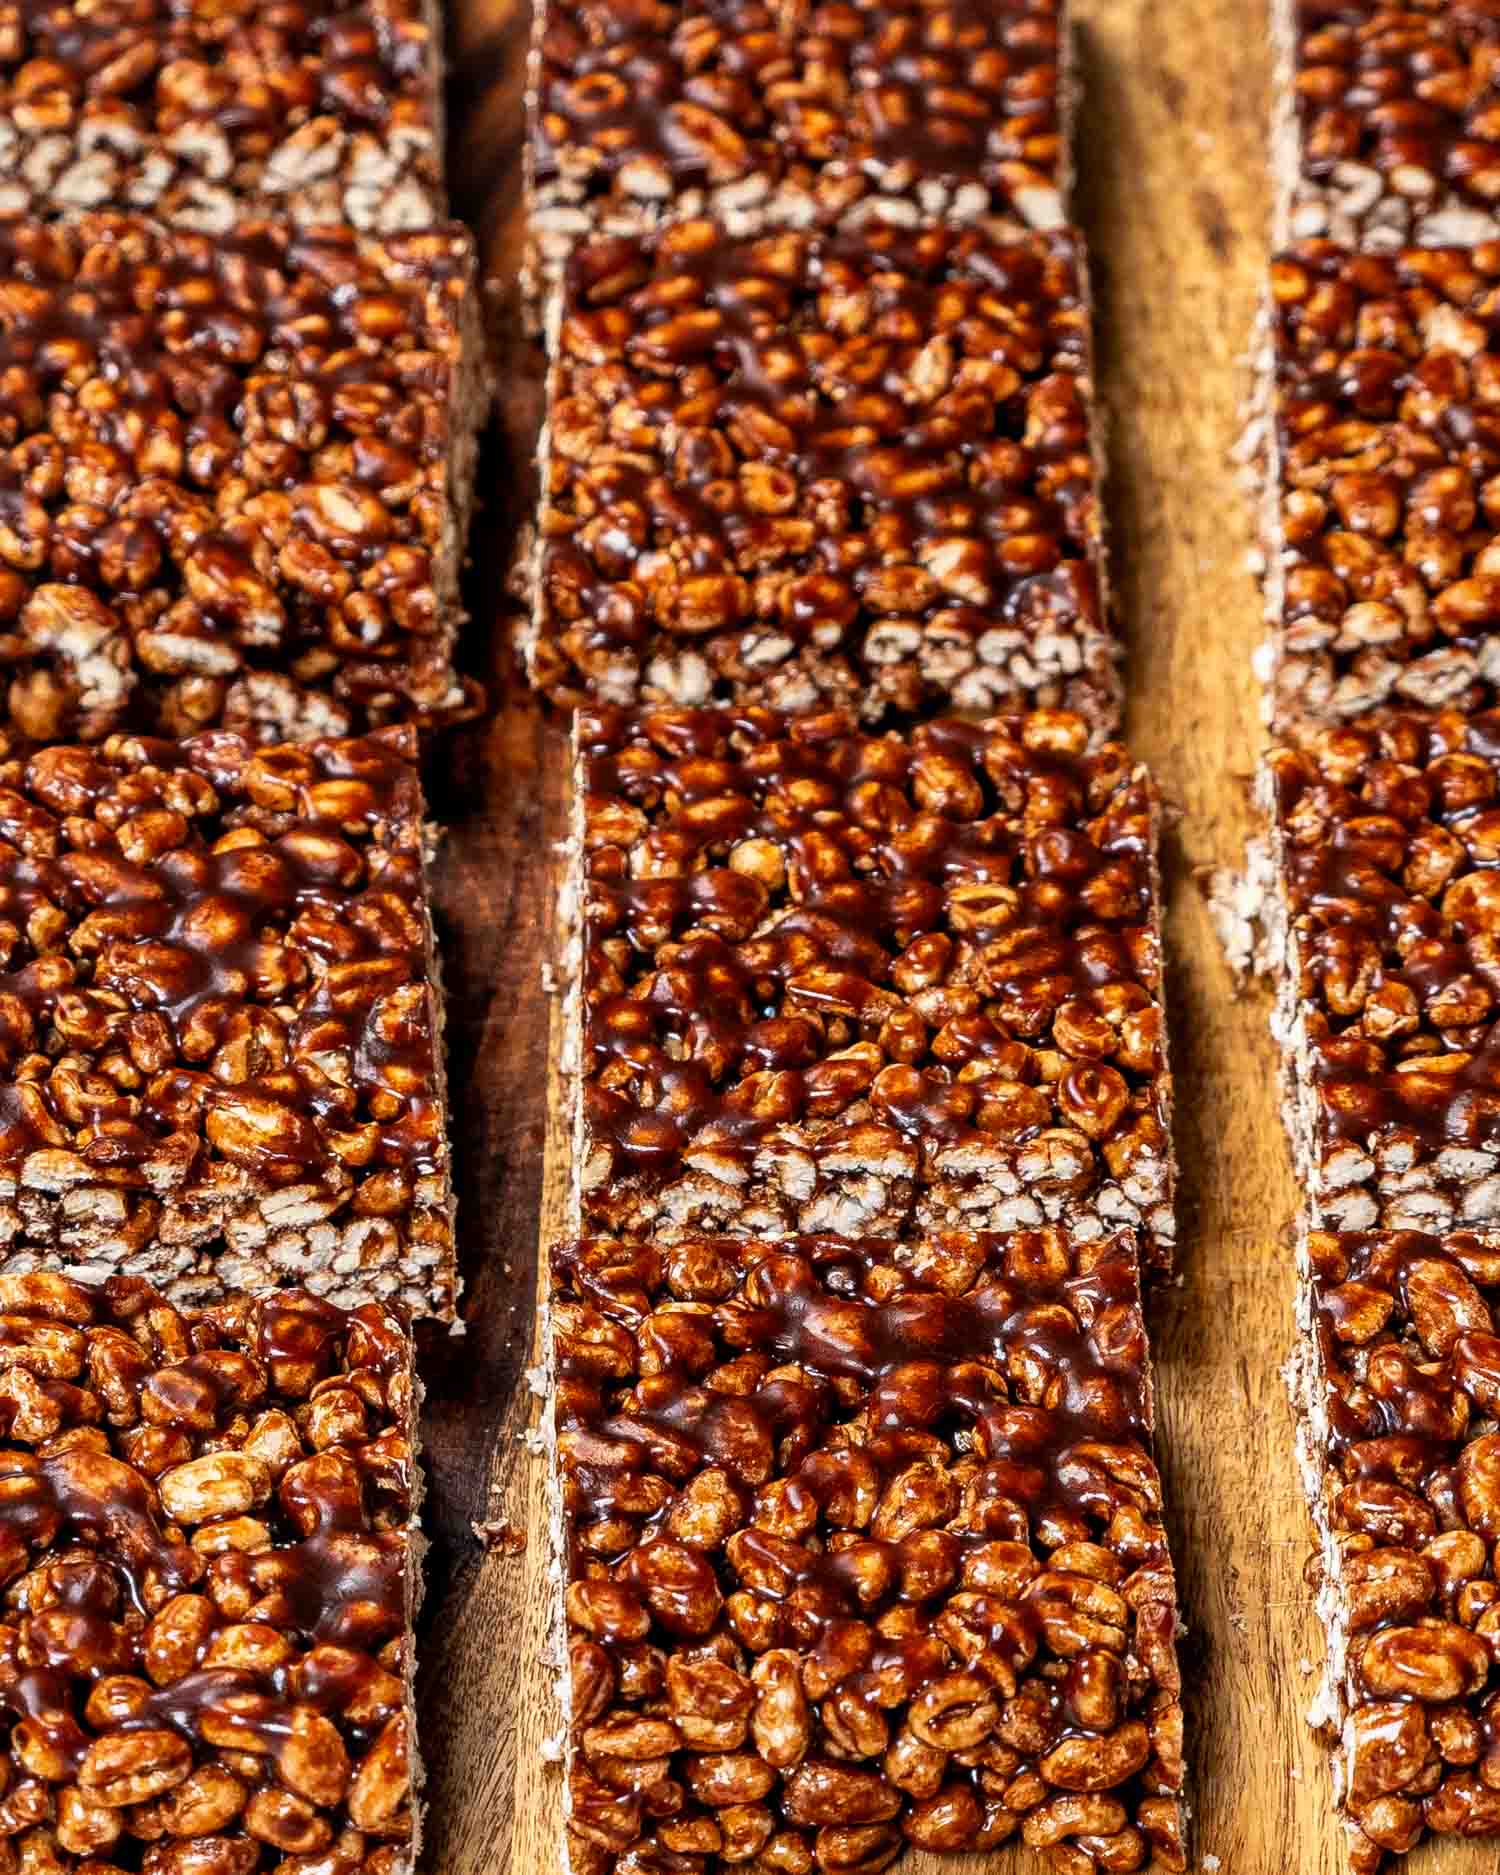
- Peanut butter. Stir ½ cup of smooth peanut butter into the syrup off the heat along with the vanilla. This is a very popular prairie variation and it’s excellent.
- Chocolate topped. Melt a cup of chocolate chips and spread it over the pressed squares before they set. Makes them richer and considerably messier.
- Marshmallow. Some families add a cup of mini marshmallows to the cereal before the syrup goes on. They melt into pockets of extra chew.
- Gluten free. Puffed rice instead of puffed wheat. Lighter and crispier, and everyone can eat them.
- Brown sugar. Swap the granulated sugar for brown. Chewier, with more of a caramel note underneath the chocolate.

Room temperature: an airtight container for about a week. They actually improve on day 2, once the syrup has fully settled into the cereal.
Don’t refrigerate them. Cold makes them hard and you can’t undo it. The counter is the right place.
Freezer: up to 2 months. Layer them between sheets of parchment so they don’t fuse into one large block, then thaw at room temperature.
For lunchboxes: cut them small and wrap individually. They hold up all day without going soft or sticky, which is exactly why they’ve been in prairie lunch bags for generations.
Before You Begin! If you make this, please leave a review and rating letting us know how you liked this recipe! This helps our business thrive & continue providing free recipes.
These Puffed Wheat Squares are the Canadian prairie classic, also known as puffed wheat cake. Chewy, chocolatey, and made with 6 ingredients and no oven. The trick is boiling the syrup for exactly 2 minutes, which is what keeps them soft instead of rock hard.
- 8 cups puffed wheat cereal
- ½ cup butter (unsalted)
- 1 cup light corn syrup
- 1 cup granulated sugar
- ¼ cup unsweetened cocoa powder
- 1 teaspoon vanilla extract
Before You Begin! If you make this, please leave a review and rating letting us know how you liked this recipe! This helps our business thrive & continue providing free recipes.
-
In a large mixing bowl, measure out 8 cups of puffed wheat cereal and set it aside.
-
In a medium saucepan over medium heat, melt the butter. Once melted, add the corn syrup, granulated sugar, and cocoa powder. Stir constantly until the mixture comes to a boil. Let it boil for about 2 minutes without stirring.

-
Remove the saucepan from the heat and stir in the vanilla extract. Be careful as the mixture may bubble up.

-
Immediately pour the hot syrup over the puffed wheat cereal. Stir with a large spoon until all the puffed wheat is coated with the syrup.

-
Grease a 9×13-inch baking pan or line it with parchment paper. Transfer the puffed wheat mixture to the pan and press down firmly and evenly.
-
Allow the puffed wheat squares to cool completely at room temperature, about 60 minutes. Once cooled, cut into squares and serve.
- Boil the syrup for exactly 2 minutes. Set a timer. Longer and the sugar sets too firm, which is why some squares come out hard enough to break a tooth.
- Medium heat, steady boil. A hard aggressive boil cooks off water faster and can overshoot even in 2 minutes.
- Work fast once the syrup is done. Have the cereal measured and the pan ready before you start, because it sets quickly.
- Press firmly into the pan. Loosely pressed squares crumble when you cut them. Butter your hands or press through parchment.
- Cool at room temperature, not in the fridge. Cold sets the syrup too hard and you lose the chew.
- Fresh cereal only. Stale puffed wheat gives you a soft, disappointing texture.
- Gluten free: use puffed rice instead of puffed wheat.
- Better on day 2, once the syrup has settled into the cereal.
Serving: 1servingCalories: 360kcal (18%)Carbohydrates: 73g (24%)Protein: 4g (8%)Fat: 9g (14%)Saturated Fat: 5g (31%)Polyunsaturated Fat: 1gMonounsaturated Fat: 2gTrans Fat: 0.3gCholesterol: 20mg (7%)Sodium: 255mg (11%)Potassium: 183mg (5%)Fiber: 6g (25%)Sugar: 43g (48%)Vitamin A: 676IU (14%)Vitamin C: 5mg (6%)Calcium: 97mg (10%)Iron: 13mg (72%)
Notice: Nutrition is auto-calculated for your convenience. Where relevant, we recommend using your own nutrition calculations.
Frequently Asked Questions
Why are my puffed wheat squares hard?
Why are mine falling apart?
What’s the difference between puffed wheat squares and puffed wheat cake?
Can I use puffed rice instead?
Can I substitute the corn syrup?
Where do puffed wheat squares come from?
Can I make them ahead?