This post may contain affiliate links. Please read my disclosure policy.
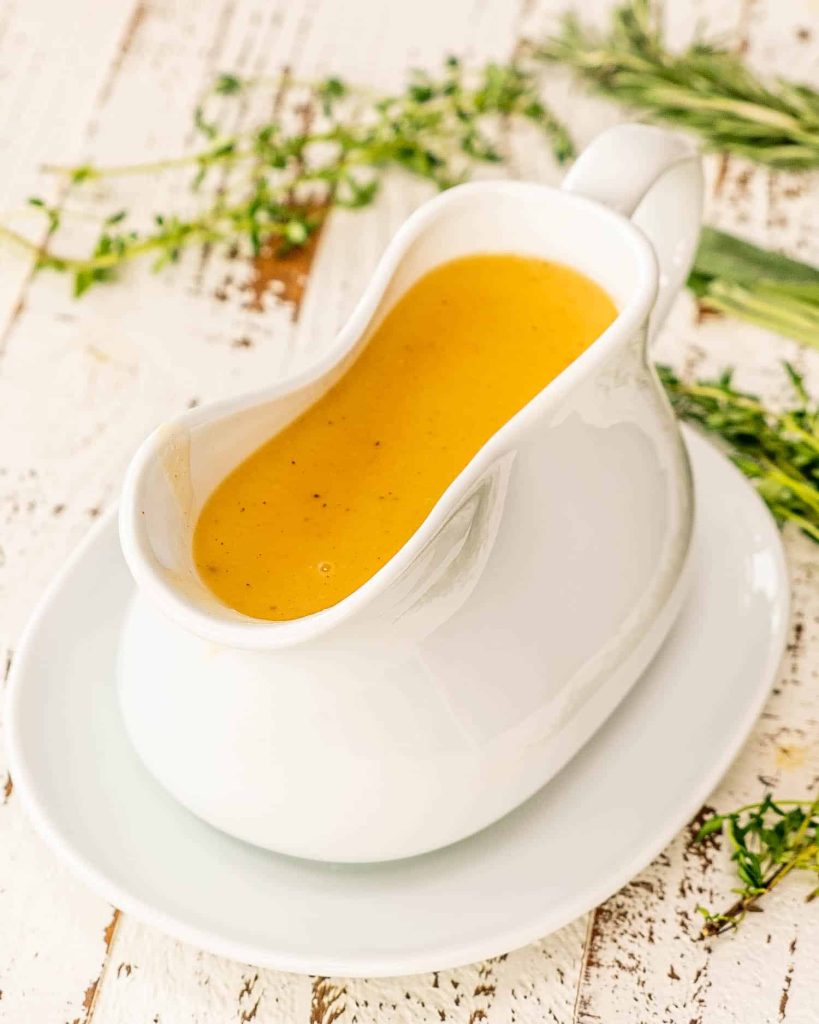
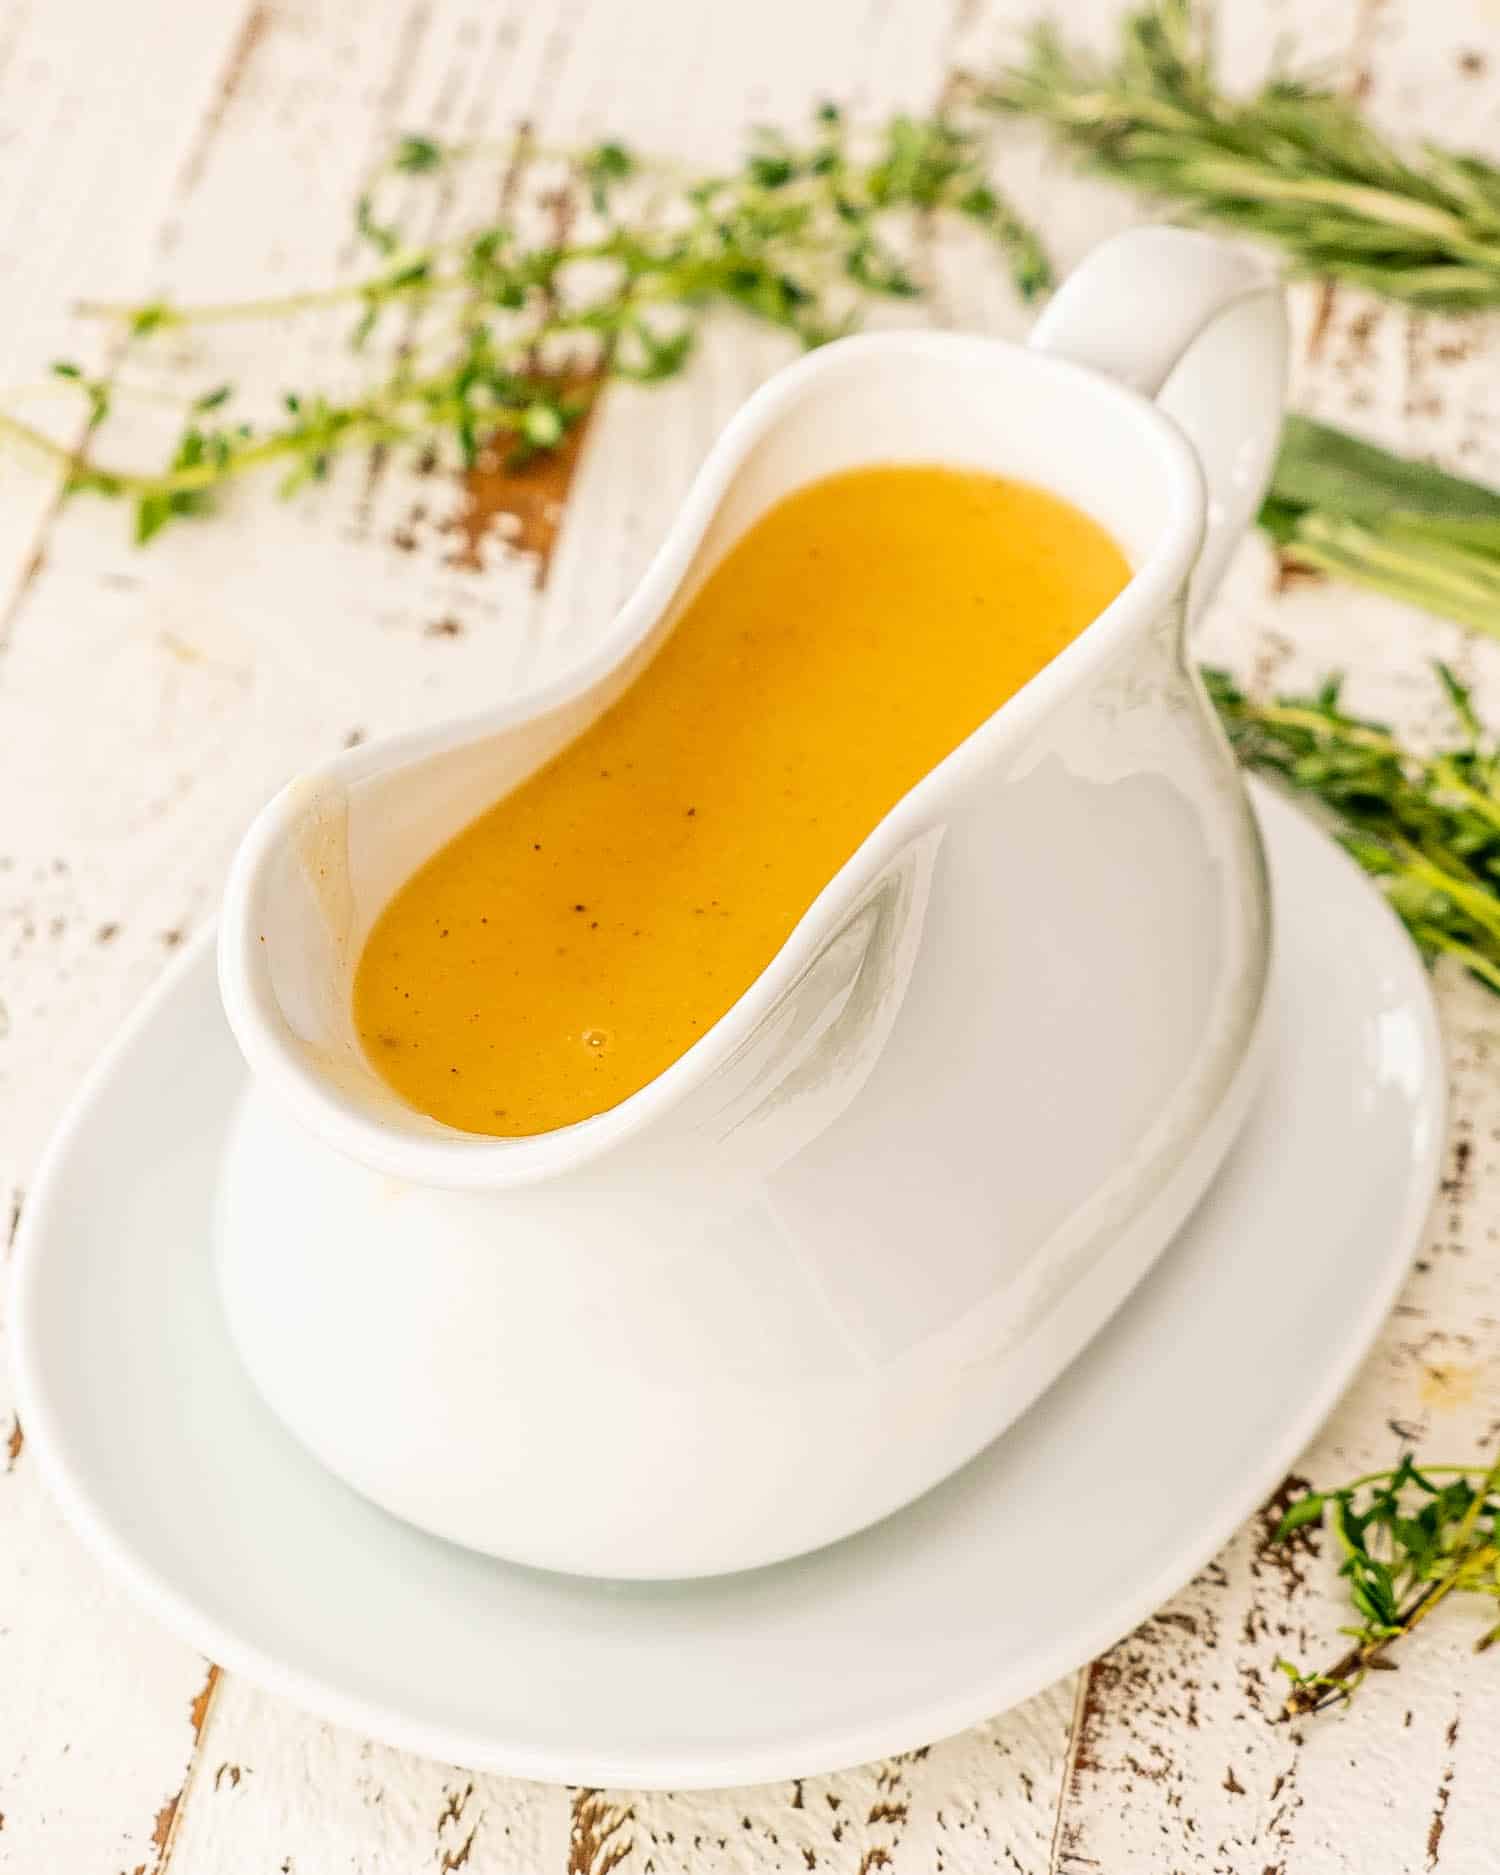
Rich, silky Homemade Turkey Gravy made with the drippings from your roasting pan, a simple butter and flour roux, and a few sprigs of fresh thyme. It’s smooth all the way through and thick enough to coat the back of a spoon. Spoon it over the turkey, the mashed potatoes and the stuffing, and always make more than you think you need.
Table of Contents

I’ll be honest with you about gravy. It’s my favorite thing on the Thanksgiving table and it isn’t even a dish, it’s a sauce, and I don’t care. I would happily eat it with a spoon.
What makes this one taste so good is the drippings. All that dark sticky stuff in the bottom of the roasting pan is pure concentrated turkey, and it goes straight into the pot. Butter and flour thicken it, warm broth stretches it out, a few sprigs of thyme go in for the smell, and straining it at the end means it pours silky and glossy with nothing lumpy in it.
Rich, deeply savory, and thick enough to coat the back of a spoon the way gravy is supposed to.
And make a big batch. I always do and I’d still take more.

- Turkey drippings (1 cup, fat separated): Everything good about this gravy comes from here. Separate the fat off the top and use the dark juices underneath, which is where all that roasted turkey flavor ends up.
- Chicken or turkey broth (4 cups, low sodium): Low sodium, because this simmers down and gets saltier as it goes, and the drippings are already salty on their own. Turkey broth if your store carries it, chicken broth the rest of the time, and nobody will know the difference.
- All purpose flour (½ cup): Half of your roux. This much thickens 5 cups of liquid into gravy you can actually pour.
- Unsalted butter (½ cup): The other half, same amount as the flour. Unsalted again, for the same reason as the broth.
- Salt and pepper, to taste: Right at the end, once it’s simmered down. Season it at the start and it’ll be too salty by the time it’s finished.
- Fresh herbs (thyme, rosemary or sage): Whole sprigs, in with the broth and out before you serve. Sage is the most Thanksgiving of the three. Thyme is the one I keep reaching for.
Pour everything out of the roasting pan into a heatproof measuring cup and then walk away for 10 minutes. The fat floats up all on its own, and you’ll end up with a pale greasy layer on top and the good dark juices sitting underneath.
Spoon that fat off and what’s left is your cup of drippings.
If you’re in a hurry, stick the measuring cup in the freezer for 15 minutes and the fat firms up enough to lift off in one piece. Or pour the drippings into a zip top bag, let them settle, snip a tiny bit off a bottom corner and let the juices run out into your cup while the fat stays behind. That one feels like a magic trick and I enjoy it every time.
While you’re at it, don’t waste the brown bits welded to the roasting pan. Put the pan over low heat, pour in a cup of your broth, and scrape the bottom with a wooden spoon until it all lifts off. That liquid is the most turkey flavored thing in your kitchen and it goes in with the drippings.
Short on drippings? Top it up with broth. Got extra? Use it, and hold back the same amount of broth.

A roux is equal parts butter and flour cooked together, and it’s what turns broth into gravy. Here it’s ½ cup of each, which handles about 5 cups of liquid.
Keep it pale. Two or 3 minutes of whisking is plenty, just enough to cook off the raw flour taste. A darker roux has a lovely toasty flavor, but it loses thickening power the longer it cooks, so if this one goes brown on you the gravy will come out thinner than you wanted.
And warm the broth before it goes in. I know it’s another pan to wash but I do it every single time, because cold liquid hitting a hot roux seizes up into little flour pebbles and then you’re standing there whisking and swearing with 20 minutes to go.
Set up your strainer: Put a sieve over a large bowl and leave it sitting on the counter. You’ll pour the finished gravy through it, and finding it now is much easier than hunting for it later with a hot pan in your hand.
Separate the drippings: Collect the drippings from the roasting pan and separate the fat from the liquid. That dark liquid underneath is your base.
Warm the broth: Heat the broth in a saucepan over low heat and leave it there to stay warm.

Make the roux: In a separate large saucepan or skillet, melt the butter over medium heat and whisk the flour in gradually until it’s smooth. Stir for 2 to 3 minutes, stopping before it takes on any color.

Add the liquid: Pour the warm broth in slowly, whisking the whole time. It’ll look thick and claggy at first and then loosen as you go, so just keep pouring. Then in go the drippings and the herb sprigs.

Simmer it: Up to a boil, then down to low, and let it bubble away until it thickens. You want gravy that coats the back of a spoon and leaves a trail when you run your finger through it. Now season with salt and pepper.

Strain it: Through the sieve into your bowl. This catches the herb stems and anything lumpy and it takes about 20 seconds, and it’s the difference between good gravy and gravy people remember.
Serve it hot, with the turkey and everything else on the table,
Thin gravy just means there’s more liquid than the flour can handle, and you’ve got 3 ways out.
- Let it simmer longer with the lid off. Water cooks away, the gravy tightens up, and the flavor gets better at the same time.
- Whisk in a cornstarch slurry. Mix 1 tablespoon of cornstarch into 2 tablespoons of cold water until it’s completely smooth, then pour it in while whisking and let it bubble for a minute. Cold water first, always. Cornstarch dropped straight into hot gravy turns into lumps that will not whisk out, ask me how I know.
- Make a bit more roux. Mash 2 tablespoons of soft butter together with 2 tablespoons of flour and whisk small pieces of it into the simmering gravy. This is how restaurants fix it, and it tastes better than cornstarch because, well, butter.
Gone too thick instead? Whisk in a splash of warm broth and carry on.
You don’t need drippings to make good gravy. Maybe you deep fried the turkey, maybe you bought just a breast, or maybe you’re making the gravy days early and the bird hasn’t been near the oven yet.
I’ve got a whole recipe for exactly this one: No Drippings Gravy. Same silky texture, built on butter, flour and good broth, with a few tricks in there to get the savory depth you’d normally pull out of the roasting pan.
If you’d rather stay here and wing it, use 5 cups of broth in place of the 4 cups plus the drippings, then stir in a teaspoon of soy sauce or Worcestershire sauce. Browning the butter before the flour goes in helps too.
Giblet gravy starts with that little bag of mystery parts tucked inside the turkey, which I know is not the most appetizing sentence I’ve ever written. Stay with me, because it makes the richest gravy of the lot.
- Get them going early, since they need about an hour. Put the neck, heart and gizzard in a saucepan with 5 cups of broth or water, half an onion, a stalk of celery and a bay leaf, and let it simmer gently for 45 minutes to an hour.
- Leave the liver out. It’s much stronger than the rest and it can turn the whole pot bitter. Some people add it in the last 10 minutes. I give mine to the dogs and they think I’m the best.
- Strain that liquid and use it as your broth, in place of the 4 cups. Your base now tastes like turkey before a single dripping has gone in.
- Pick the meat off the neck once it’s cool enough to handle and chop the heart and gizzard up small, then stir everything in after you’ve strained the gravy.
And if you grew up with chopped hard boiled egg in your giblet gravy, in it goes at the same time.

You can make the base up to 3 days ahead, and I’d encourage it, because gravy is the one job that always lands at the worst possible minute.
- Make it without the drippings, using the full 5 cups of broth. Cool it, then keep it in an airtight container in the fridge, or freeze it for up to 3 months.
- On the day, reheat it gently on the stove, whisking as it comes back to life. It sets firm in the fridge and loosens as it warms, which always looks alarming and never is. Whisk in the fresh drippings from the roasting pan, simmer a few minutes, and taste for salt.
- Keep some warm broth nearby to thin it back out, because it’ll be thicker cold than it was hot.
Five minutes of whisking while the turkey rests, and you’re done.
In the fridge it keeps 3 to 4 days in an airtight container. It sets almost solid when it’s cold, which is exactly what it’s supposed to do, so don’t panic.
In the freezer it keeps up to 3 months. Flour thickened gravy can look grainy or split when it thaws and I promise it isn’t ruined. Whisk it hard while it reheats and it comes right back together.
Reheat it on the stove over low heat with a whisk and a splash of broth. The microwave is fine too, in short bursts, whisking between each one.
Leftover gravy on mashed potatoes in the middle of January is one of the better things about having made a turkey.

Before You Begin! If you make this, please leave a review and rating letting us know how you liked this recipe! This helps our business thrive & continue providing free recipes.
This Turkey Gravy recipe starts with the drippings from your roast turkey and a simple butter and flour roux, then simmers down smooth and pourable. Strain it at the end for a silky finish, and the base can be made days ahead.
- 1 cup turkey drippings (from roast turkey)
- 4 cups chicken broth (low sodium, or turkey broth)
- ½ cup all-purpose flour
- ½ cup unsalted butter
- salt and pepper (to taste)
- fresh herbs (like thyme, rosemary or sage)
Before You Begin! If you make this, please leave a review and rating letting us know how you liked this recipe! This helps our business thrive & continue providing free recipes.
-
Place a large bowl under a sieve and set aside. This will be used to strain the gravy for a smoother texture.
-
After roasting your turkey, collect the drippings and separate the fat from the liquid. You’ll be using the liquid as the base for a flavorful gravy.
-
In a saucepan, warm 4 cups of chicken or turkey broth over low heat. This will be added to your roux later.
-
In a separate large saucepan or skillet, melt ½ cup butter over medium heat. Gradually whisk in ½ cup flour to form a roux. Stir constantly for about 2 to 3 minutes to cook out the raw flour taste, but be cautious not to let it brown.

-
Slowly add the warmed broth to the roux, stirring constantly to avoid lumps. Add in the 1 cup of turkey drippings you collected earlier. If you’re using fresh herbs, add them now.

-
Bring the mixture to a boil, then reduce the heat to low and simmer until the gravy has thickened. Season with salt and pepper to taste.

-
For a smoother texture, strain the gravy through a sieve into the bowl you prepared earlier.

-
Serve the gravy hot, alongside your delicious turkey and other Thanksgiving dishes.
- Turkey drippings. All the flavor comes from here, so don’t skip them. Separate the fat off the top and use the dark juices underneath, or the fat will float on the finished gravy.
- Broth. Chicken or turkey both work. Low sodium is best, since this reduces as it simmers and the drippings are already salty.
- Flour and butter. Equal amounts, and together they make the roux that thickens everything. For a gluten free version, whisk 4 tablespoons of cornstarch into ½ cup of cold broth and use that instead.
- Fresh herbs. Thyme, rosemary or sage, whole sprigs added with the broth and strained out at the end. Use whichever you like or a mix.
- Straining. Optional, but it catches any lumps and the herb stems, and it takes 20 seconds for much smoother gravy.
- Warm the broth before it goes in. Cold liquid hitting a hot roux is the main cause of lumpy gravy.
- Season at the end, after the gravy has simmered and reduced. Salting early is how it ends up too salty.
- No drippings? Use 5 cups of broth instead and add 1 teaspoon of soy sauce or Worcestershire sauce for depth.
- Make ahead. Make the base without the drippings up to 3 days ahead, or freeze up to 3 months. Reheat gently and whisk in the fresh drippings on the day.
- Keeps 3 to 4 days in an airtight container in the fridge, or 3 months in the freezer. Whisk while reheating if it looks separated.
Serving: 1servingCalories: 149kcal (7%)Carbohydrates: 7g (2%)Protein: 3g (6%)Fat: 12g (18%)Saturated Fat: 8g (50%)Polyunsaturated Fat: 1gMonounsaturated Fat: 3gTrans Fat: 0.5gCholesterol: 31mg (10%)Sodium: 37mg (2%)Potassium: 113mg (3%)Fiber: 0.2g (1%)Sugar: 0.2gVitamin A: 355IU (7%)Calcium: 9mg (1%)Iron: 1mg (6%)
Notice: Nutrition is auto-calculated for your convenience. Where relevant, we recommend using your own nutrition calculations.
Why is my gravy lumpy?
Why is my gravy oily?
My gravy is too salty. Can I fix it?
What can I add for more flavor?
Can I make this gluten free?
How much gravy do I need per person?
Can I use cornstarch instead of flour?