While I have several chili recipes on the website already, this Classic Homemade Beef Chili recipe is my absolute favorite. Like, it’s so good that I can’t stop going back for spoonfuls. Not only is this classic chili recipe super flavorful and easy, but it can be customized in a number of ways to make it your very own. With over 150 five-star reviews, this recipe has been a favorite among my readers for over 12 years, and with good reason. It’s a truly classic recipe that I still make all the time.

 Pin this recipe for later!
All recipes are rigorously tested in our Nashville Test Kitchen to ensure they are easy, affordable, and delicious.
“I’ve tried a lot of chili recipes, but I always return to this one! The flavors are so good and meld so well. 10/10 recipe for me!”
Amity
You can never go wrong with a hearty, warming bowl of chili! My recipe is just about as good as it gets, and it’s made with simple ingredients like ground beef, two types of beans, canned diced tomatoes, tomato paste, and a homemade blend of chili spices. But in my opinion, what makes this one so dependable is how much flavor you get for very little effort. I sauté the onion and garlic first, brown the beef in the same pot, then let everything simmer together for at least 30 minutes so the tomato paste, spices, beans, and tomatoes have time to really come together. It’s as easy as that!
I LOVE when readers tell me a recipe has become part of their regular rotation, and so many have told me over the years that this is their go-to chili because it’s quick and SO simple to make your own. The ingredients are familiar and easy to find, prep takes only 5 minutes, and one pot makes six hearty 1-cup servings (for about $1.86 each!). You can swap the protein, add extra vegetables, or change the toppings depending on what you already have. Several readers have even told me their kids loved it, too! It’s a low-effort dinner that doesn’t taste low effort, and the leftovers are perfect for lunch later in the week.
- Don’t skimp on the seasoning. Bland chili is often simply underseasoned. I use a measured blend of chili powder, cumin, cayenne, garlic powder, onion powder, salt, black pepper, and brown sugar instead of a pre-mixed packet. That lets me control the salt, spice, and flavor balance. I add the full amount listed, let it simmer, then taste again at the end before adjusting anything.
- Water is intentional here! While broth obviously adds flavor to recipes, this recipe is thoughtful and full of plenty of bold chili flavor, so I use just water instead. Using water keeps the cost down and gives me more control over the salt without leaving the chili short on flavor. Of course if you already have a carton of beef broth open, you can use it in place of the water, but I promise it isn’t necessary!
- Build the flavor in stages. I cook the onion and garlic until softened and fragrant before adding the beef, then let the beef brown before the tomatoes and beans go in. Those first few steps only take a little extra attention, but they give the finished chili a much fuller flavor than adding everything to the pot at once.
- Give it the full simmer. Keep the heat low once the lid goes on! You want a gentle simmer with small bubbles, not a hard boil. Stir it occasionally and give it at least 30 minutes so the flavors can meld and the sauce can thicken. If you let it cook longer (which you can! The flavors will only get better!) stir in a small splash of water if it starts getting too thick.
- Switch up the protein to fit your budget. Ground beef can get pretty pricey, so I’d rather you use the protein that makes the most sense for your budget that week! Ground turkey is an easy swap in this recipe, or you can follow my turkey chili recipe instead. Or if you want to skip the meat altogether, add another can of beans or make our vegetarian chili, which is hearty enough that you won’t miss the beef. And if you’re looking for a different cooking method too, my rice cooker chili is another easy, budget-friendly option!
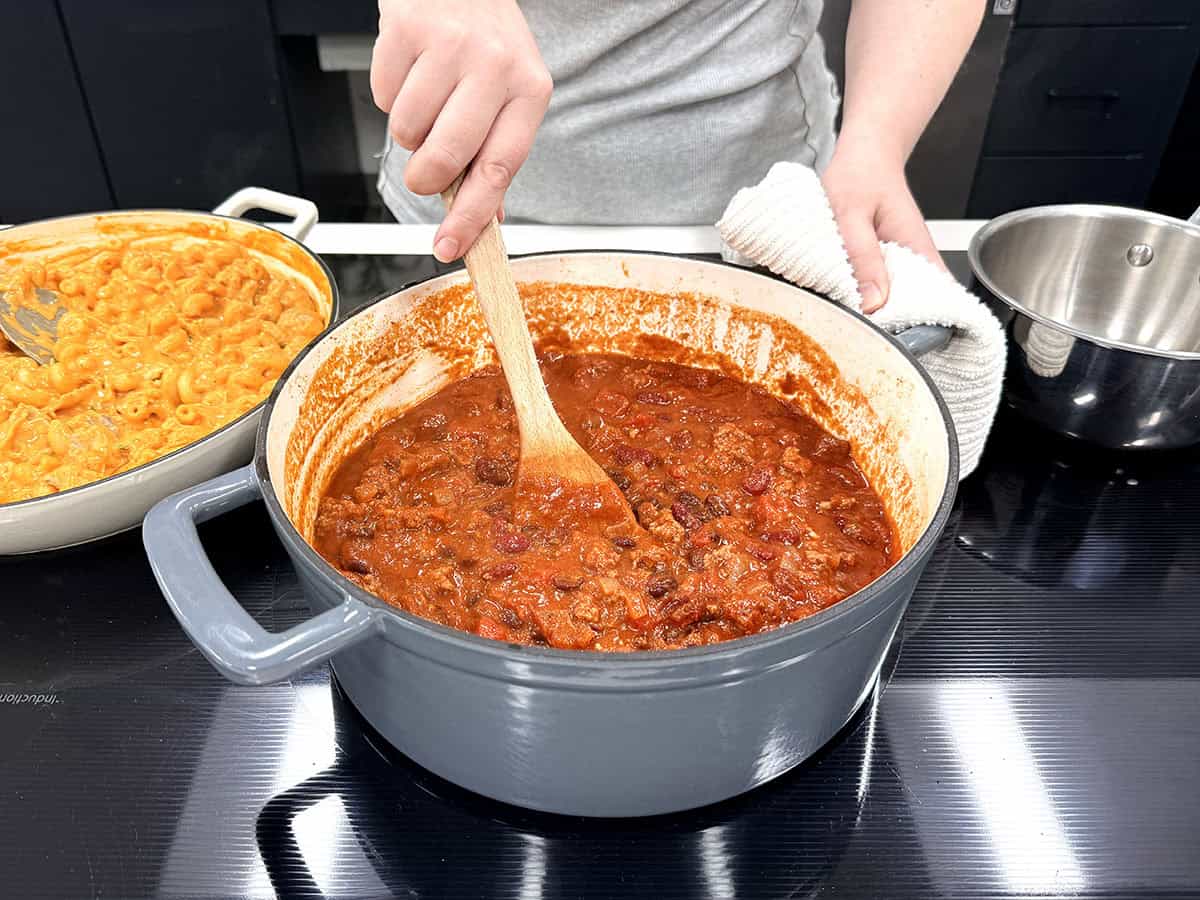
My favorite thing to serve with this homemade chili is my jalapeño cheddar cornbread and rice. That cheesy, slightly spicy cornbread is perfect for scooping up every last bit from the bowl. If that sounds too spicy, try my homestyle cornbread instead. A few readers have mentioned that they love this recipe with cheddar drop biscuits, too. Adding a simple bread on the side helps stretch those six 1-cup servings when I’m feeding bigger appetites. And if I’m serving this to a group, I like putting out a few toppings so everyone can finish their own bowl exactly how they want it!
You can also spoon the chili over a baked potato for an extra-hearty meal that’s especially good for stretching leftovers into another dinner. Or turn it into chili cheese nachos by layering the chili over tortilla chips with plenty of shredded cheese, then pile on sour cream, guacamole, sliced jalapeños, diced red onion, or whatever toppings you like best.


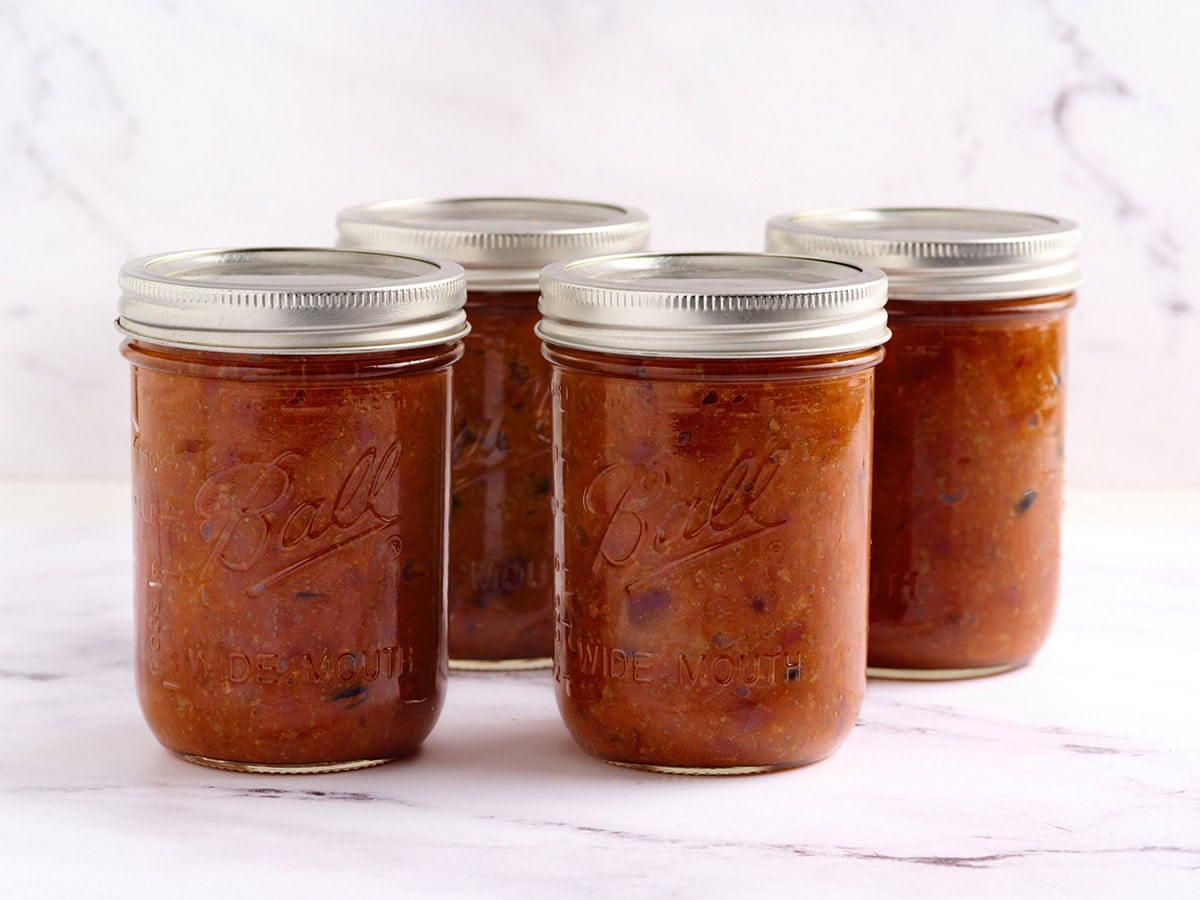
This chili is the ultimate meal prep food because the recipe makes a big batch, the leftovers taste even better the next day (as the spices have even more time to develop and blend into the sauce!), and it’s extremely freezer-friendly! I like dividing the leftovers into 1-cup portions, so I have easy lunches or dinners ready to reheat throughout the week. Keep toppings and breads separate, then each portion can feel a little different depending on what you add when you reheat it.
I usually just reheat individual portions in the microwave for 1-2 minutes, stirring halfway through, until piping hot throughout (165°F).
Customizing my bowl of chili is my favorite part. I can eat this all week and no two bowls will be the same! Here are some ideas from myself and our readers on what to put in and on top of your bowl:
- Add other liquids: If you want to experiment, replace some of the water with vegetable juice (like V8), dark beer, or beef broth to change the flavor. Add a dash of soy sauce, Worcestershire sauce, red wine, hot sauce, apple cider vinegar, or chipotle chilis in adobo sauce to amp things up.
- Customize the spices: Try using chipotle powder or smoked paprika for a smokier flavor. Add a little cocoa or some instant coffee crystals for a richer, earthier flavor, or a dash of cinnamon for warmth. For a change of pace, try a little tarragon or some curry powder.
- Add extra veggies: If you’re looking to add more flavor, color, and nutrients, try adding zucchini, bell pepper, poblano peppers, jalapeños, mushrooms, corn, pumpkin, sweet potato, or butternut squash.
- Get creative with toppings: Browse your pantry, fridge, or freezer for any fun toppings you might have, like:
- Cheddar or Monterey Jack cheese
- Sour cream or cottage cheese
- Green onions, cilantro, or diced red onion
- Diced avocado
- Crushed tortilla chips or Saltine crackers
- Pickled jalapeños
This is the BEST homemade chili recipe. Chili is the ultimate comfort food and is made with simple ingredients like ground beef, beans, and tomatoes.
Step-by-step photos can be seen below the recipe card.
Author: Beth Moncel

- 2 Tbsp olive oil ($0.35)
- 1 (290 g) yellow onion (small dice, (about 2 cups) $0.74)
- 2 (1 Tbsp) garlic cloves (minced, $0.12)
- 1 lb. (450 g) ground beef ($5.94*)
- 15.5 oz. can (439 g) kidney beans (one can, (drained & rinsed) $0.86)
- 15.25 oz. can (432 g) black beans (one can, (drained & rinsed) $0.92)
- 14.5 oz. can (411 g) diced tomatoes (with juices, (one can) $0.96**)
- 6 oz. can (170 g) tomato paste ($0.86)
- 1 cup (250 ml) water ($0.00)
Chili Seasoning
- 1 Tbsp chili powder ($0.18***)
- 1 tsp ground cumin ($0.04)
- ¼ tsp cayenne powder ($0.02)
- ¼ tsp garlic powder ($0.02)
- ½ tsp onion powder ($0.03)
- ½ Tbsp brown sugar ($0.02****)
- 1 tsp salt ($0.04)
- ½ tsp black pepper (freshly cracked, $0.08)
-
Gather and prepare all ingredients.
-
Dice the onion and mince the garlic. Add both to a large pot with the olive oil and cook over medium heat until they are soft and translucent.
-
Add the ground beef to the pot and continue to sauté until the beef is fully browned.
-
Drain and rinse the beans and add them to the pot along with the diced tomatoes, tomato paste, 1 cup/250ml water, and all of the ingredients for the chili seasoning. Stir until well combined.
-
Place a lid on the pot and allow it to simmer over a low flame for at least 30 minutes, stirring occasionally (the flavor gets better the longer it simmers).
-
Give the chili one final taste, adjust the salt or seasonings if needed, then serve hot with your favorite toppings.
See how we calculate recipe costs here.
**If you don’t likechunks of tomato, you can substitutecrushed tomatoes, which have a much finer texture.
***Thechili powderI use is a mild American-style blend of dried chiles and other spices. It isn’t the same as pure ground chile pepper, so check your label if you’re unsure.Click herefor an example. You can also use myhomemade chili seasoning.
****The½ Tbsp brown sugarisn’t here to make the pot taste sweet. It helps balance the tomatoes and all those bold spices.You can leave it outfor a slightly sharper, more spice-forward flavor, or substitute the same amount ofgranulated sugar, honey, maple syrup, or agave.
Adjust the heat to your taste: The ¼ teaspoon cayenne adds warmth without making it overwhelmingly spicy. For a milder pot, reduce it or leave it out. For more heat, add extra cayenne, crushed red pepper, hot sauce, or fresh or canned jalapeños. If a bowl ends up too spicy, sour cream, shredded cheese, or Greek yogurt can help cool it down. If the whole pot is too hot, I’d add extra unseasoned beans or tomatoes to spread the heat across more food!
Sodium note: I always drain and rinse both cans of beans before adding them to the pot. This removes the canning liquid and gives me a little more control over the final salt level. Because canned beans and tomatoes vary by brand, taste after simmering before adding any extra salt. You can also use no-salt-added or lower-sodium canned tomatoes and beans if needed.
Serving: 1CupCalories: 398kcal (20%)Carbohydrates: 30g (10%)Protein: 23g (46%)Fat: 21g (32%)Sodium: 468mg (20%)Fiber: 10g (42%)
The nutrition data is automatically calculated using all ingredients listed on the recipe card, including any listed as optional. Percentages are of daily value.
 Have you tried this recipe?Mention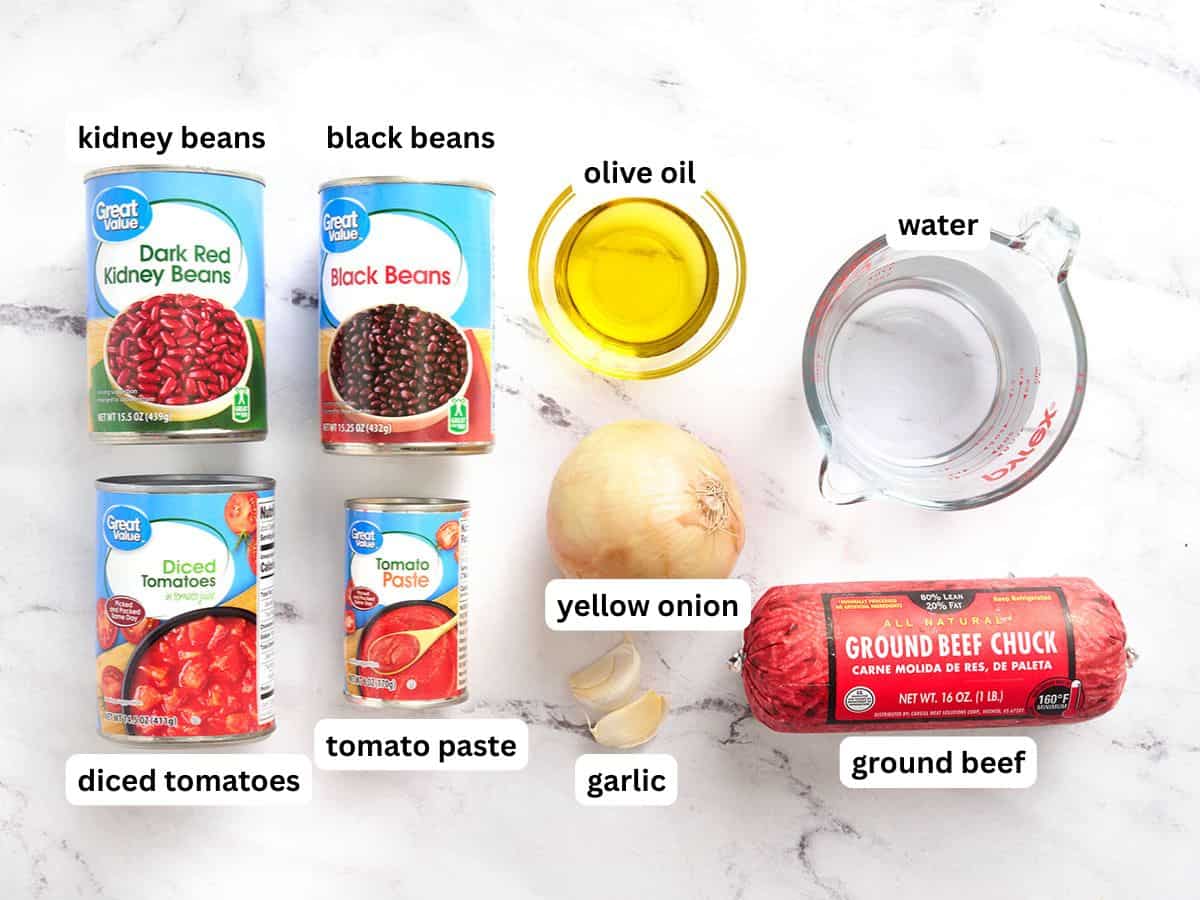
Gather your ingredients: You’ll need 2 Tbsp olive oil, 1 yellow onion (290g, diced small), 2 minced garlic cloves (1 Tbsp), 1 lb. ground beef (450g), one 15.5 oz. can kidney beans (439g), one 15.25 oz. can black beans (432g), one 14.5 oz. can diced tomatoes (411g), one 6 oz. can tomato paste (170g), and 1 cup water (250 ml).
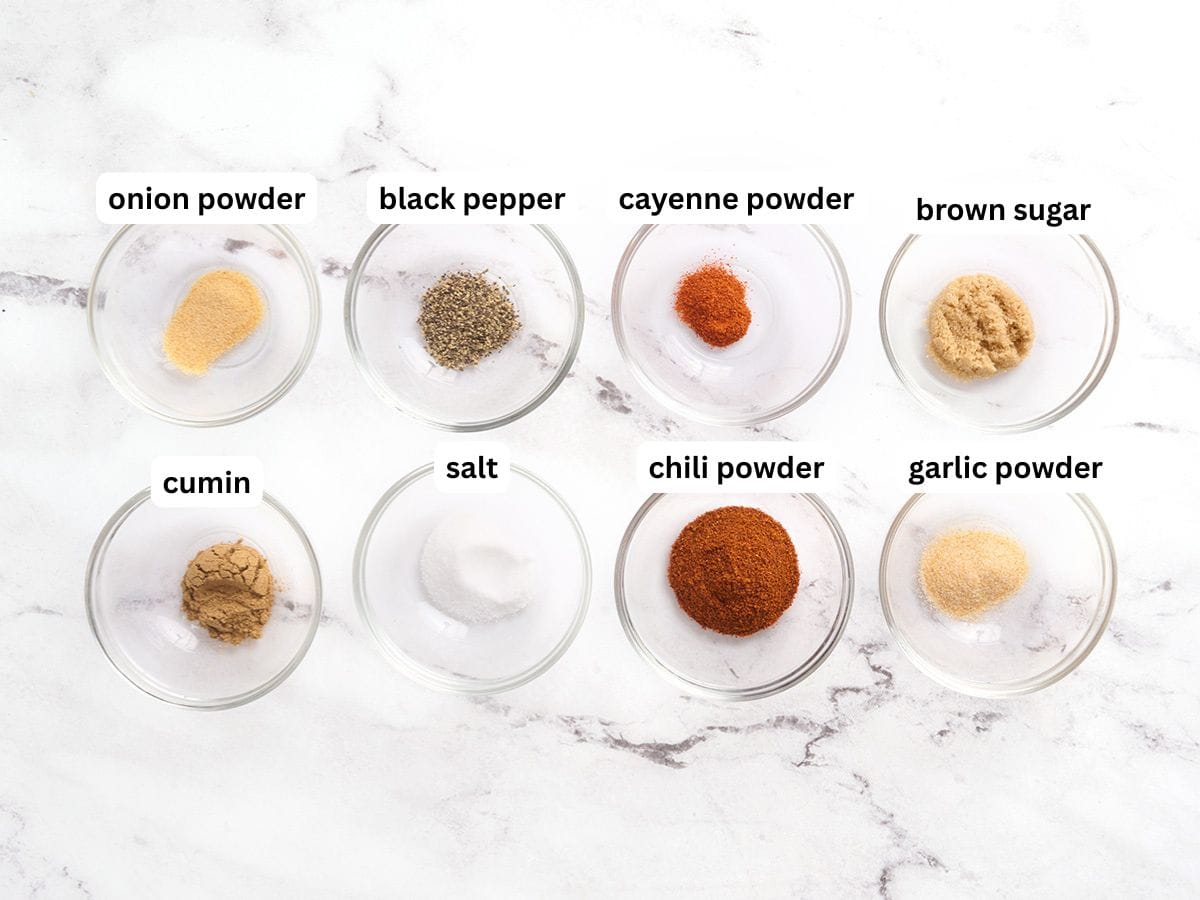
Gather your seasoning ingredients: You’ll need 1 Tbsp chili powder,1 tsp ground cumin, ¼ tsp cayenne powder, ¼ tsp garlic powder, ½ tsp onion powder, ½ Tbsp brown sugar, 1 tsp salt, and ½ tsp black pepper.
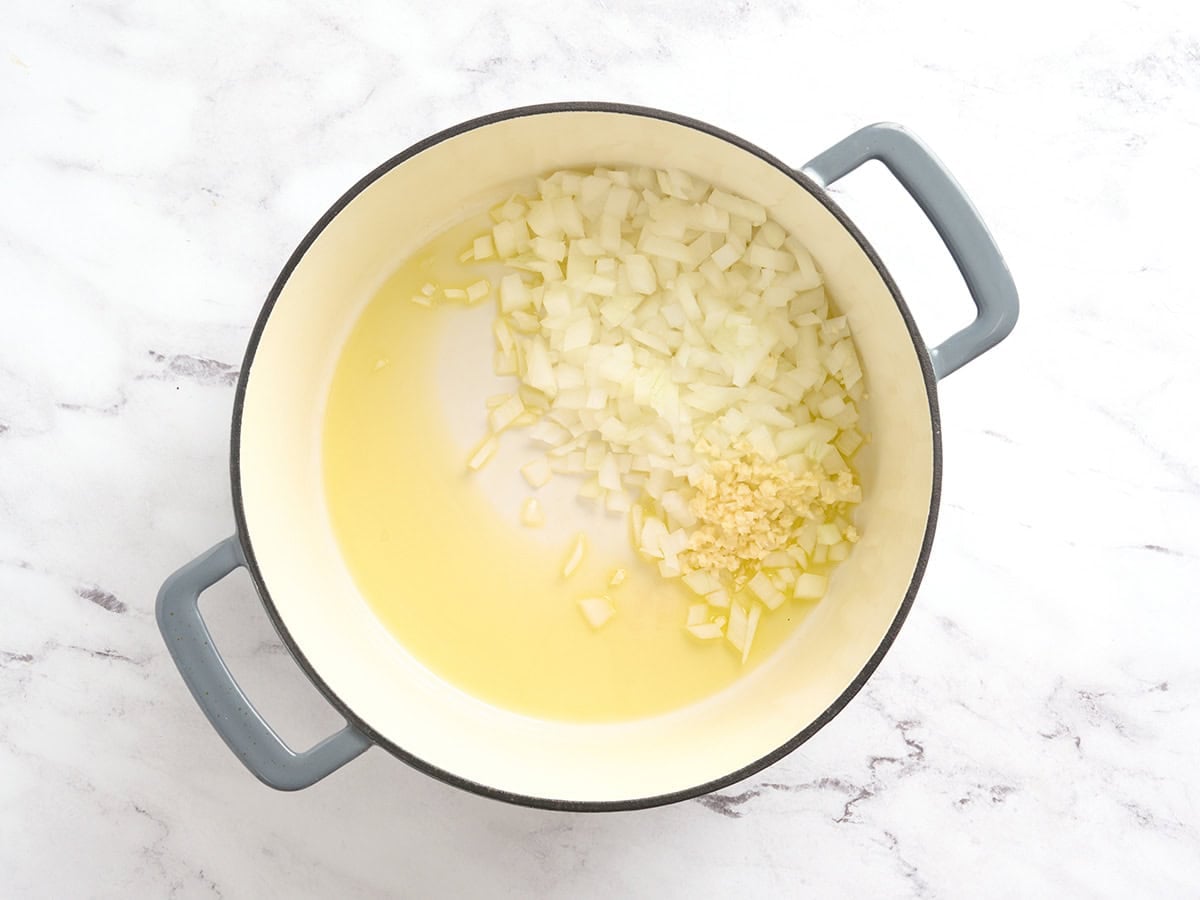
Sauté the aromatics: Add the 1 diced onion and 2 cloves of minced garlic to a Dutch oven or large pot with 2 Tbsp olive oil. Cook over medium heat until the onion is soft and translucent and the garlic smells fragrant.
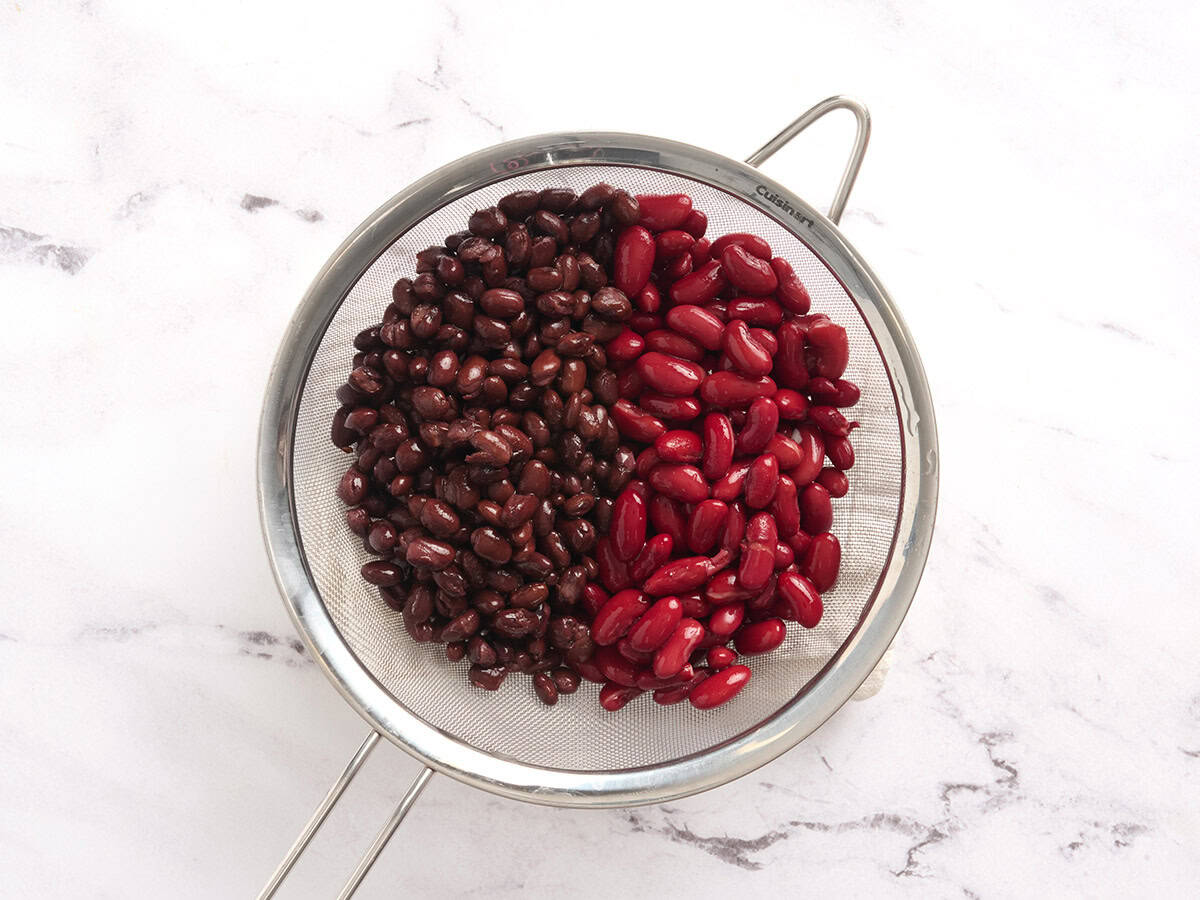
Drain and rinse beans: Meanwhile, drain and rinse a 15.5 oz. can kidney beans and 15.25 oz. can black beans to remove the salty canning water. Set aside for now.
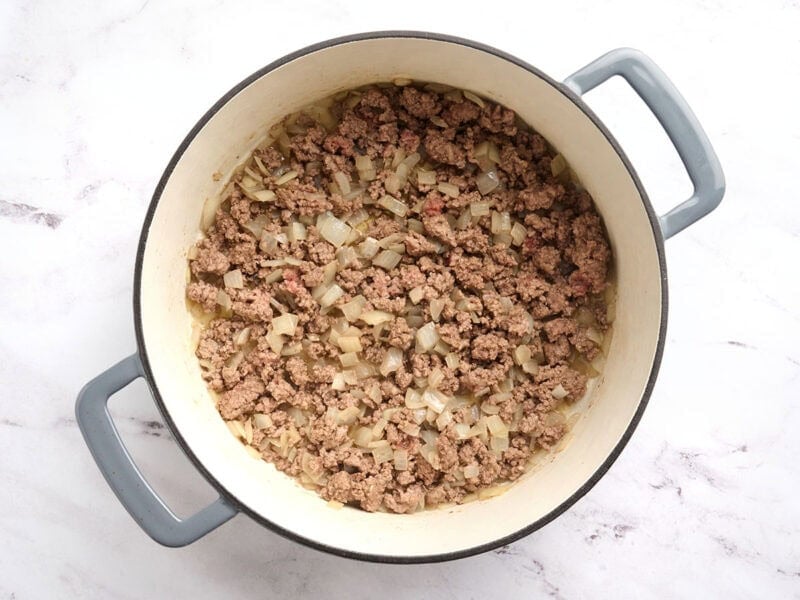
Brown the beef: Add 1 lb. (450g) ground beef to the onions and continue cooking, breaking it into small crumbles as it cooks, until fully browned and no pink remains.
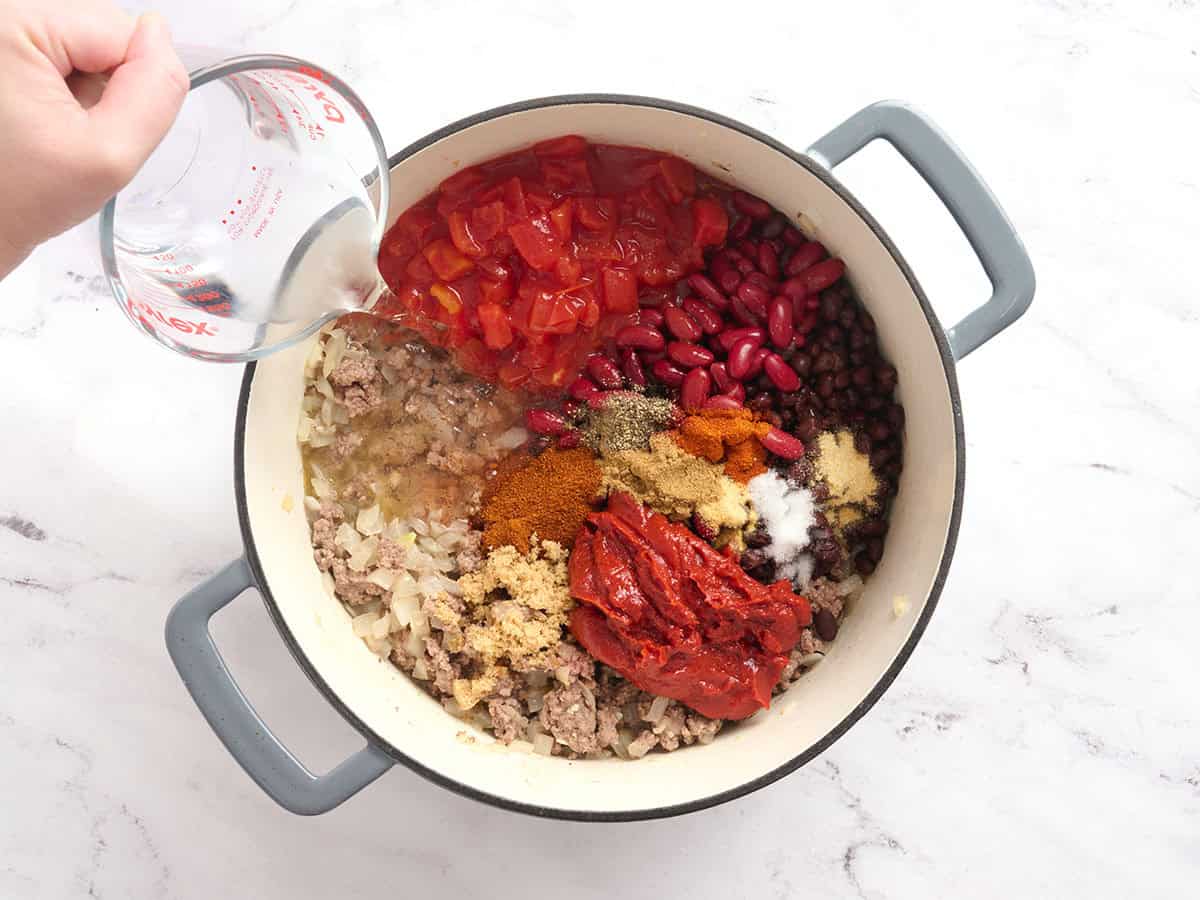
Add the beans and tomatoes: Add the drained and rinsed kidney beans and black beans, one 14.5oz. can diced tomatoes with the juices, one 6oz. can tomato paste, and 1 cup water to the pot. Then add all the chili seasoning spices (1 Tbsp chili powder, 1 tsp cumin, ¼ tsp cayenne, ¼ tsp garlic powder, ½ tsp onion powder, ½ Tbsp brown sugar, 1 tsp salt, and ½ tsp freshly cracked black pepper). Stir until the tomato paste is fully incorporated and no thick clumps remain.
If you don’t have all the ingredients to make your own seasoning, you can add a store bought packet of chili seasoning at this point instead.
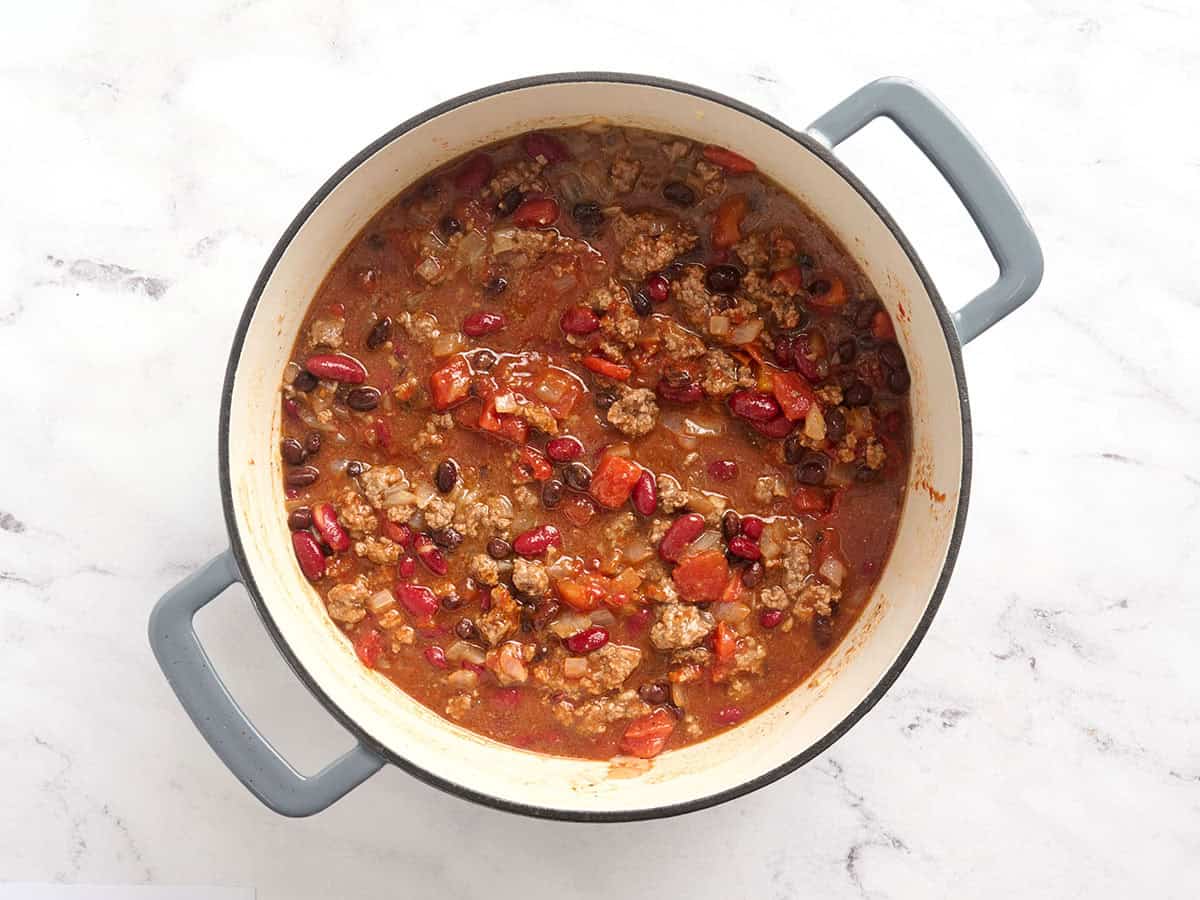
Simmer: Let the pot simmer for at least 30 minutes over low heat with a lid on top to allow the flavors to blend and for the tomato flavor to mellow, which reduces the acidity. If you have time, let it simmer longer.
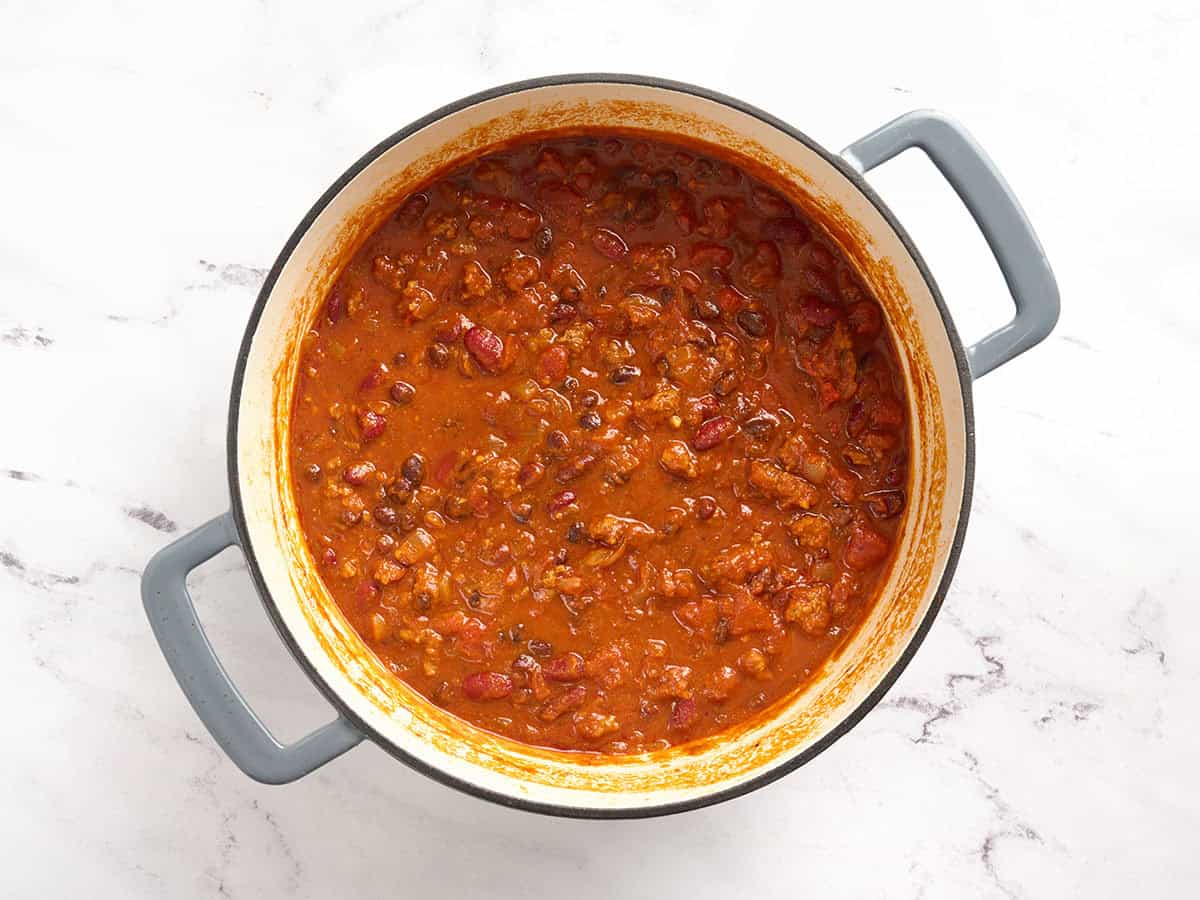
Taste and serve: Now your chili is done! This is one of those dishes that tastes better the longer it cooks (to a point). You’ll want to let it simmer for a minimum of 30 minutes, but it’s something that you can leave simmering gently for up to a couple of hours. If you do plan to let yours simmer for a longer period of time, make sure to put a lid on it so it doesn’t dry out. Check it occasionally to see if it is becoming dry, and if so, add a little water.
Give the chili one final taste and adjust the salt or heat if needed. The finished dish should be thick, hearty, and spoonable with the beans and beef evenly coated in the tomato sauce.
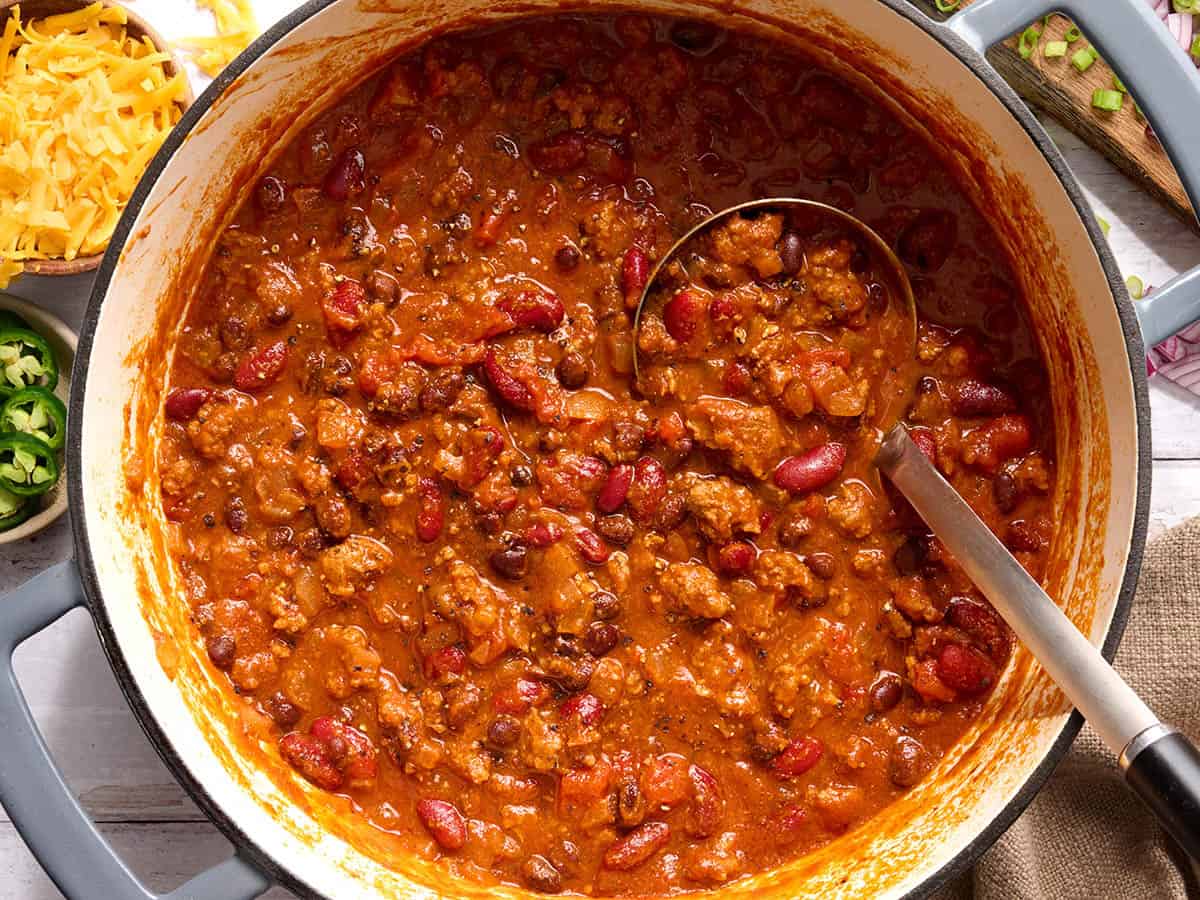
How easy was that? Now go crazy with the toppings. Look in your fridge for leftovers and see what fun things you can use to top your chili.
Let any leftovers cool, then transfer them to shallow, airtight containers and refrigerate them promptly. Store it without any toppings so the chili reheats evenly and ingredients like sour cream, cheese, guacamole, or jalapeños stay fresh. It’ll keep in the refrigerator for up to 3-4 days.
I’ll reheat individual portions in the microwave in 30 second to 1-minute intervals, stirring between each, until heated to 165°F throughout. You can also warm it in a saucepan over medium-low heat, stirring often. You may need to add a little water when reheating on the stovetop if it gets too thick.
Chili freezes really well for up to 3 months. I like freezing it in individual portions so I can thaw only what I need. Thaw overnight in the refrigerator, or use the defrost setting on your microwave, then reheat it using either of the methods above.
- Our budget-friendly Texas Chili skips the beans and goes big on smoky, chili-forward flavor with jalapeños, chipotles, and plenty of ground beef.
- My easy Creamy White Chicken Chili swaps the classic tomato base for a creamy white bean version that’s still cozy enough for chili night.
- This Cincinnati Chili is a totally different take, with warmly spiced meat sauce served over spaghetti and finished with classic toppings like shredded cheese and beans!
Our Classic Homemade Chili recipe was originally published 12/23/13. It was retested, reworked, and republished to be better than ever 9/16/26.