This post may contain affiliate links. Please read my disclosure policy.
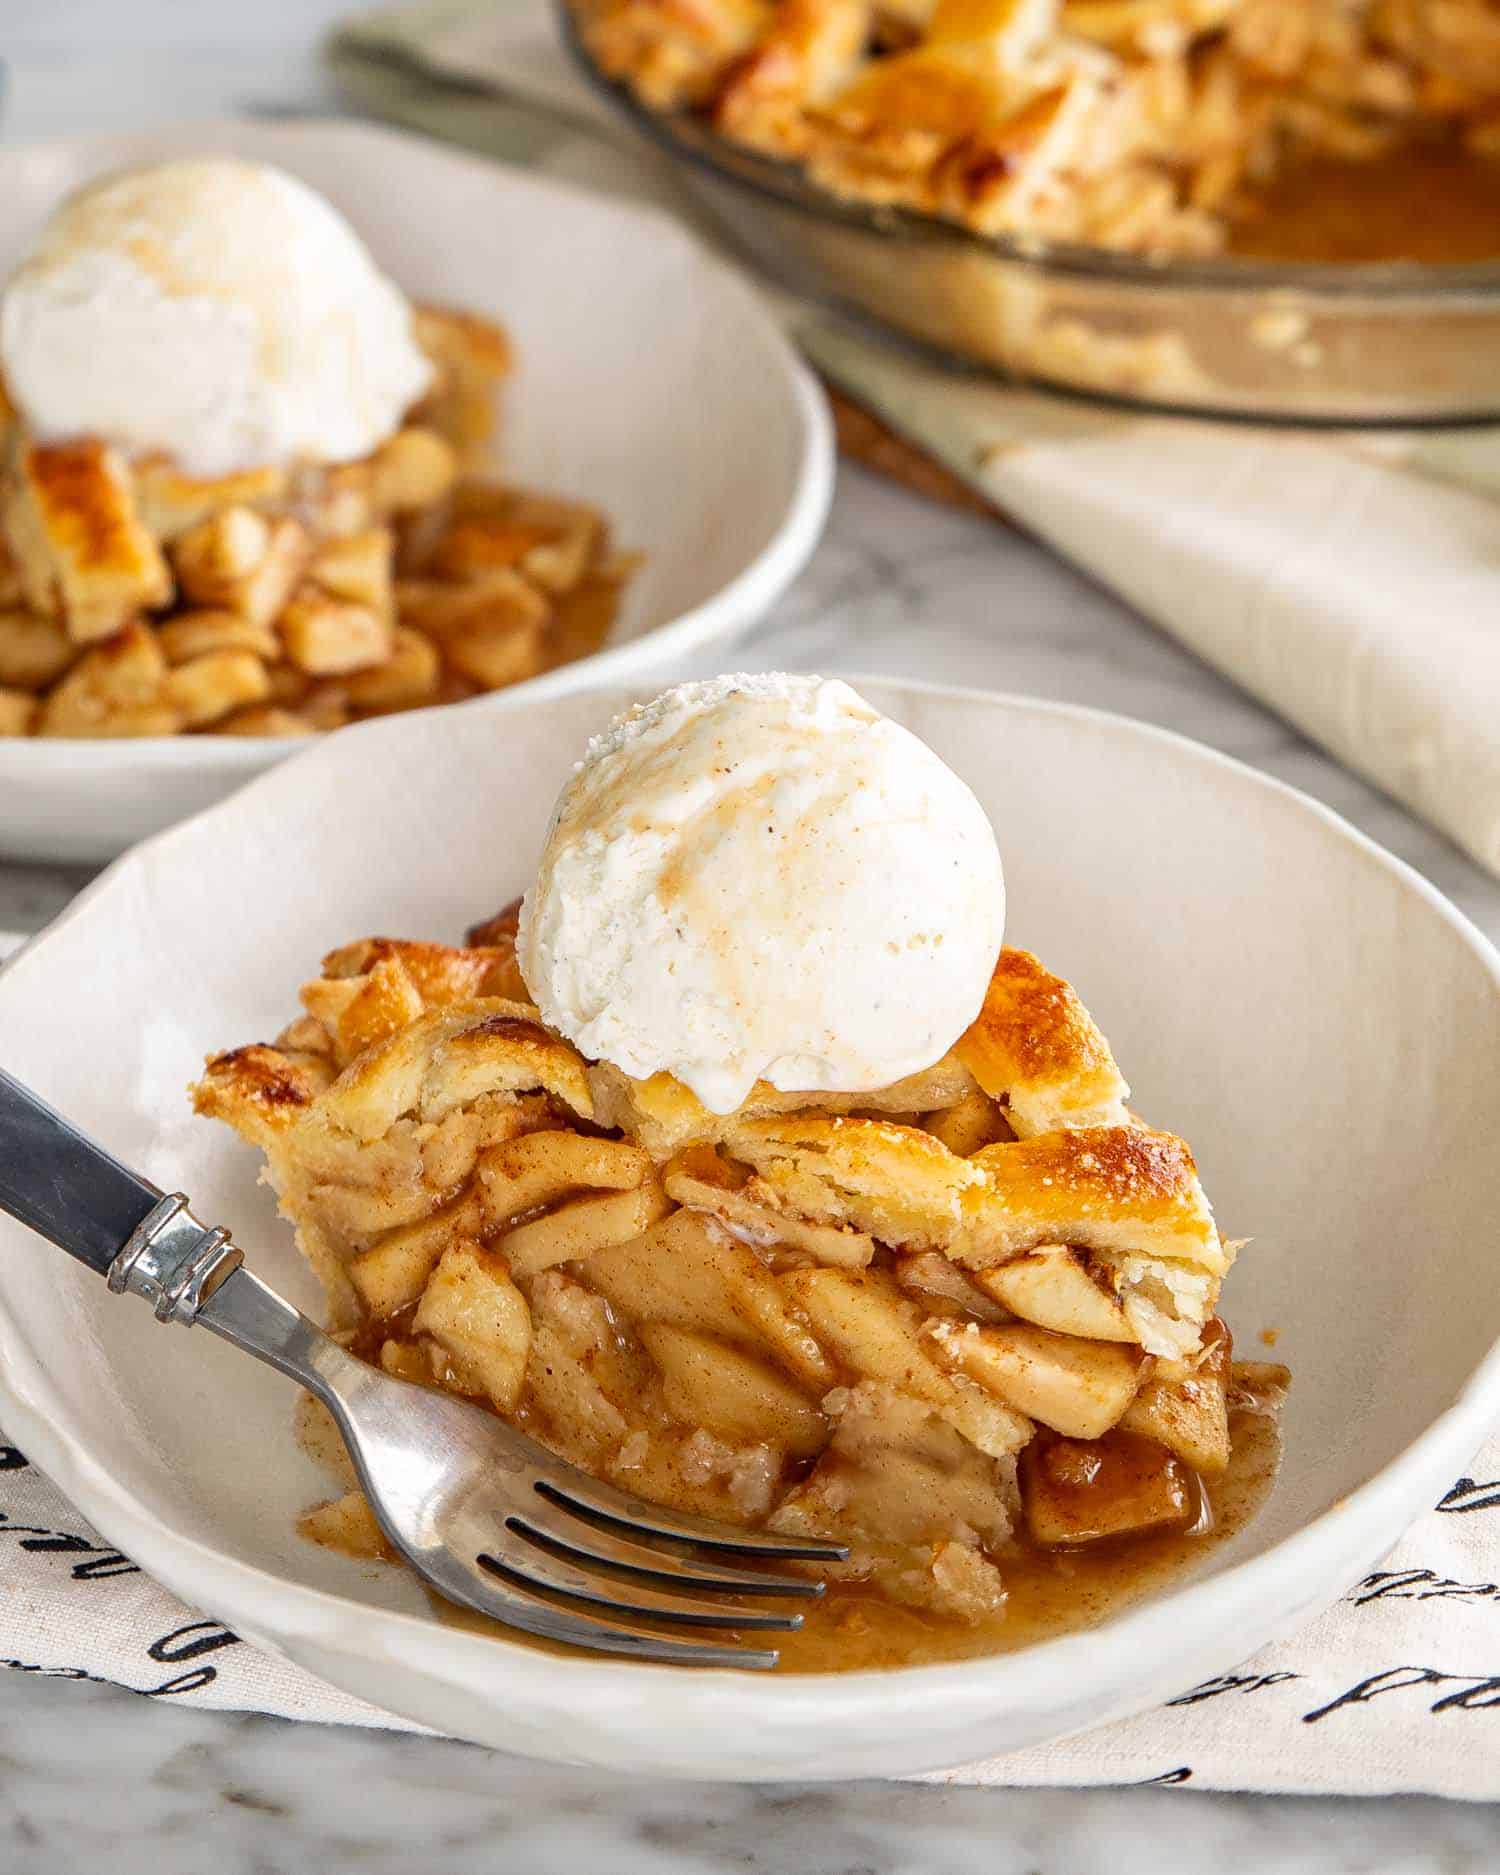
This Classic Apple Pie has a buttery double crust, a filling that actually sets, and no soggy bottom. Apples, brown sugar, cinnamon, and a bit of patience. The patience part is the one everybody skips and it’s the one that matters most.
Table of Contents
This is the BEST apple pie I have ever made and tasted!!! 5 stars from me!!!!
Apple pie is the dessert everyone thinks they can’t make and almost everyone can.
There’s nothing difficult in it. You slice apples, toss them with sugar and cinnamon and flour, put them between two sheets of pastry, and bake. That’s the whole thing. No technique, no special equipment, nothing to go wrong in the oven.
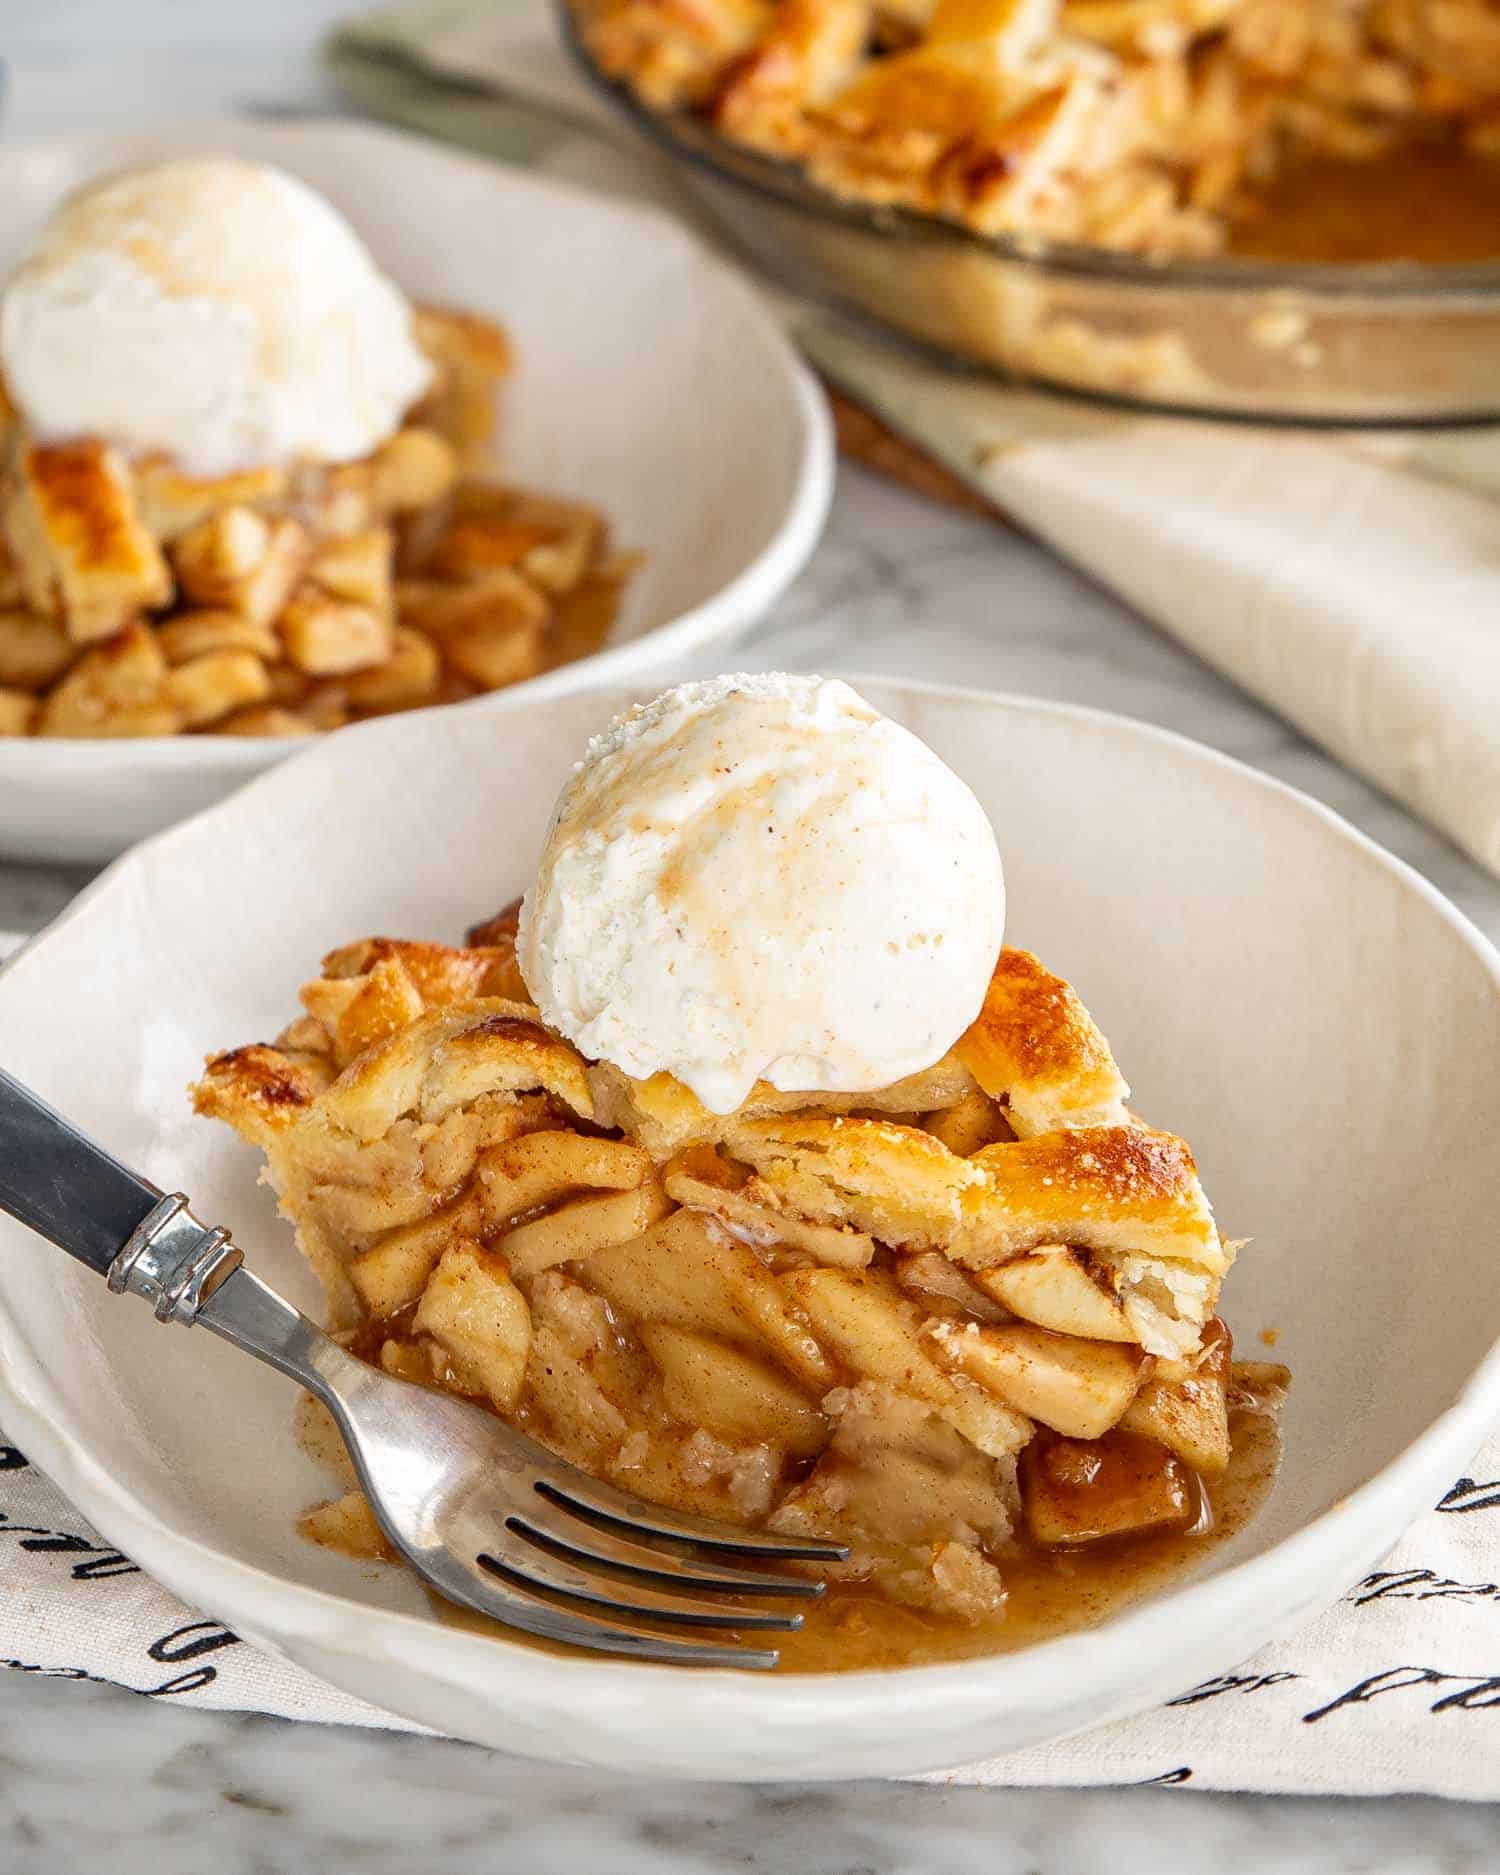
What trips people up happens after the oven. Apple pie has to cool for hours before you cut it, and I mean hours. Slice it warm and the filling floods your plate and everyone politely eats apple soup. Wait, and it sets into neat slices that hold their shape.
I know. Nobody wants to hear that. The pie smells incredible, it’s sitting right there, and you’re being told to walk away for 4 hours. But it’s the difference between a pie that looks like the picture and one that doesn’t.
Apple season starts now, which means the fruit is at its best and the oven going for an hour is suddenly appealing again. Good timing all round.
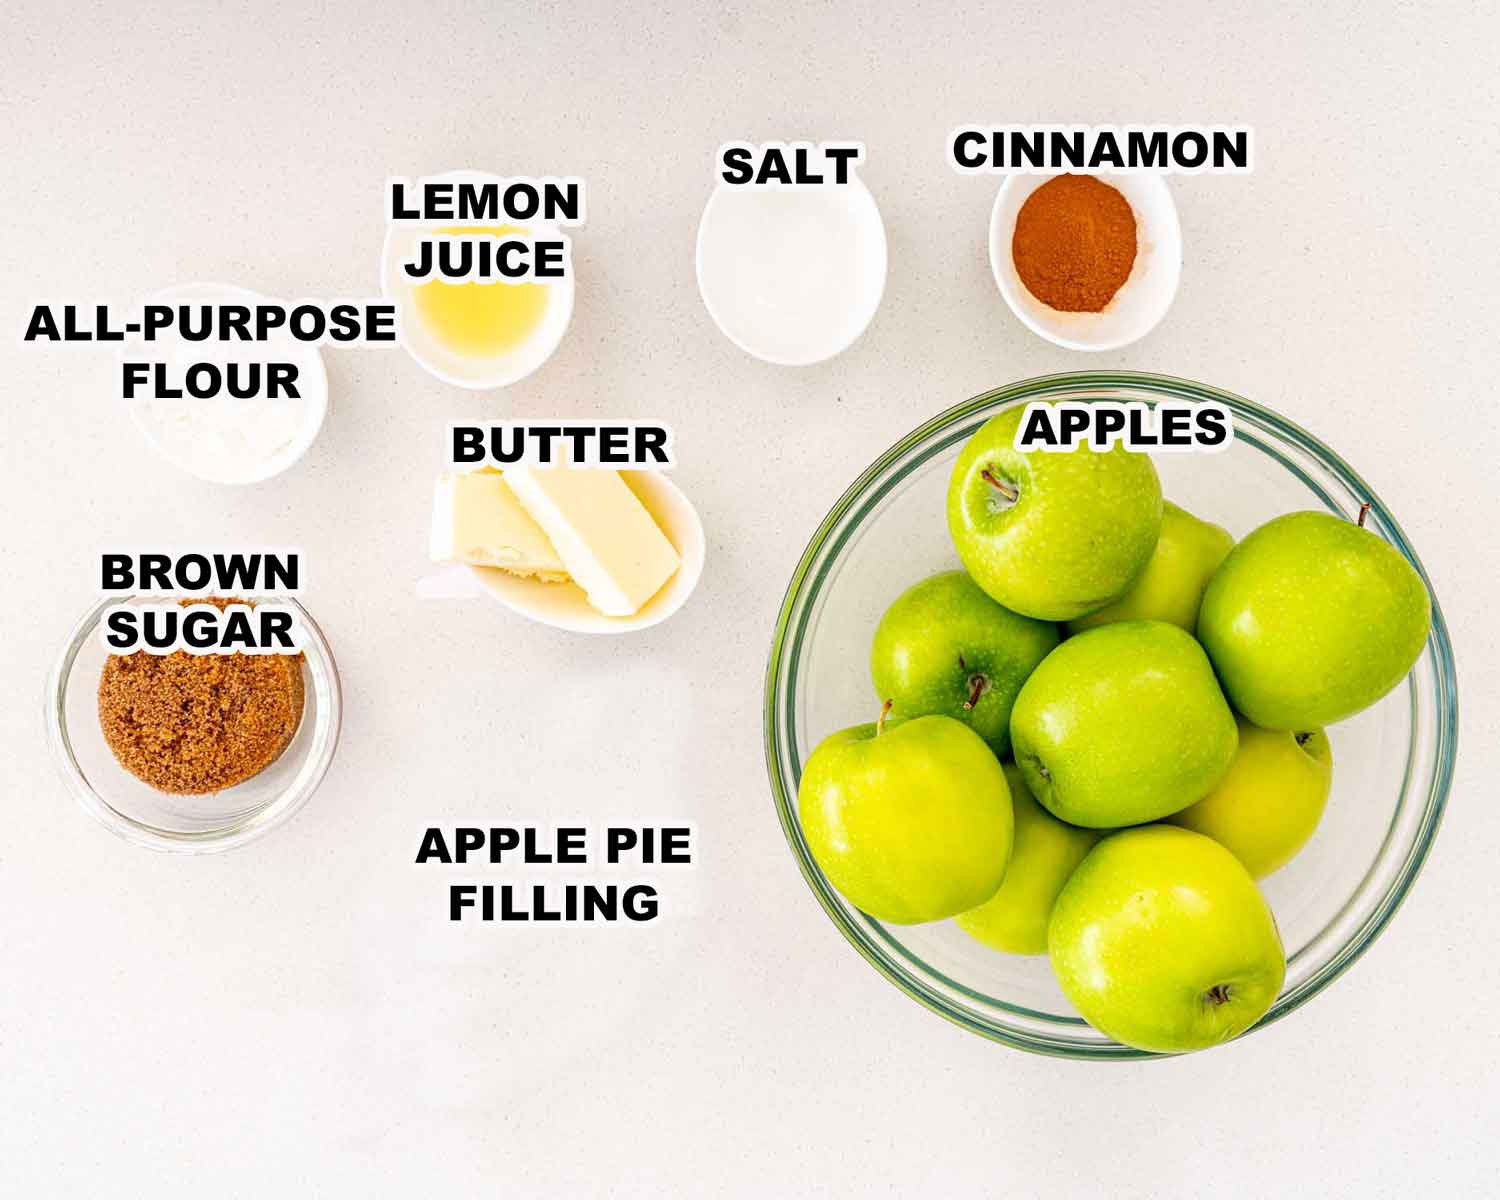
- Pie crust (1 whole recipe, top and bottom): My pie crust recipe makes both discs and it’s genuinely worth making. Store bought works and there’s no shame in it, especially in a busy week. If you go that route, look for an all butter version.
- Apples (8 medium, about 3 pounds, peeled, cored, and sliced): A mix of tart and sweet is best. See the section above for which varieties hold up. Slice them about ¼ inch thick so they cook evenly.
- Lemon juice (1 tablespoon): Stops the apples browning while you work, and the acidity brightens the whole filling. Especially useful with sweeter apples.
- Brown sugar (½ cup, packed): Brown rather than white on purpose. The molasses gives you a deeper caramel flavor and a richer color than white sugar does.
- All purpose flour (2 tablespoons): This absorbs the juice the apples release and turns it into something syrupy instead of watery. If your pies have run in the past, go up to 3 or 4 tablespoons.
- Cinnamon (1 teaspoon, ground): Apples and cinnamon. There’s no argument to be had.
- Egg (1, beaten, for egg wash): Brushed over the top crust before baking. It’s what gives you that deep golden glossy finish rather than a pale dusty one.
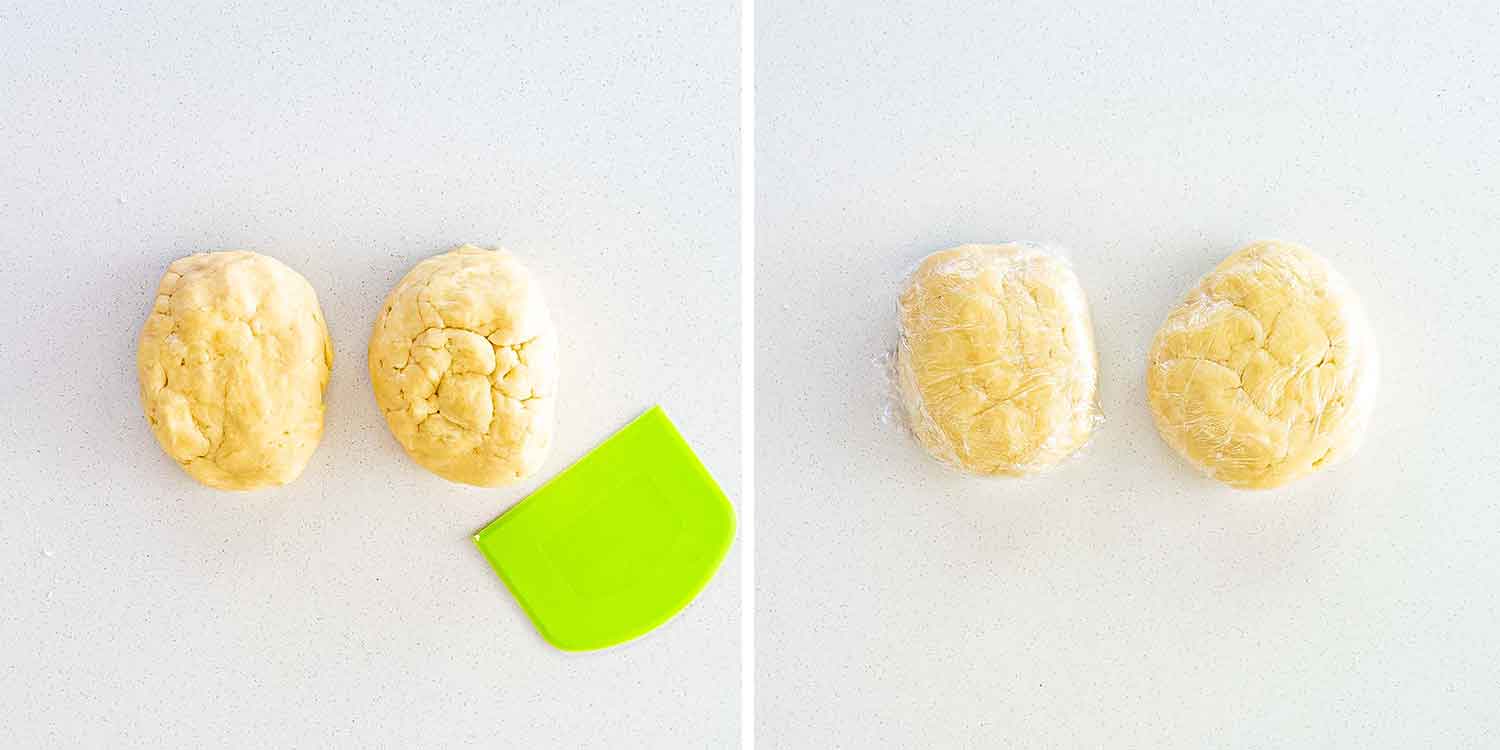
Get the crust going first. Make it according to the pie crust recipe and let it rest in the fridge, or take store bought out so it comes to a workable temperature.
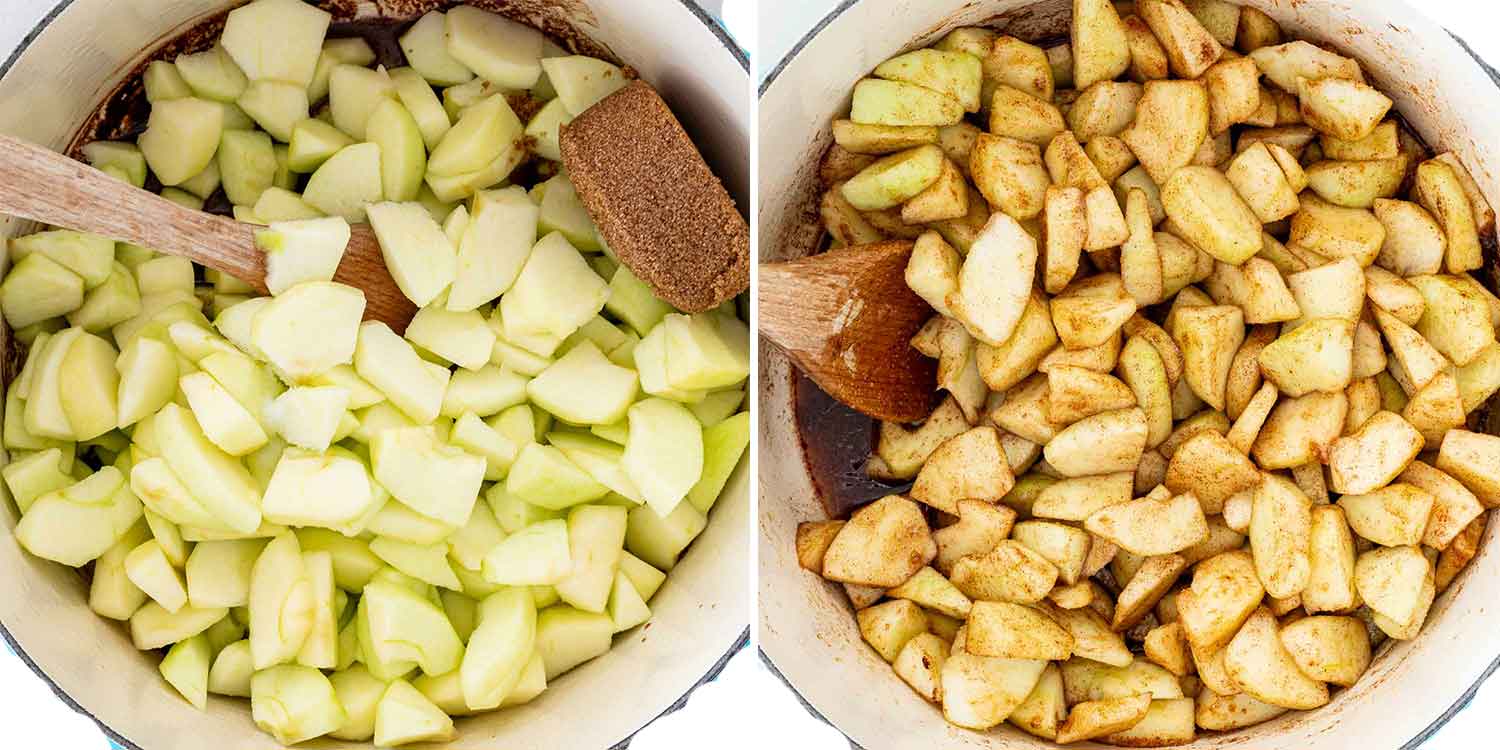
Make the filling while the dough rests. Peel, core, and slice the apples about ¼ inch thick, then toss them with the lemon juice, brown sugar, cinnamon, and flour until every slice is coated. Set it aside.
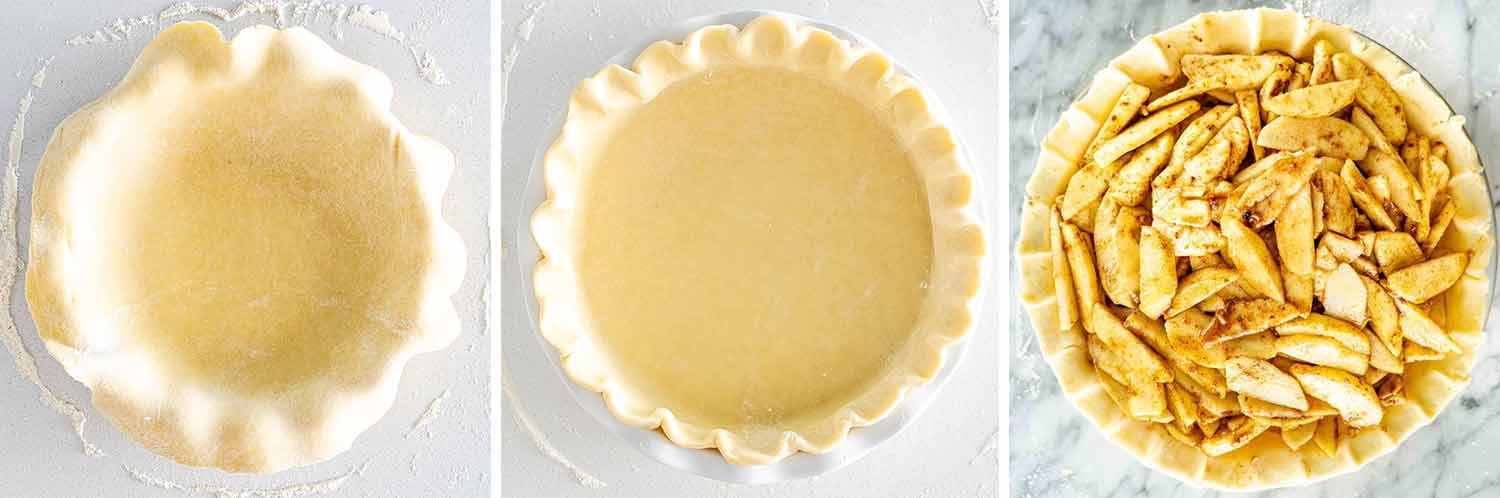
Let the dough sit at room temperature for about 10 minutes before you roll it. Cold dough cracks and fights you. Ten minutes makes it cooperative.
Heat the oven to 375°F.
Roll out the first disc to about ⅛ inch thick, a little wider than your pie plate. The easiest way to move it is to roll it loosely around the rolling pin and unroll it over the dish. Settle it in, crimp the edge, and trim the excess.
Add all the filling. All of it, piled high above the rim. It looks like too much and it isn’t, because those apples are going to shrink considerably.
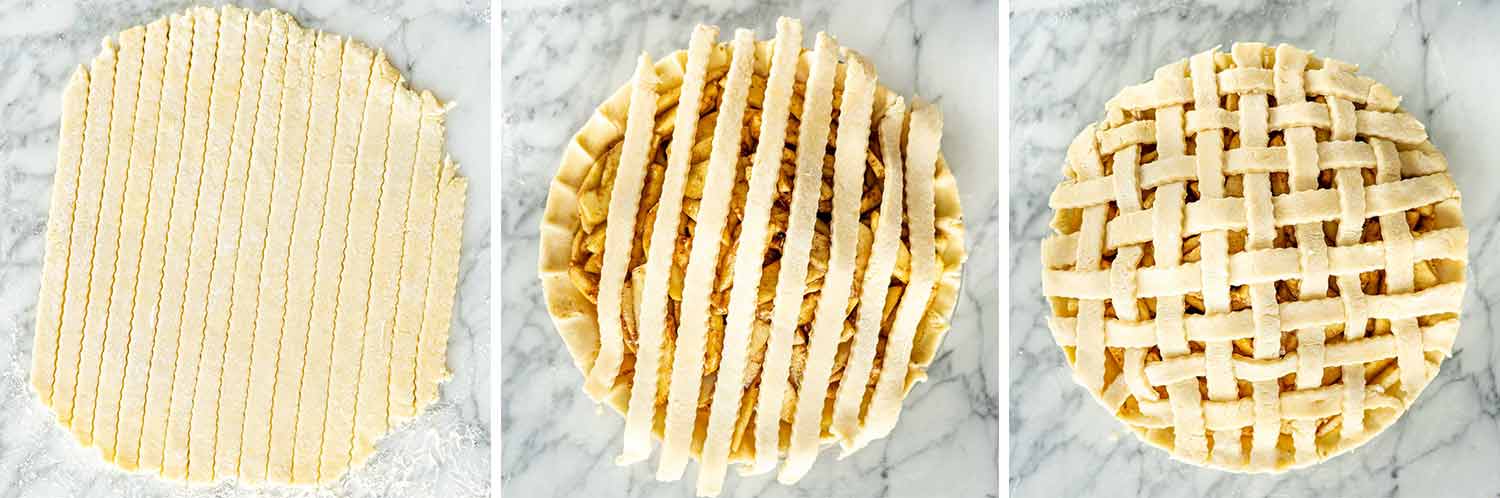
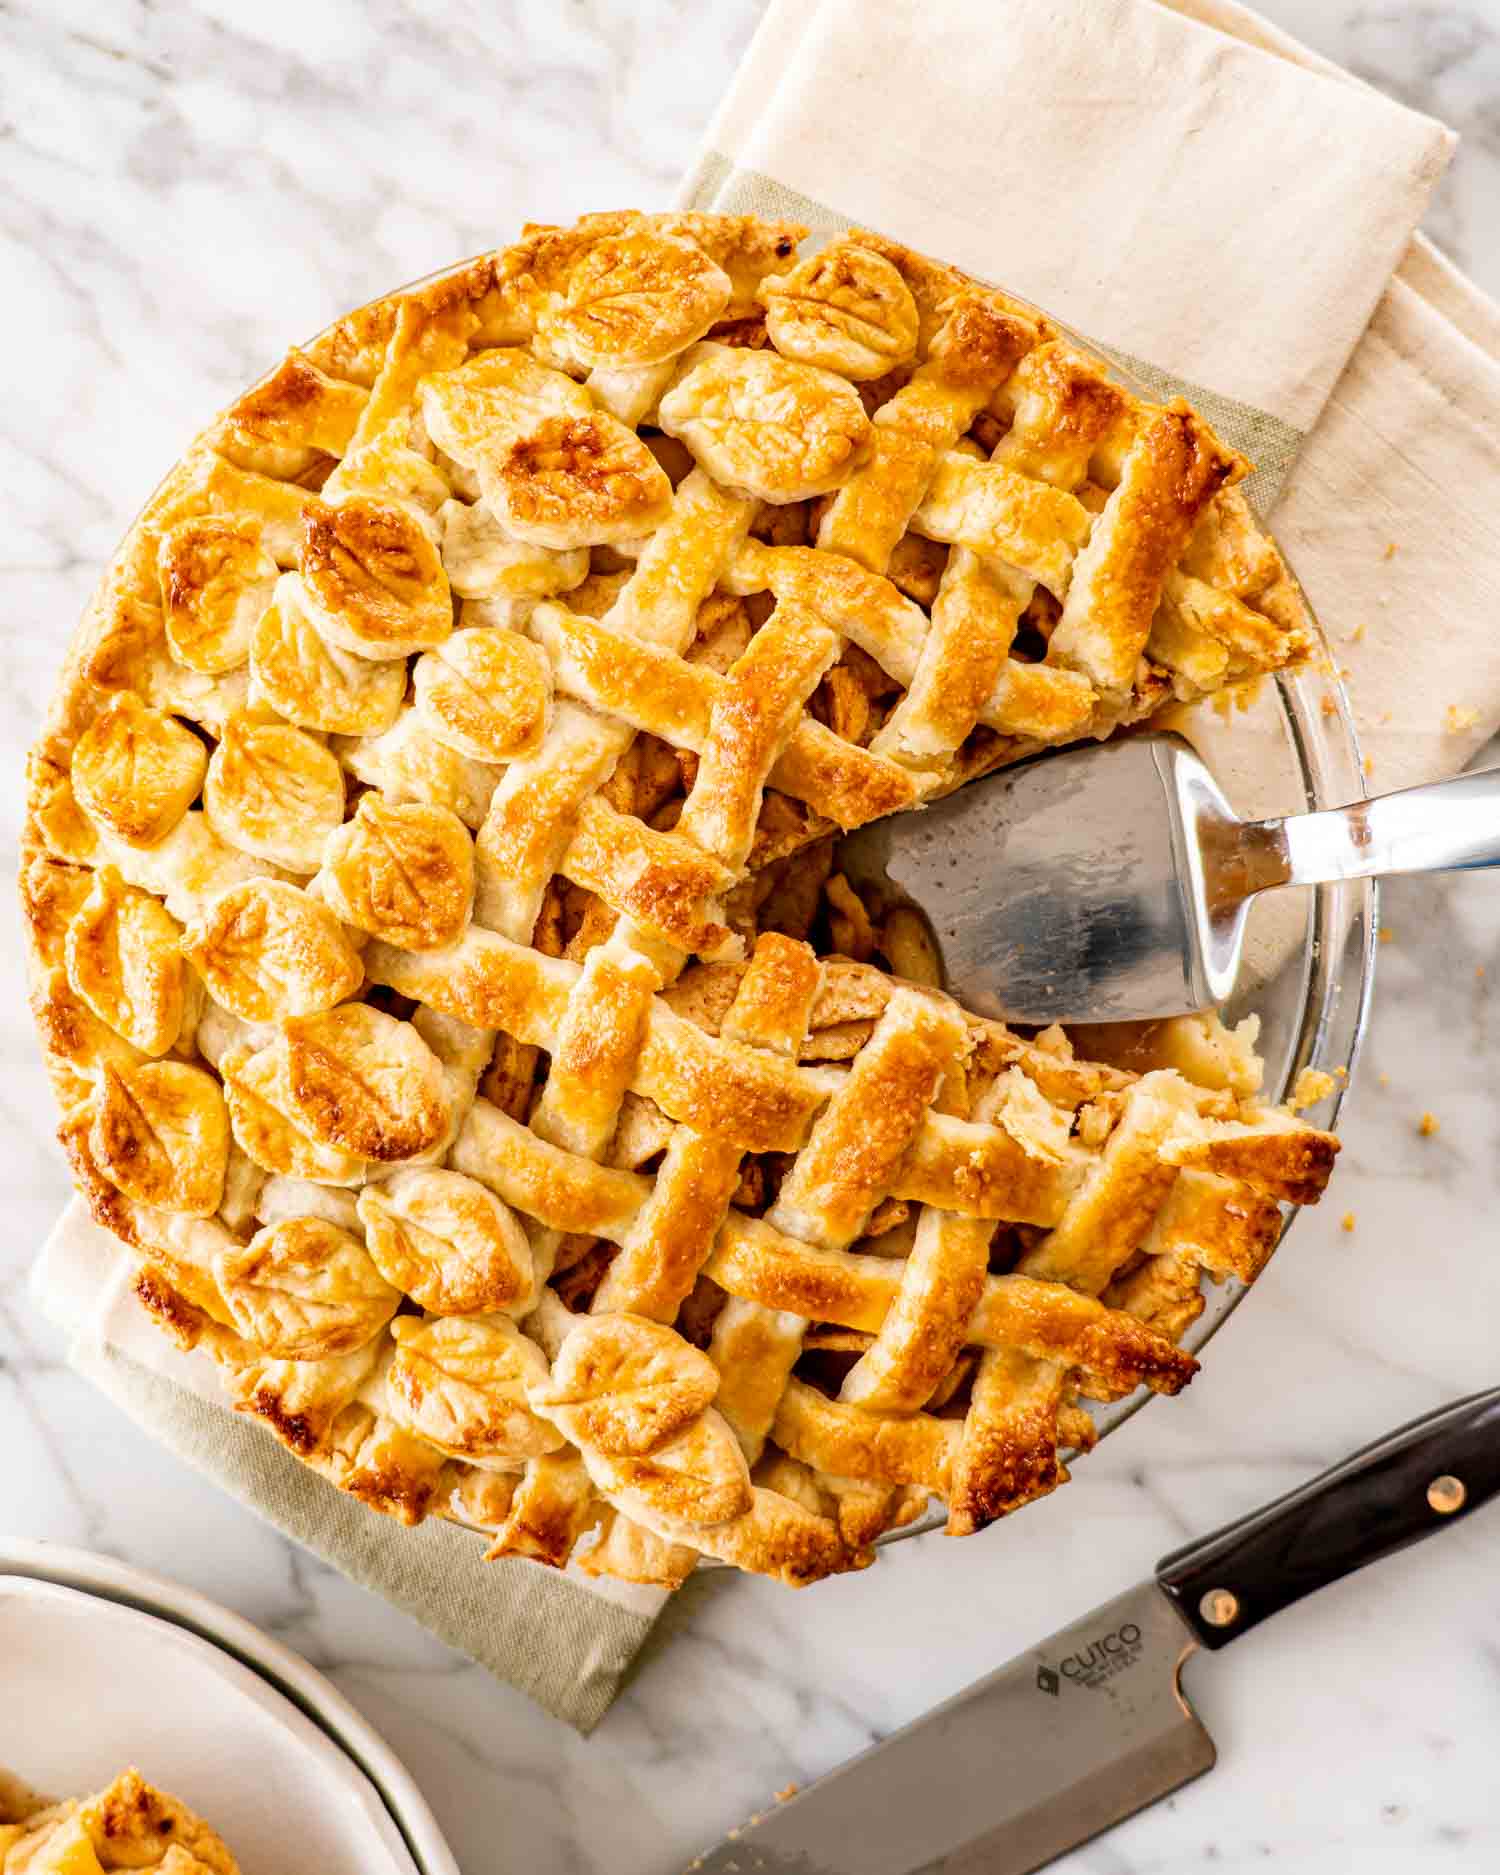
Roll out the second disc and lay it over the top. Cut vents with a sharp knife, or cut strips and weave a lattice if you’re feeling ambitious. Trim the excess and brush the whole top generously with the beaten egg.
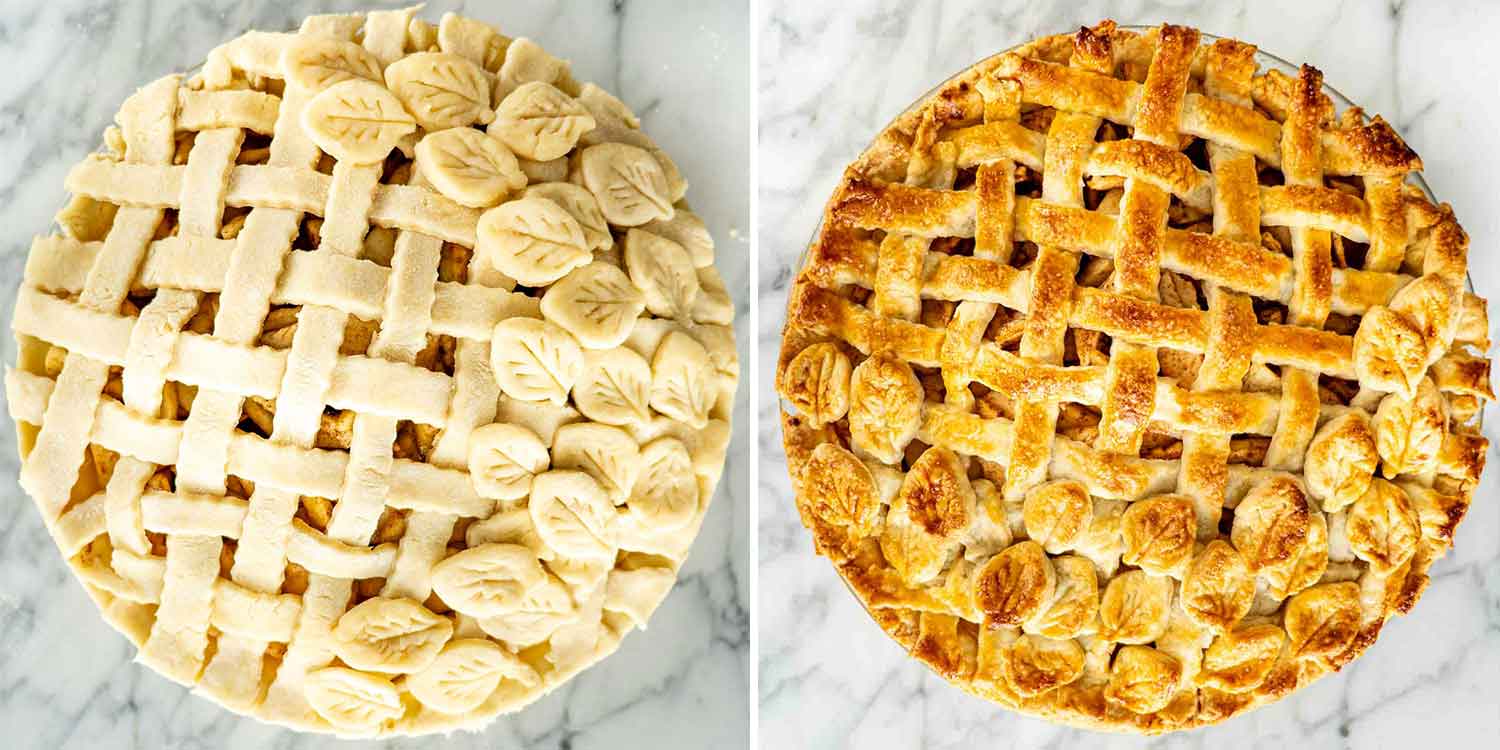
Bake about an hour, until the crust is deep golden and you can see juices bubbling up through the vents. Bubbling matters. It means the filling has come up to temperature and the flour has done its job. If the edges are browning too fast, cover them loosely with foil.
Now cool it, and this is the step that counts. At least 4 hours at room temperature before you cut it. The filling sets as it cools, and slicing into a warm pie means the whole thing runs across the plate. It’s the hardest instruction in the recipe and it’s the one that decides whether your slices hold together.
This matters more than people expect, because apples behave very differently in a hot oven.
What you want: a firm apple that holds its shape and doesn’t collapse into sauce. Granny Smith is the classic for exactly this reason, and it’s tart enough to balance all that sugar. Honeycrisp holds beautifully and brings sweetness. Braeburn, Jonagold, and Golden Delicious all work well.
What I’d avoid: Red Delicious, which goes mealy and tastes of very little once baked. McIntosh breaks down into applesauce, though that’s fine if it’s part of a mix.
The best answer is a mix. Half tart, half sweet. Granny Smith with Honeycrisp is my usual, and the two textures give you a filling with more going on than a single variety ever does.
How many: 8 medium apples, which is roughly 3 pounds. Apple sizes vary enormously, so if you can weigh them, do. Too few and the pie looks sad and flat once the apples shrink down.
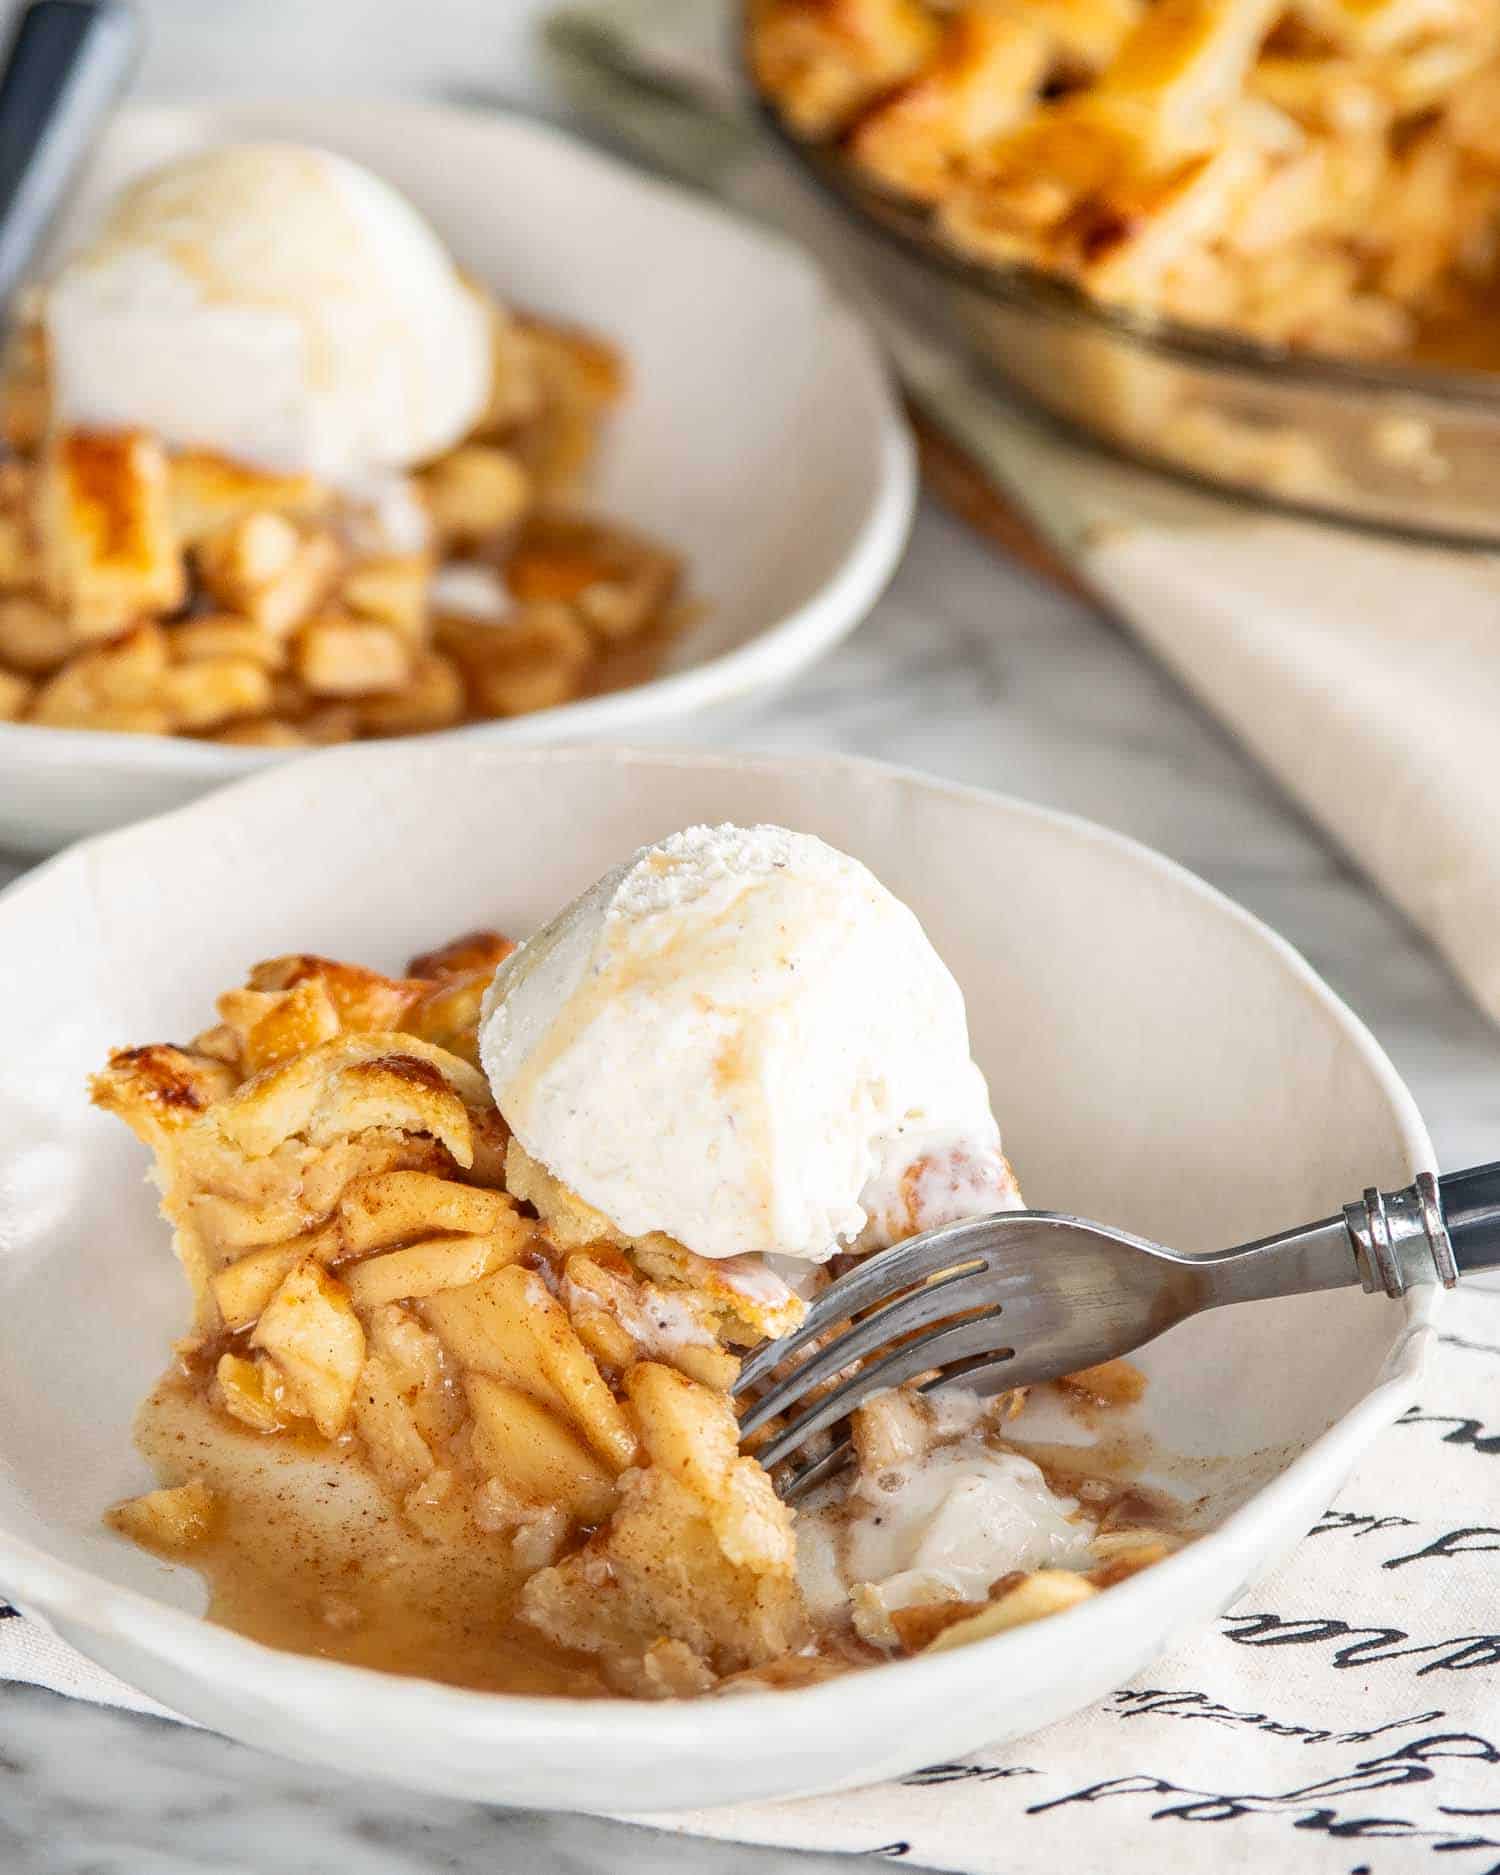
The most common apple pie complaint, and there are 3 causes.
You cut it too soon. This is the big one. The filling thickens as it cools, and a warm pie has liquid that hasn’t set yet. Four hours at room temperature. Not one, not two.
Not enough thickener. Apples release a lot of water in the oven, more than you’d think, and the flour has to absorb all of it. If your pie has run in the past, add another tablespoon or two of flour to the filling.
Very juicy apples. Some varieties give up more liquid than others. If yours are particularly juicy, toss the sliced apples with the sugar first and let them sit for 20 minutes, then drain off some of the liquid before adding the flour.
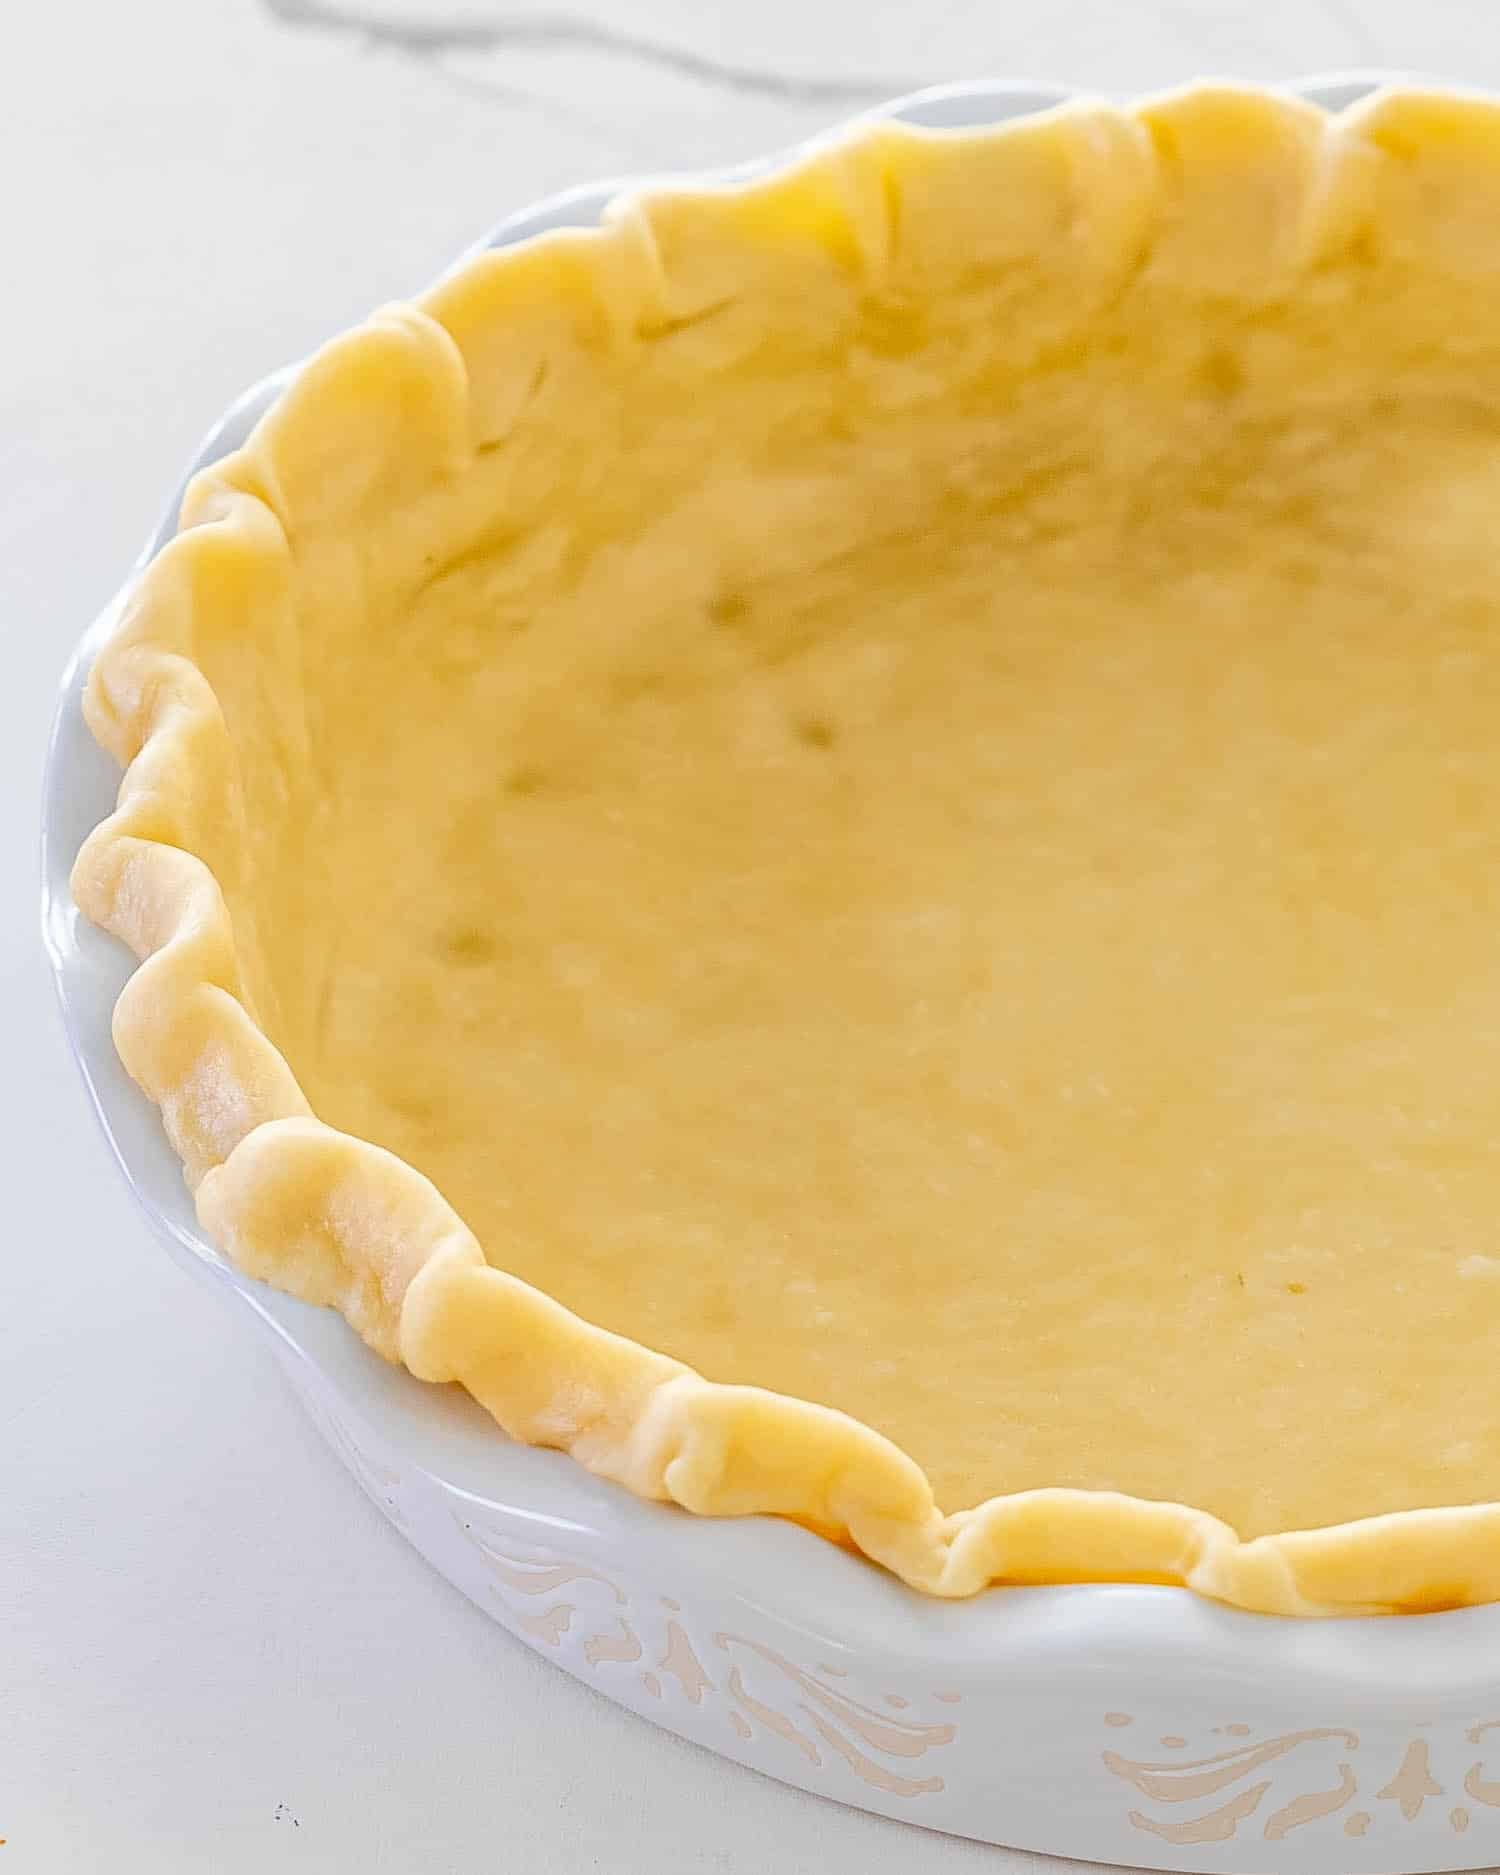
The other classic problem, and it’s about heat reaching the base.
Bake on the lowest rack. Closest to the heat source, so the bottom crust sets fast instead of slowly absorbing juice.
Use a metal or glass pie plate, not ceramic. Metal conducts heat much better and glass at least lets you check the color underneath.
Blind bake if you want to be certain. Ten minutes with the bottom crust lined and weighted before the filling goes in. It’s an extra step and it does work.
Start hot. Some bakers start at 425°F for 15 minutes to set the bottom, then drop to 375°F for the rest. Worth trying once to see if you prefer it.
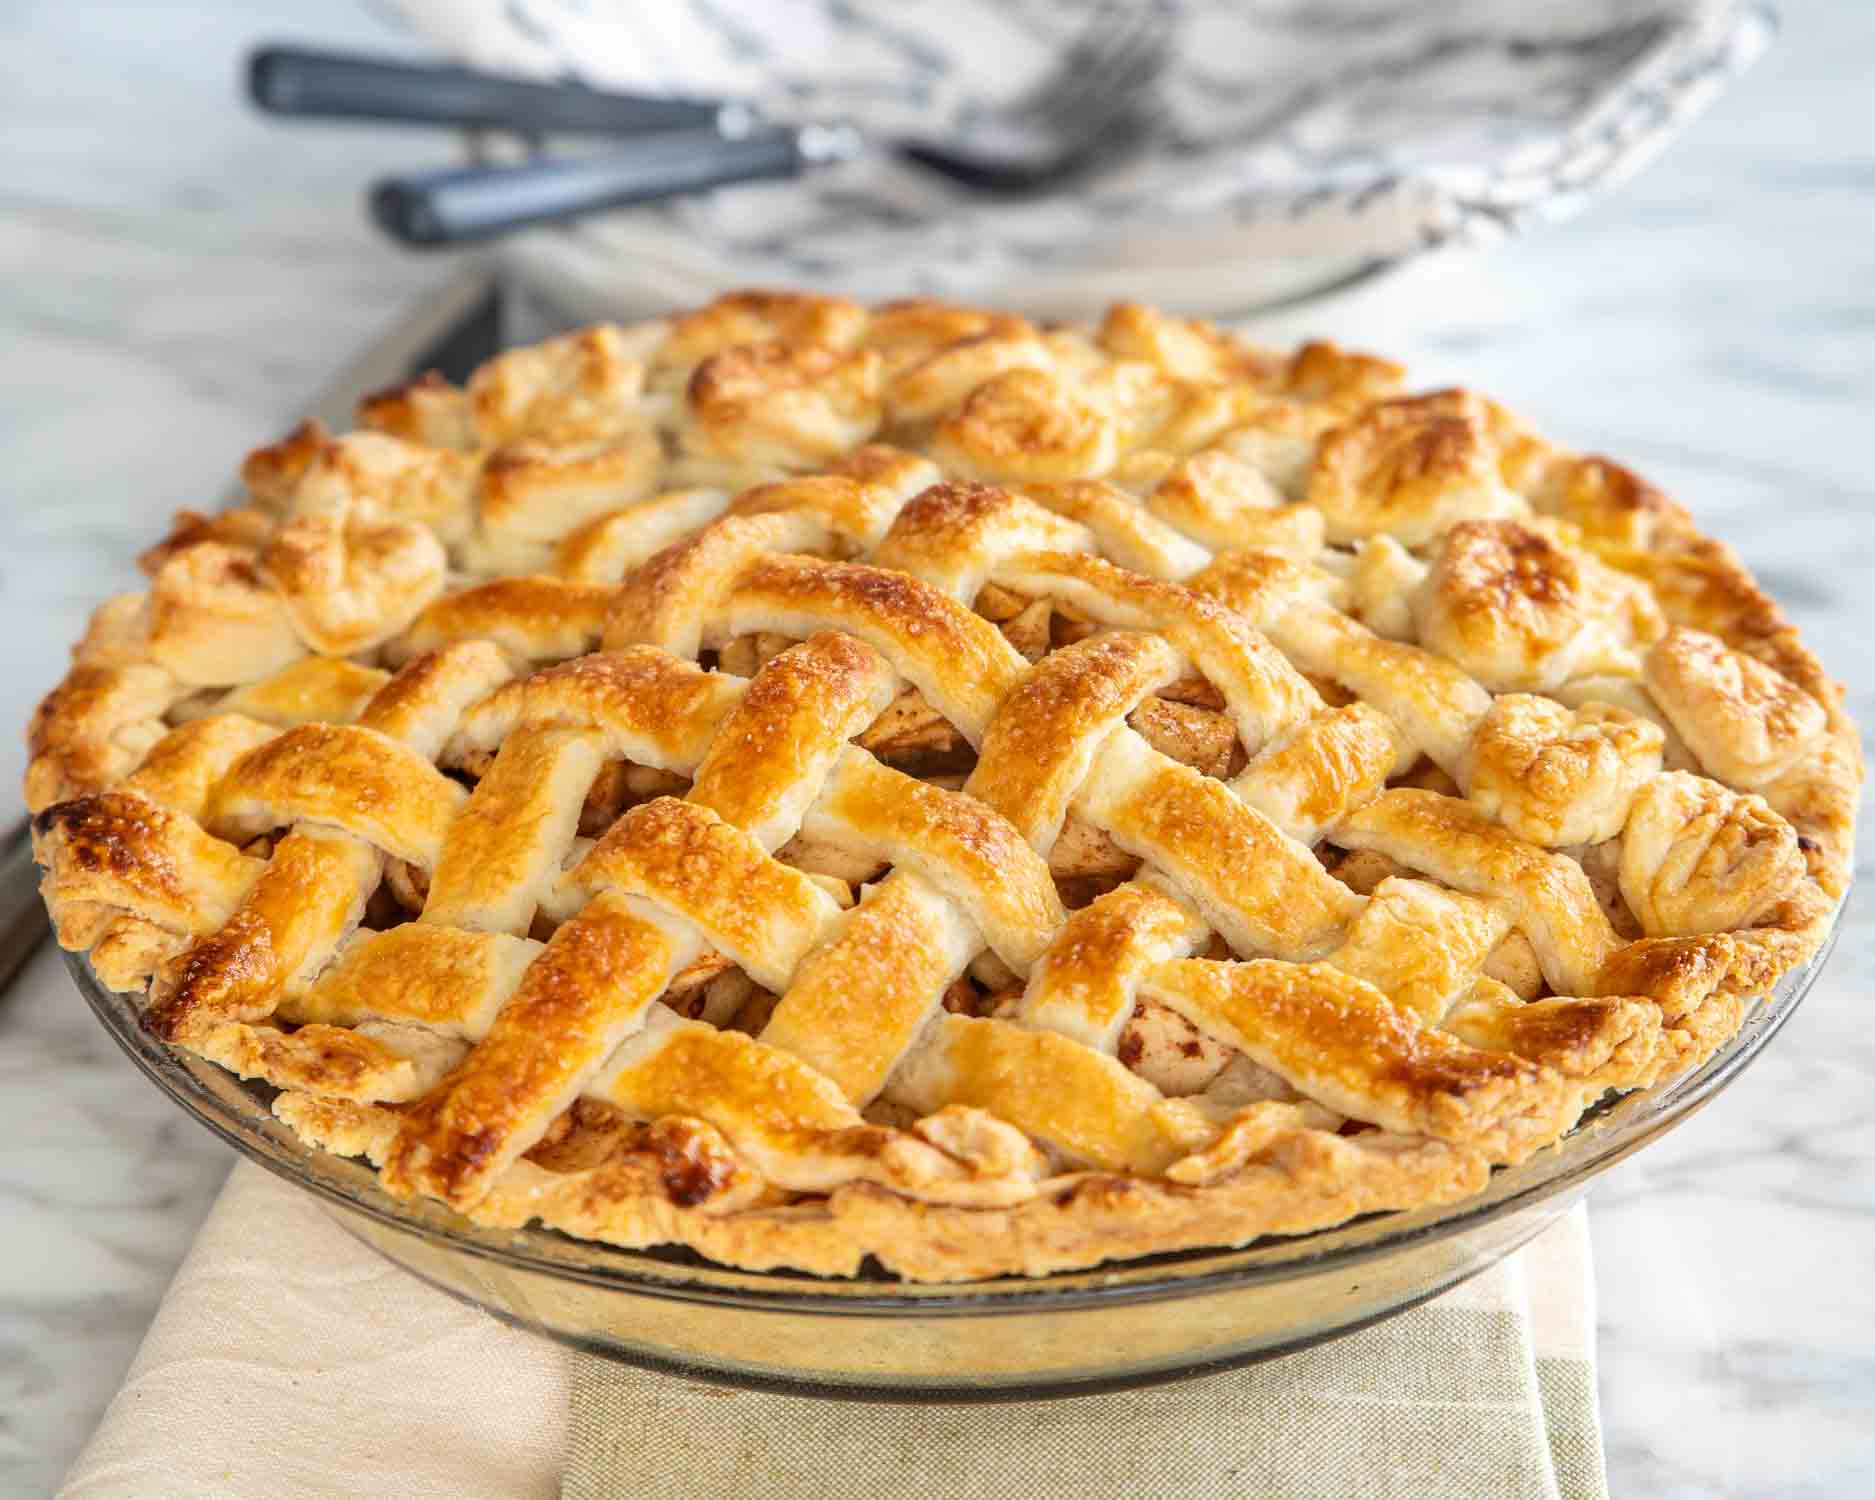
You’ve seen this. You cut into the pie and there’s an empty dome between the crust and the apples.
It happens because apples shrink a lot as they cook, but the top crust sets early and stays where it is. The filling drops away underneath it.
Two ways around it. Pile the apples much higher than you think you should, well above the rim, so there’s enough volume to fill that space even after they shrink. Or precook the apples, softening them in a pan for 5 minutes before they go in, so most of the shrinking happens before the pie is assembled.
I go with piling them high. It’s less work and the gap doesn’t bother me all that much.
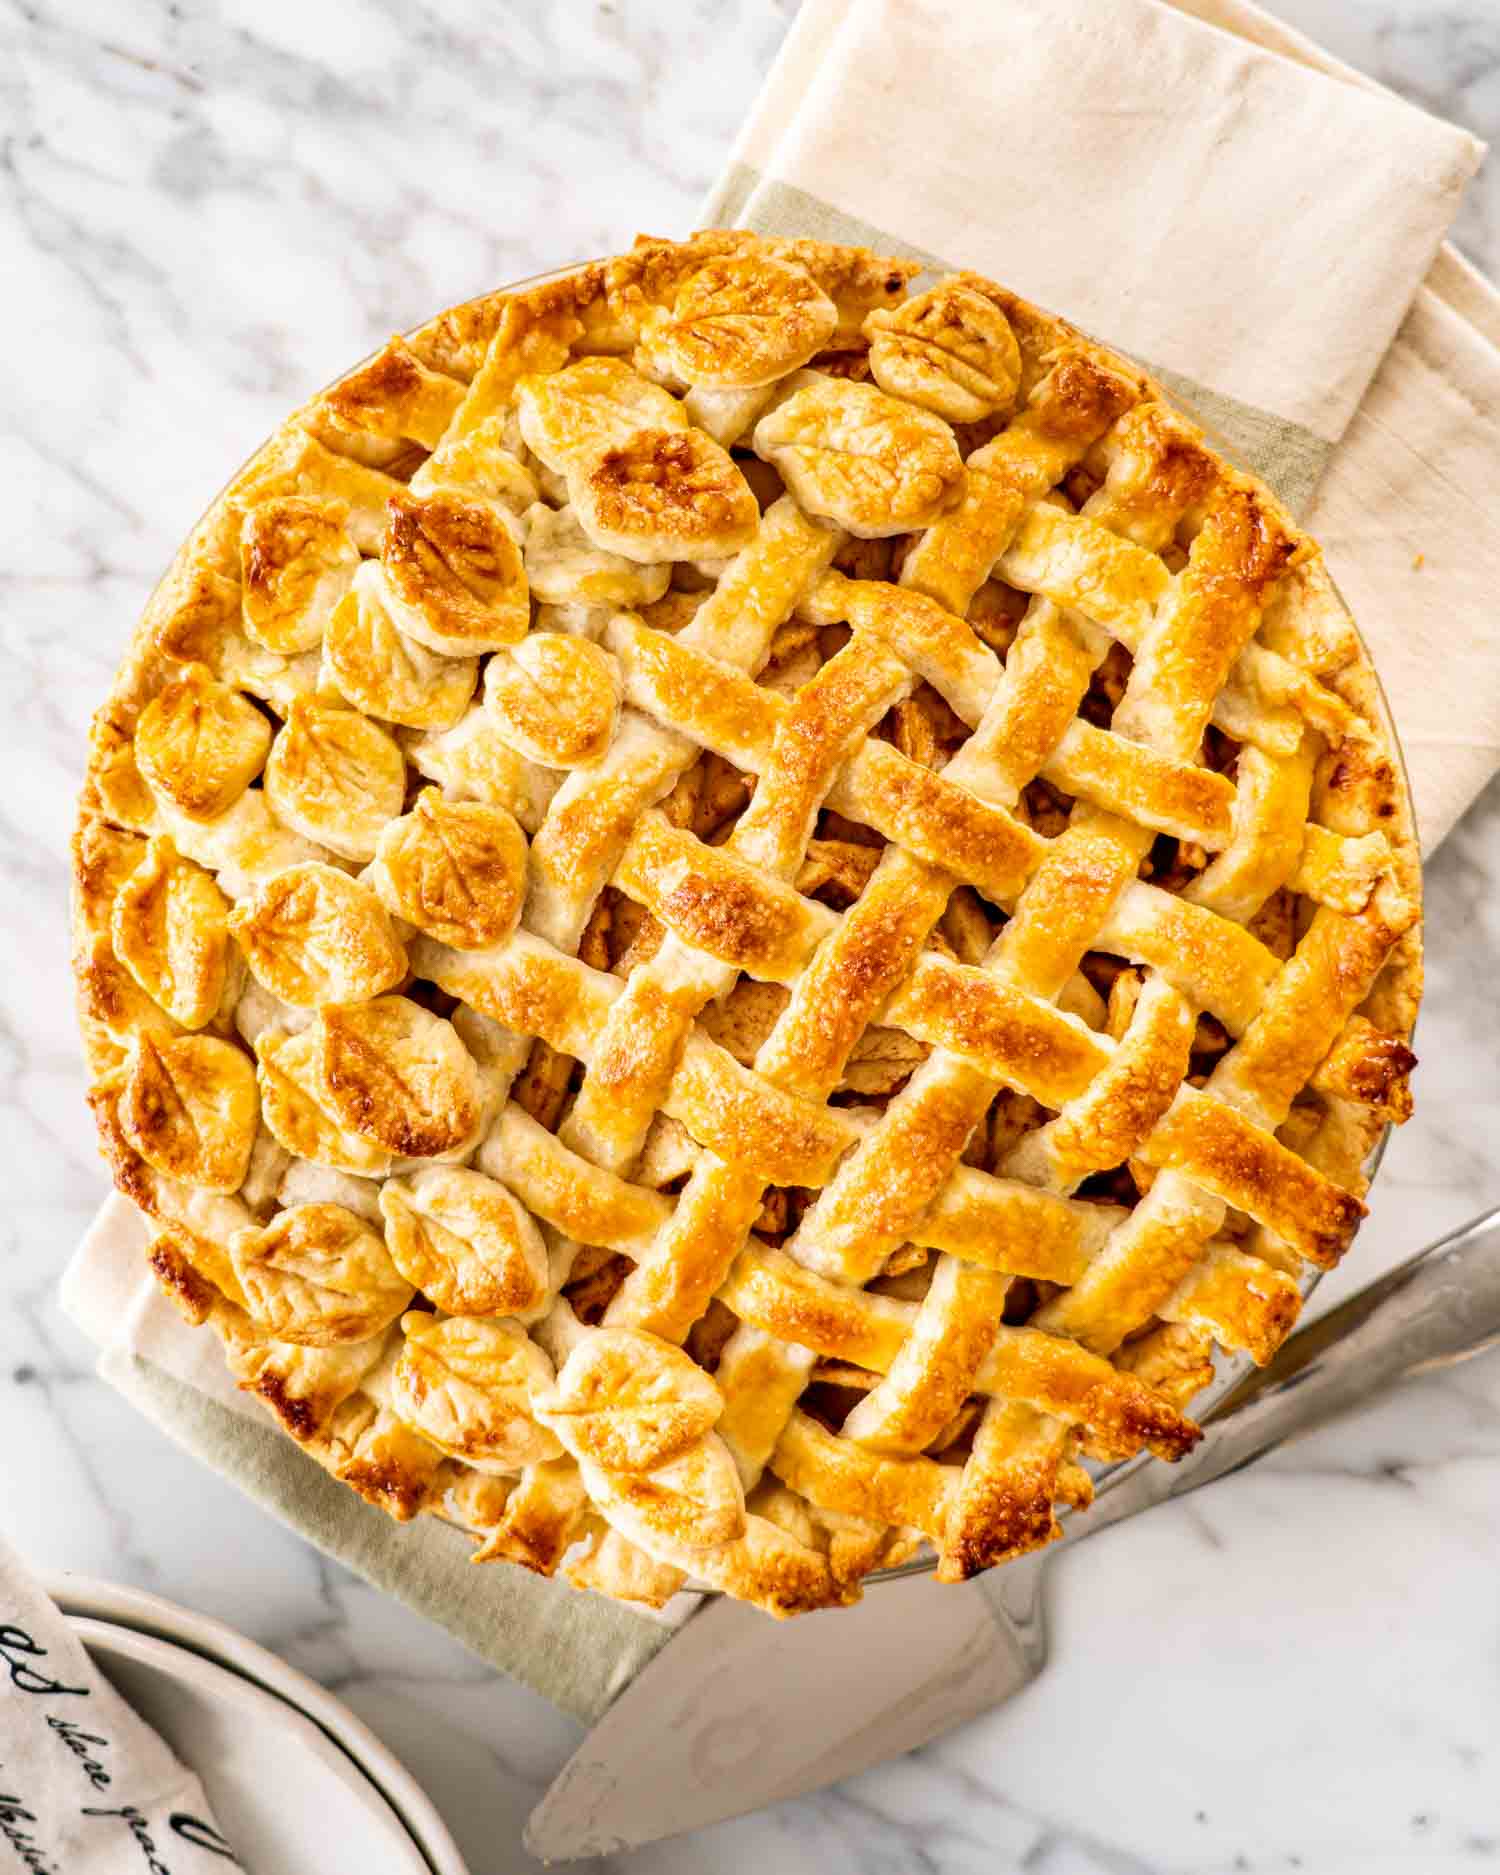
Make ahead: you can make the crust up to 3 days early and keep the discs wrapped in the fridge, or freeze them for 3 months. The filling can be mixed a day ahead, though the apples will darken a little even with the lemon juice.
Room temperature: the baked pie keeps well on the counter, loosely covered, for 2 days. It’s genuinely excellent the next morning with coffee.
Fridge: up to 5 days, covered. Bring it back to room temperature or warm slices in a 300°F oven for 10 minutes before serving.
Freezing baked: wrap the cooled pie tightly in plastic and then foil. 3 months.
Freezing unbaked: assemble the whole pie, wrap tightly, and freeze. Bake straight from frozen, adding 10 to 15 minutes to the baking time. This is the one I’d do in November, since it means Thanksgiving pie without the Thanksgiving morning stress.
Vanilla ice cream. That’s it, that’s the answer, and the contrast between hot pie and cold ice cream is the entire point.
Beyond that, softly whipped cream with a little vanilla in it, or a slice of sharp cheddar on the side if you’re from the parts of the world where that’s normal. It sounds strange and it works.
A cup of coffee turns leftover pie into a completely acceptable breakfast.
Originally published September 2019. Updated with new photos, video, and expanded tips.
Before You Begin! If you make this, please leave a review and rating letting us know how you liked this recipe! This helps our business thrive & continue providing free recipes.
This Classic Apple Pie has a buttery double crust and a filling that sets into neat slices instead of running across the plate. A mix of tart and sweet apples, brown sugar, and cinnamon. The one rule is letting it cool completely before you cut it.
Pastry
- 1 pie crust (whole recipe for top and bottom crust)
Filling
- 8 medium apples (peeled, cored and sliced)
- 1 tablespoon lemon juice (freshly squeezed)
- ½ cup brown sugar (packed)
- 2 tablespoons all-purpose flour
- 1 teaspoon cinnamon (ground)
- 1 egg (beaten, for egg wash)
Before You Begin! If you make this, please leave a review and rating letting us know how you liked this recipe! This helps our business thrive & continue providing free recipes.
-
Make the pie crust according to this pie crust recipe. You can also use store bought pie crust.
-
While pie crust is resting in the fridge, toss the sliced apples with the lemon juice, brown sugar, cinnamon and flour. Set aside.
-
Remove the dough from the refrigerator, and let it sit at room temperature for up to 10 minutes. This is required to soften the dough a bit, so that you can roll it out.
-
Preheat oven to 375°F.
-
Roll out each disc using a rolling pin. If your dough is sticking to the surface or to the rolling pin add a bit more flour as necessary. Roll it until it’s about ⅛ of an inch in thickness. Place the pie dough lightly into a pie plate. I usually roll it on the rolling pin and unroll it over the pie plate. (see video) Crimp the edge and cut off excess dough.
-
Add the apple mixture to the bottom crust
-
Roll out the second disc. Gently place on top of the filling and make vents using a sharp knife, or cut into long strips to make a lattice. Trim the excess dough, if needed. Brush generously with beaten egg.
-
Bake for about an hour or until the crust is golden and starts to brown and juices are bubbling.
- Cool it completely. At least 4 hours at room temperature. The filling sets as it cools, and cutting warm pie means it runs everywhere.
- Apples: a mix of tart and sweet is best. Granny Smith with Honeycrisp is my usual. 8 medium apples is about 3 pounds.
- Pile the filling high, well above the rim. The apples shrink a lot and this stops the gap forming under the top crust.
- Runny before? Increase the flour to 3 or 4 tablespoons. Apples release more liquid than you’d expect.
- Soggy bottom? Bake on the lowest rack, use metal or glass rather than ceramic, and blind bake the base for 10 minutes if you want certainty.
- Wait for the bubbling. Juices bubbling through the vents mean the filling has come up to temperature and the flour has thickened.
- Shield the edges with foil if they’re browning faster than the rest.
- Freezing: assemble unbaked, freeze up to 3 months, and bake from frozen with an extra 10 to 15 minutes.
Serving: 1servingCalories: 553kcal (28%)Carbohydrates: 84g (28%)Protein: 5g (10%)Fat: 23g (35%)Saturated Fat: 14g (88%)Cholesterol: 61mg (20%)Sodium: 302mg (13%)Potassium: 359mg (10%)Fiber: 7g (29%)Sugar: 43g (48%)Vitamin A: 855IU (17%)Vitamin C: 12.5mg (15%)Calcium: 44mg (4%)Iron: 2.4mg (13%)
Notice: Nutrition is auto-calculated for your convenience. Where relevant, we recommend using your own nutrition calculations.
Do I really have to wait 4 hours before cutting it?
Can I use store bought pie crust?
How do I stop the bottom crust going soggy?
Why is there a gap between the crust and the filling?
Can I freeze apple pie?